

The old garden shredder


For years the garden shredder was sitting in the shed. Clearly unloved and unused judging by the years of grime on the outside.
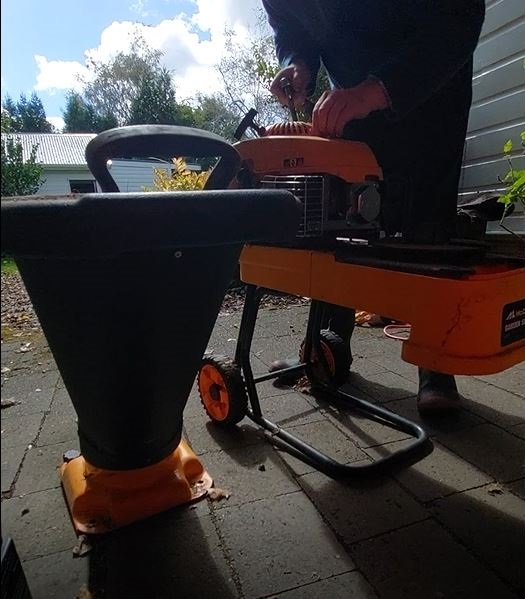
This video shows a snippet of the journey from being an object taking up space to a garden shredder with the power to turn branches in to mulch for the garden.
Here is the link for the video: https://www.instagram.com/reel/DMxQGU2yL0W/?utm_source=ig_web_copy_link&igsh=MzRlODBiNWFlZA==
Issues with it uploading
Step 1: The Initial Clean
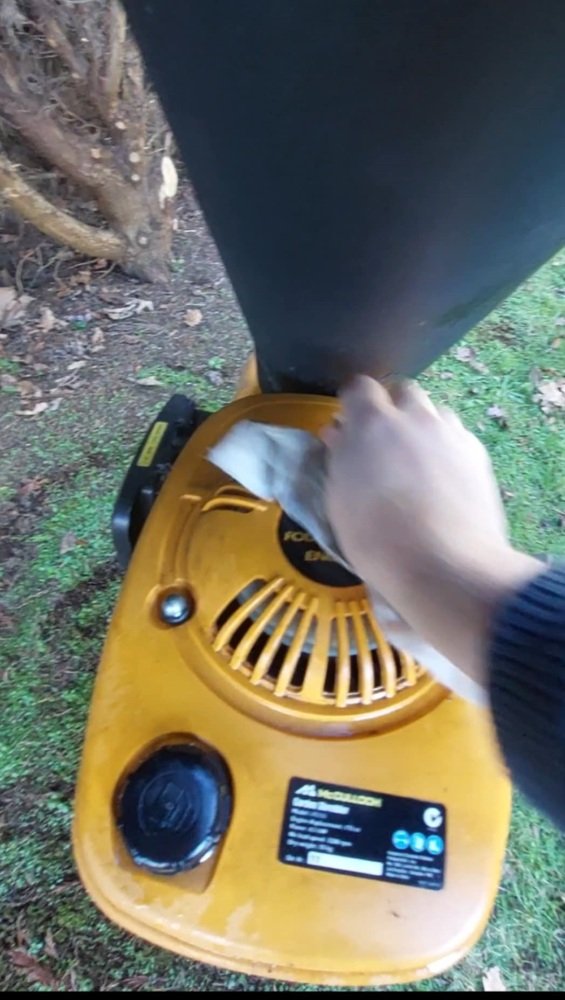

WD-40 was applied using the smart straw to all of the external parts of the shredder. Using a bit of elbow grease and a rag the grime from over the years was wiped away with ease.
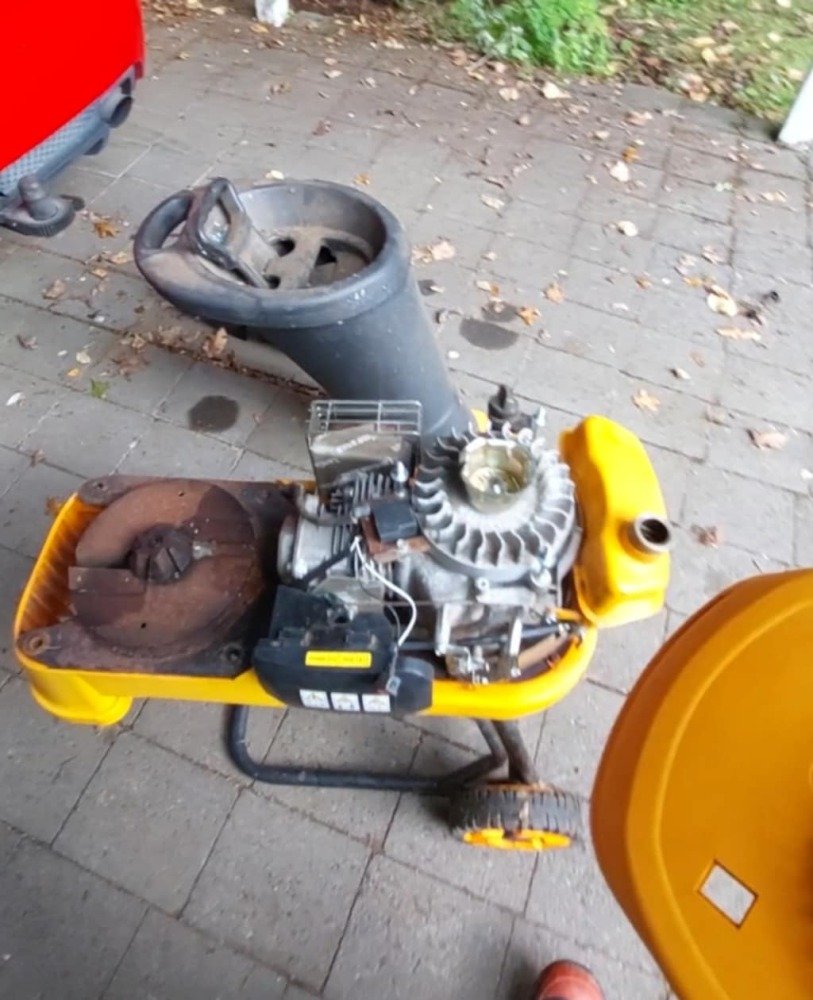
Step 2: The Strip Down


The parts were taken to be pieces and further inspections to work out what was wrong. With any engine: spark, fuel and air are essential.
More WD-40 was applied to assist in the process of polishing and cleaning rusty and dirty surfaces.
This is also a good opportunity to change the oil too.
Step 3: Sparks flying

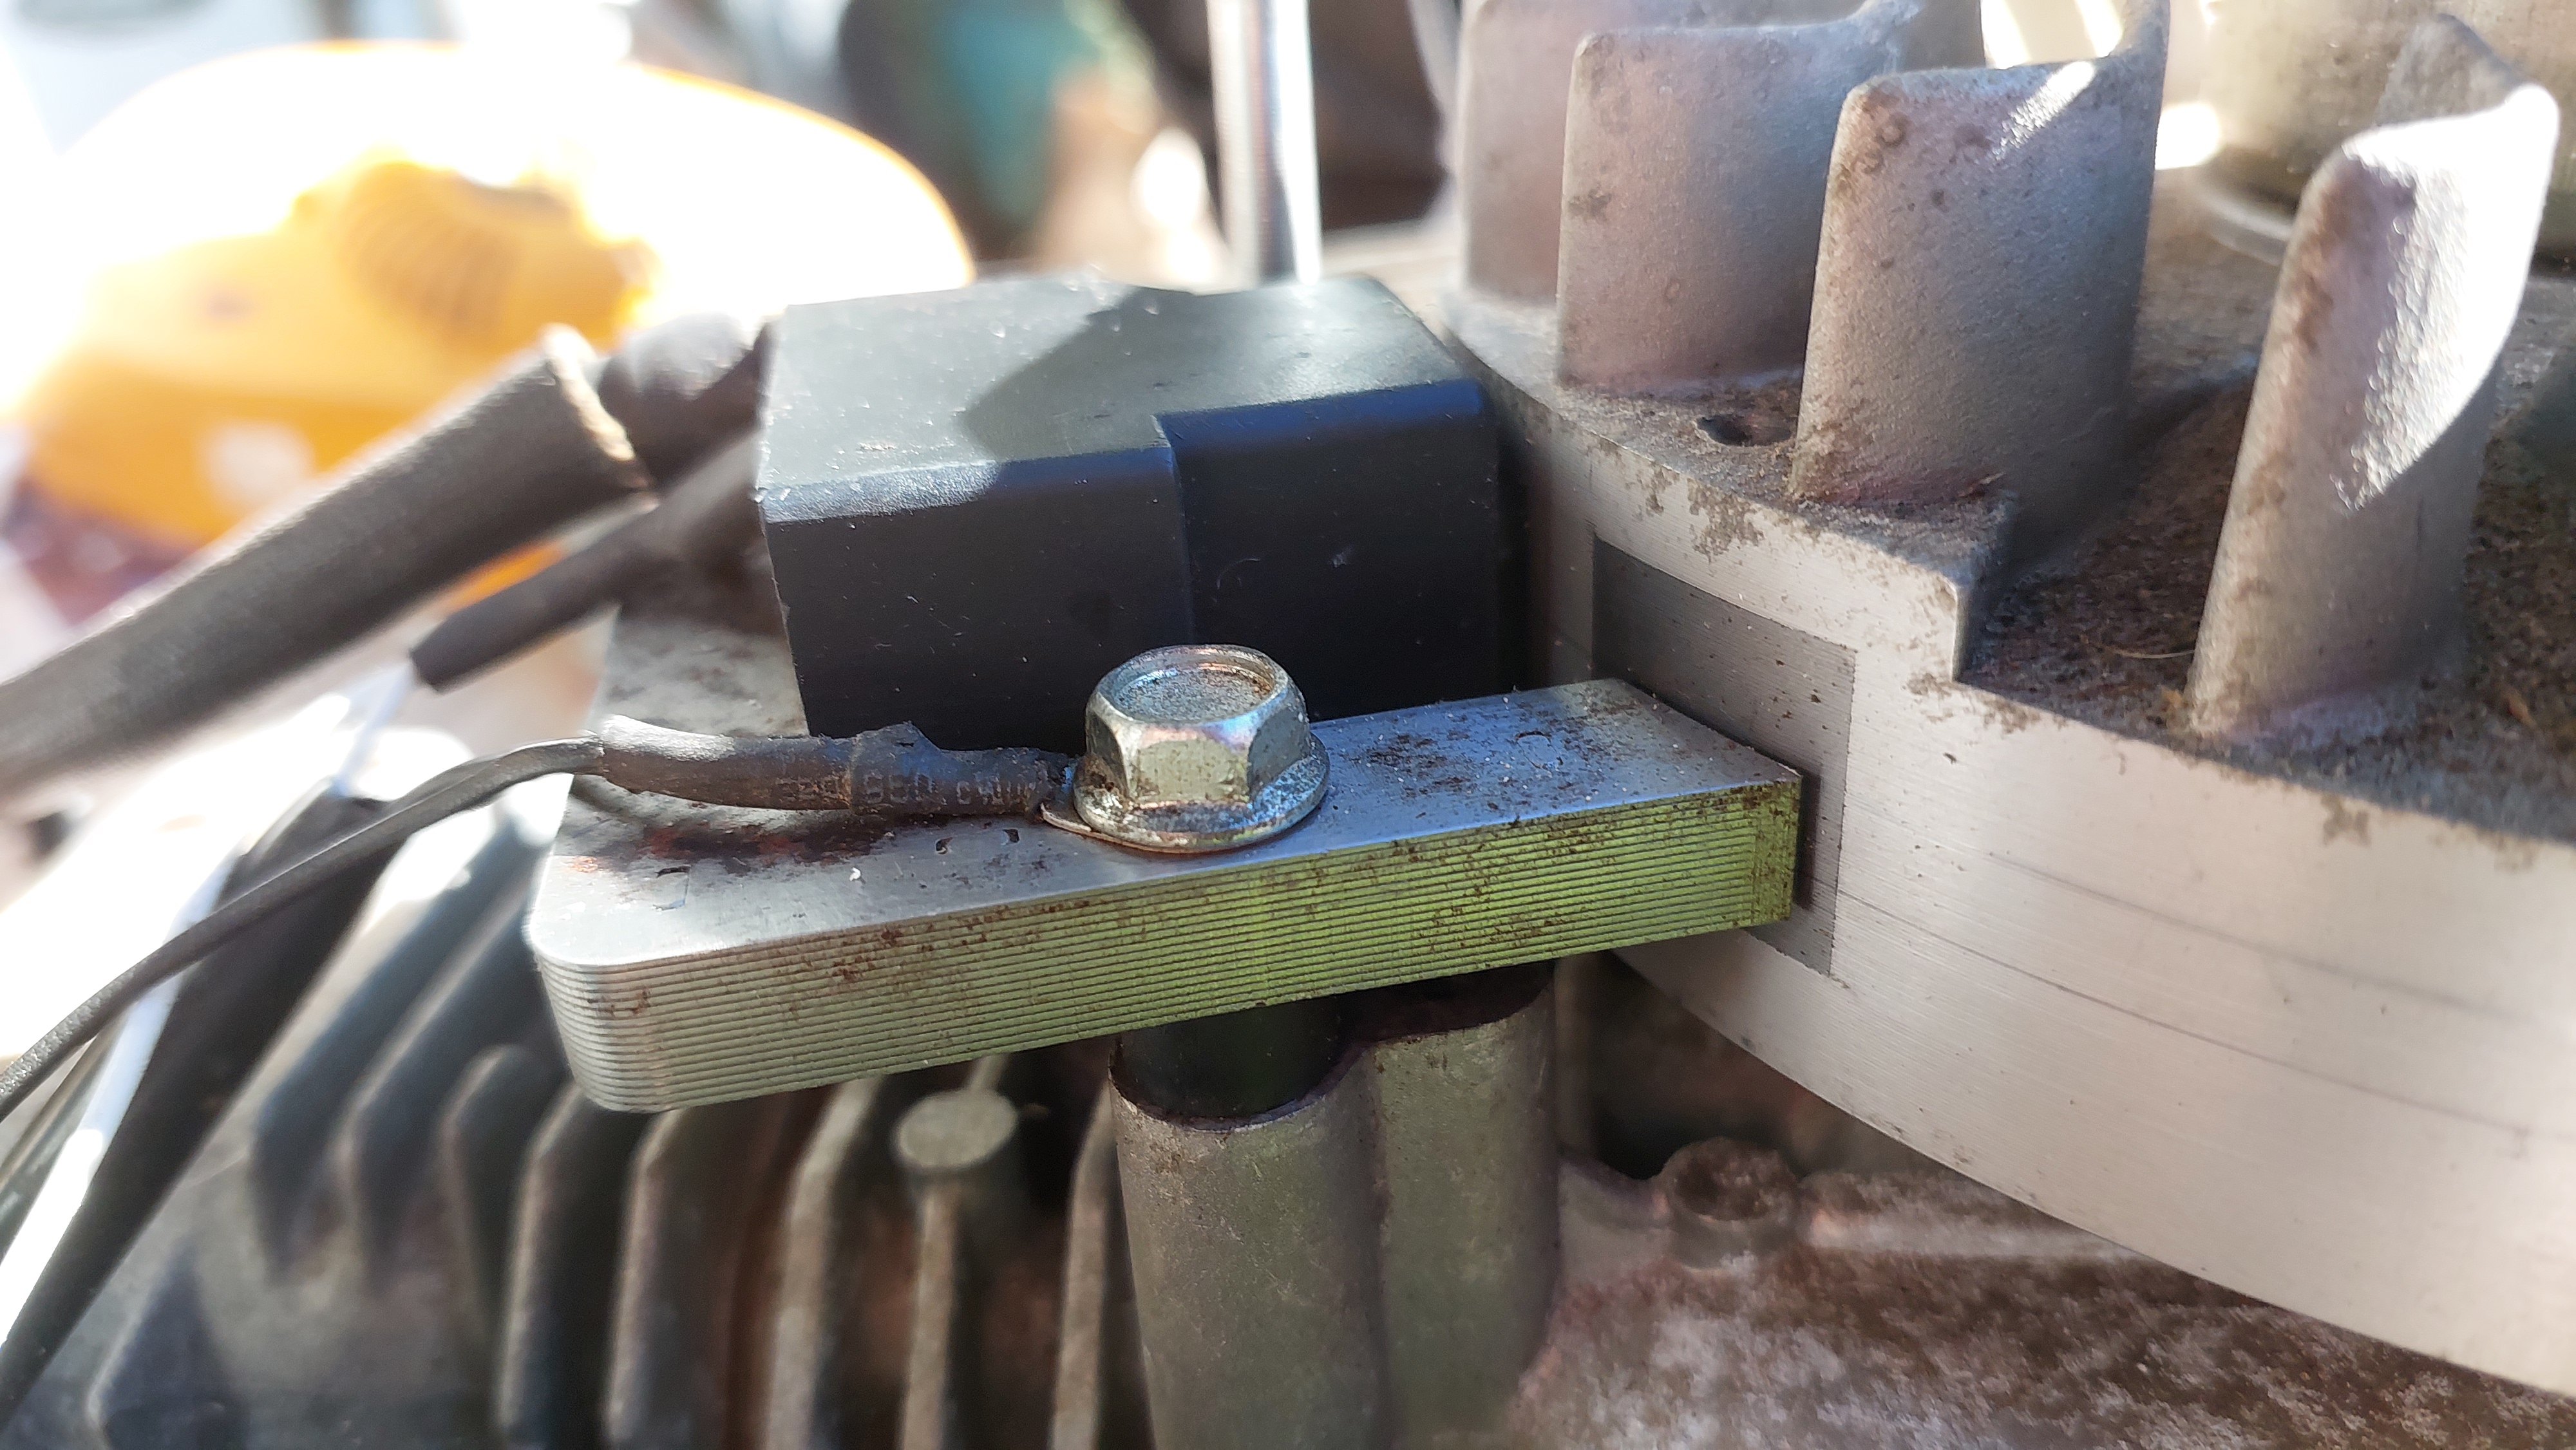
This engine used a flywheel coil ignition. It was discovered that some of the switches tested were faulty and the issues with the coil became apparent.
As the coil was very rusty, this was polished up to aid its performance. In the end a replacement coil was required.
Step 4: Fun with the Fuel

As the fuel in the tank had gone 'stale' this needed to be washed out thoroughly.
Unfortunately as the carburettor had not been drained this required significant elbow grease to remover the solidified fuel.
Cleaning the air filter is an essential part of the maintenance and is often overlooked.
Step 5: Springing to life.
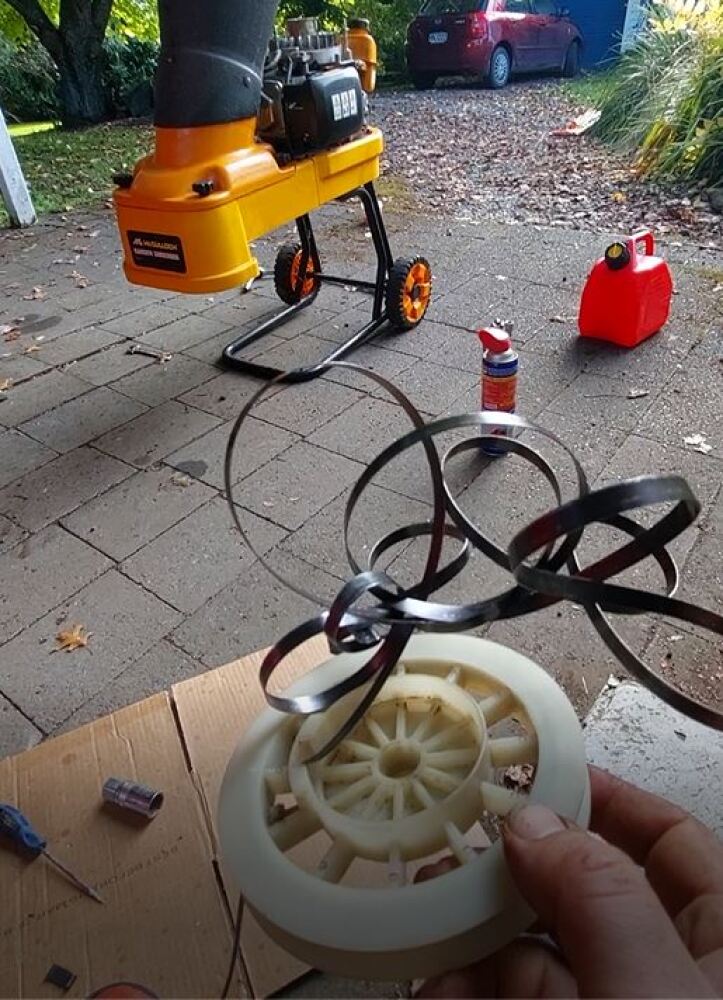

The most time consuming part of this project was the spring for the pull cord. There is definitely an art to putting these back in correctly.
When the spring is fully unwound it is a great opportunity to clean it with WD-40. Eye protection and gloves is advised when dealing with this.
Step 6: Reassembly

This is where everything comes together.
Great care is taken to ensure that bolts and done up securely and parts are attached correctly.