Custom WD40 Reel Mower Restoration
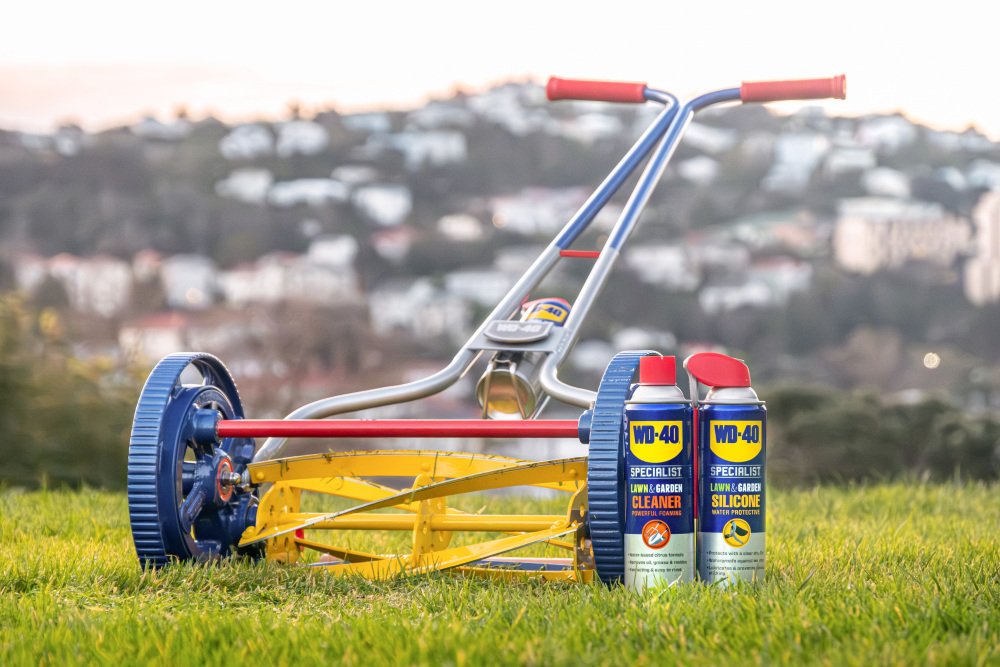
A reel blast from the past, with WD40 to make it last!
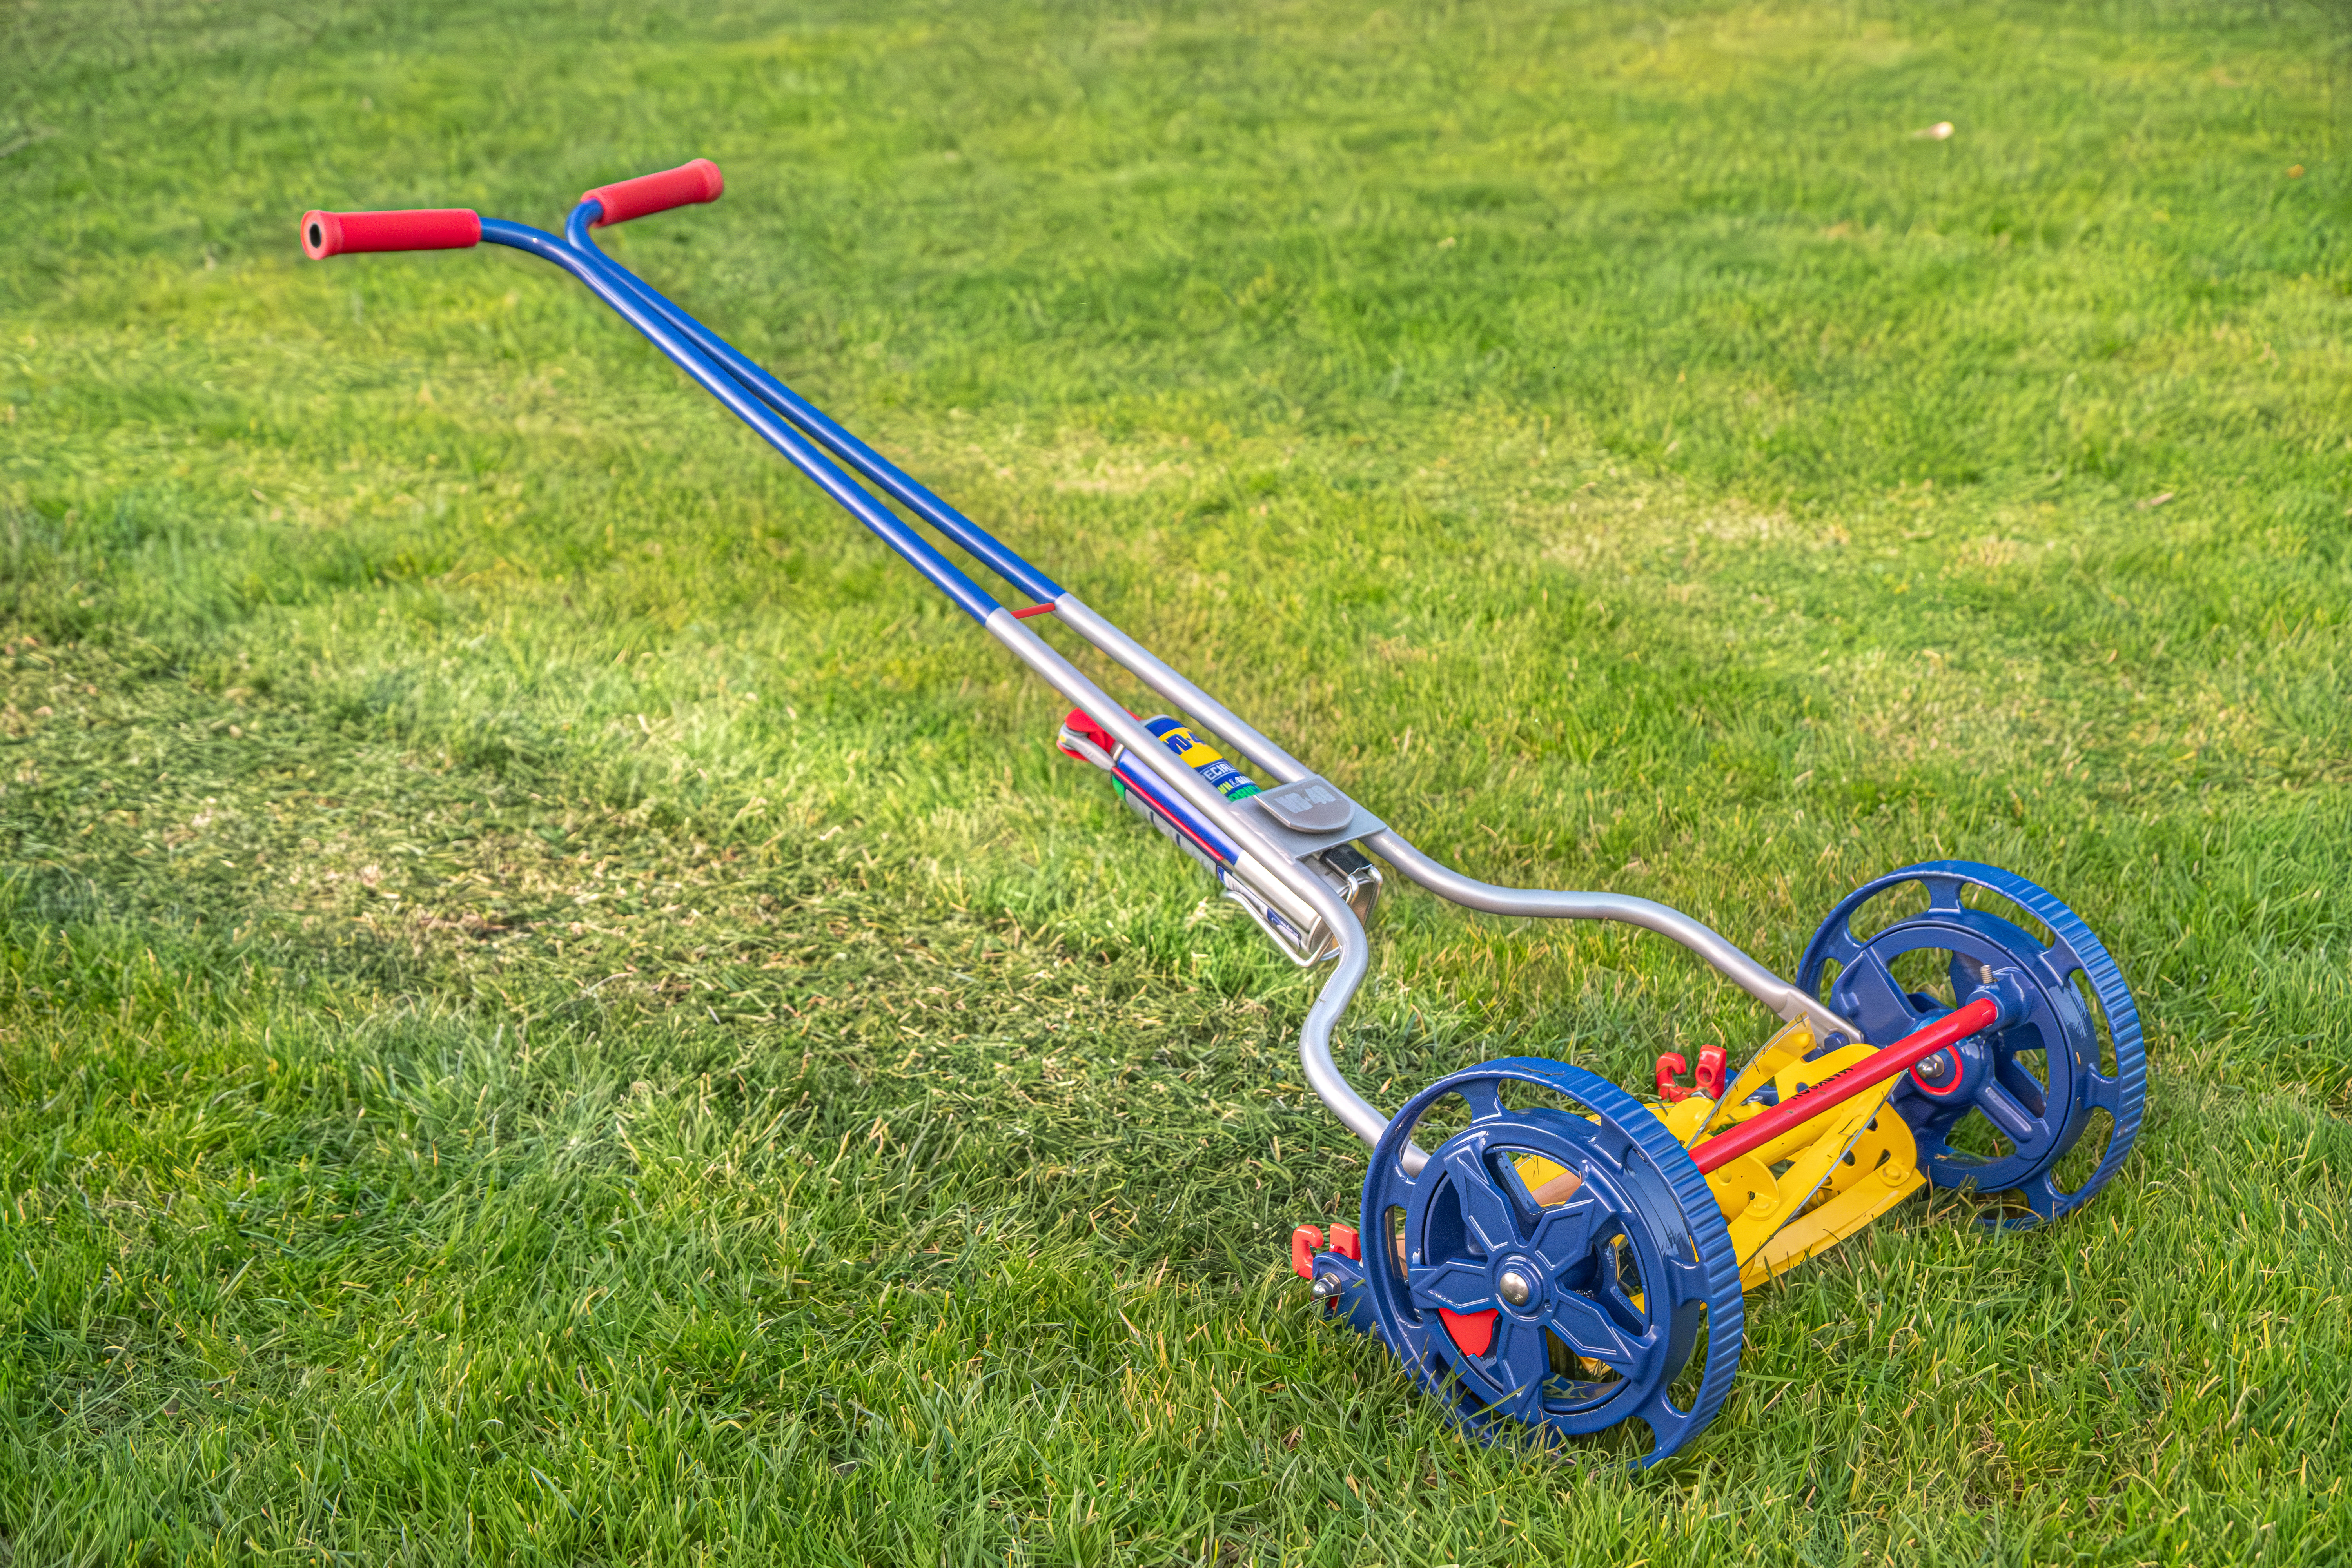
My project of choice for this year's WD-40 Repair Challenge has been not only to repair and restore, but to fully customise a vintage cast-iron reel mower in the spirit of WD-40, using WD-40!
I have poured my heart and soul into this project, and after overflowing with inspiration, I decided to tackle a reel mower. The hardest part was picking just one idea though, as I have enough for a whole fleet!
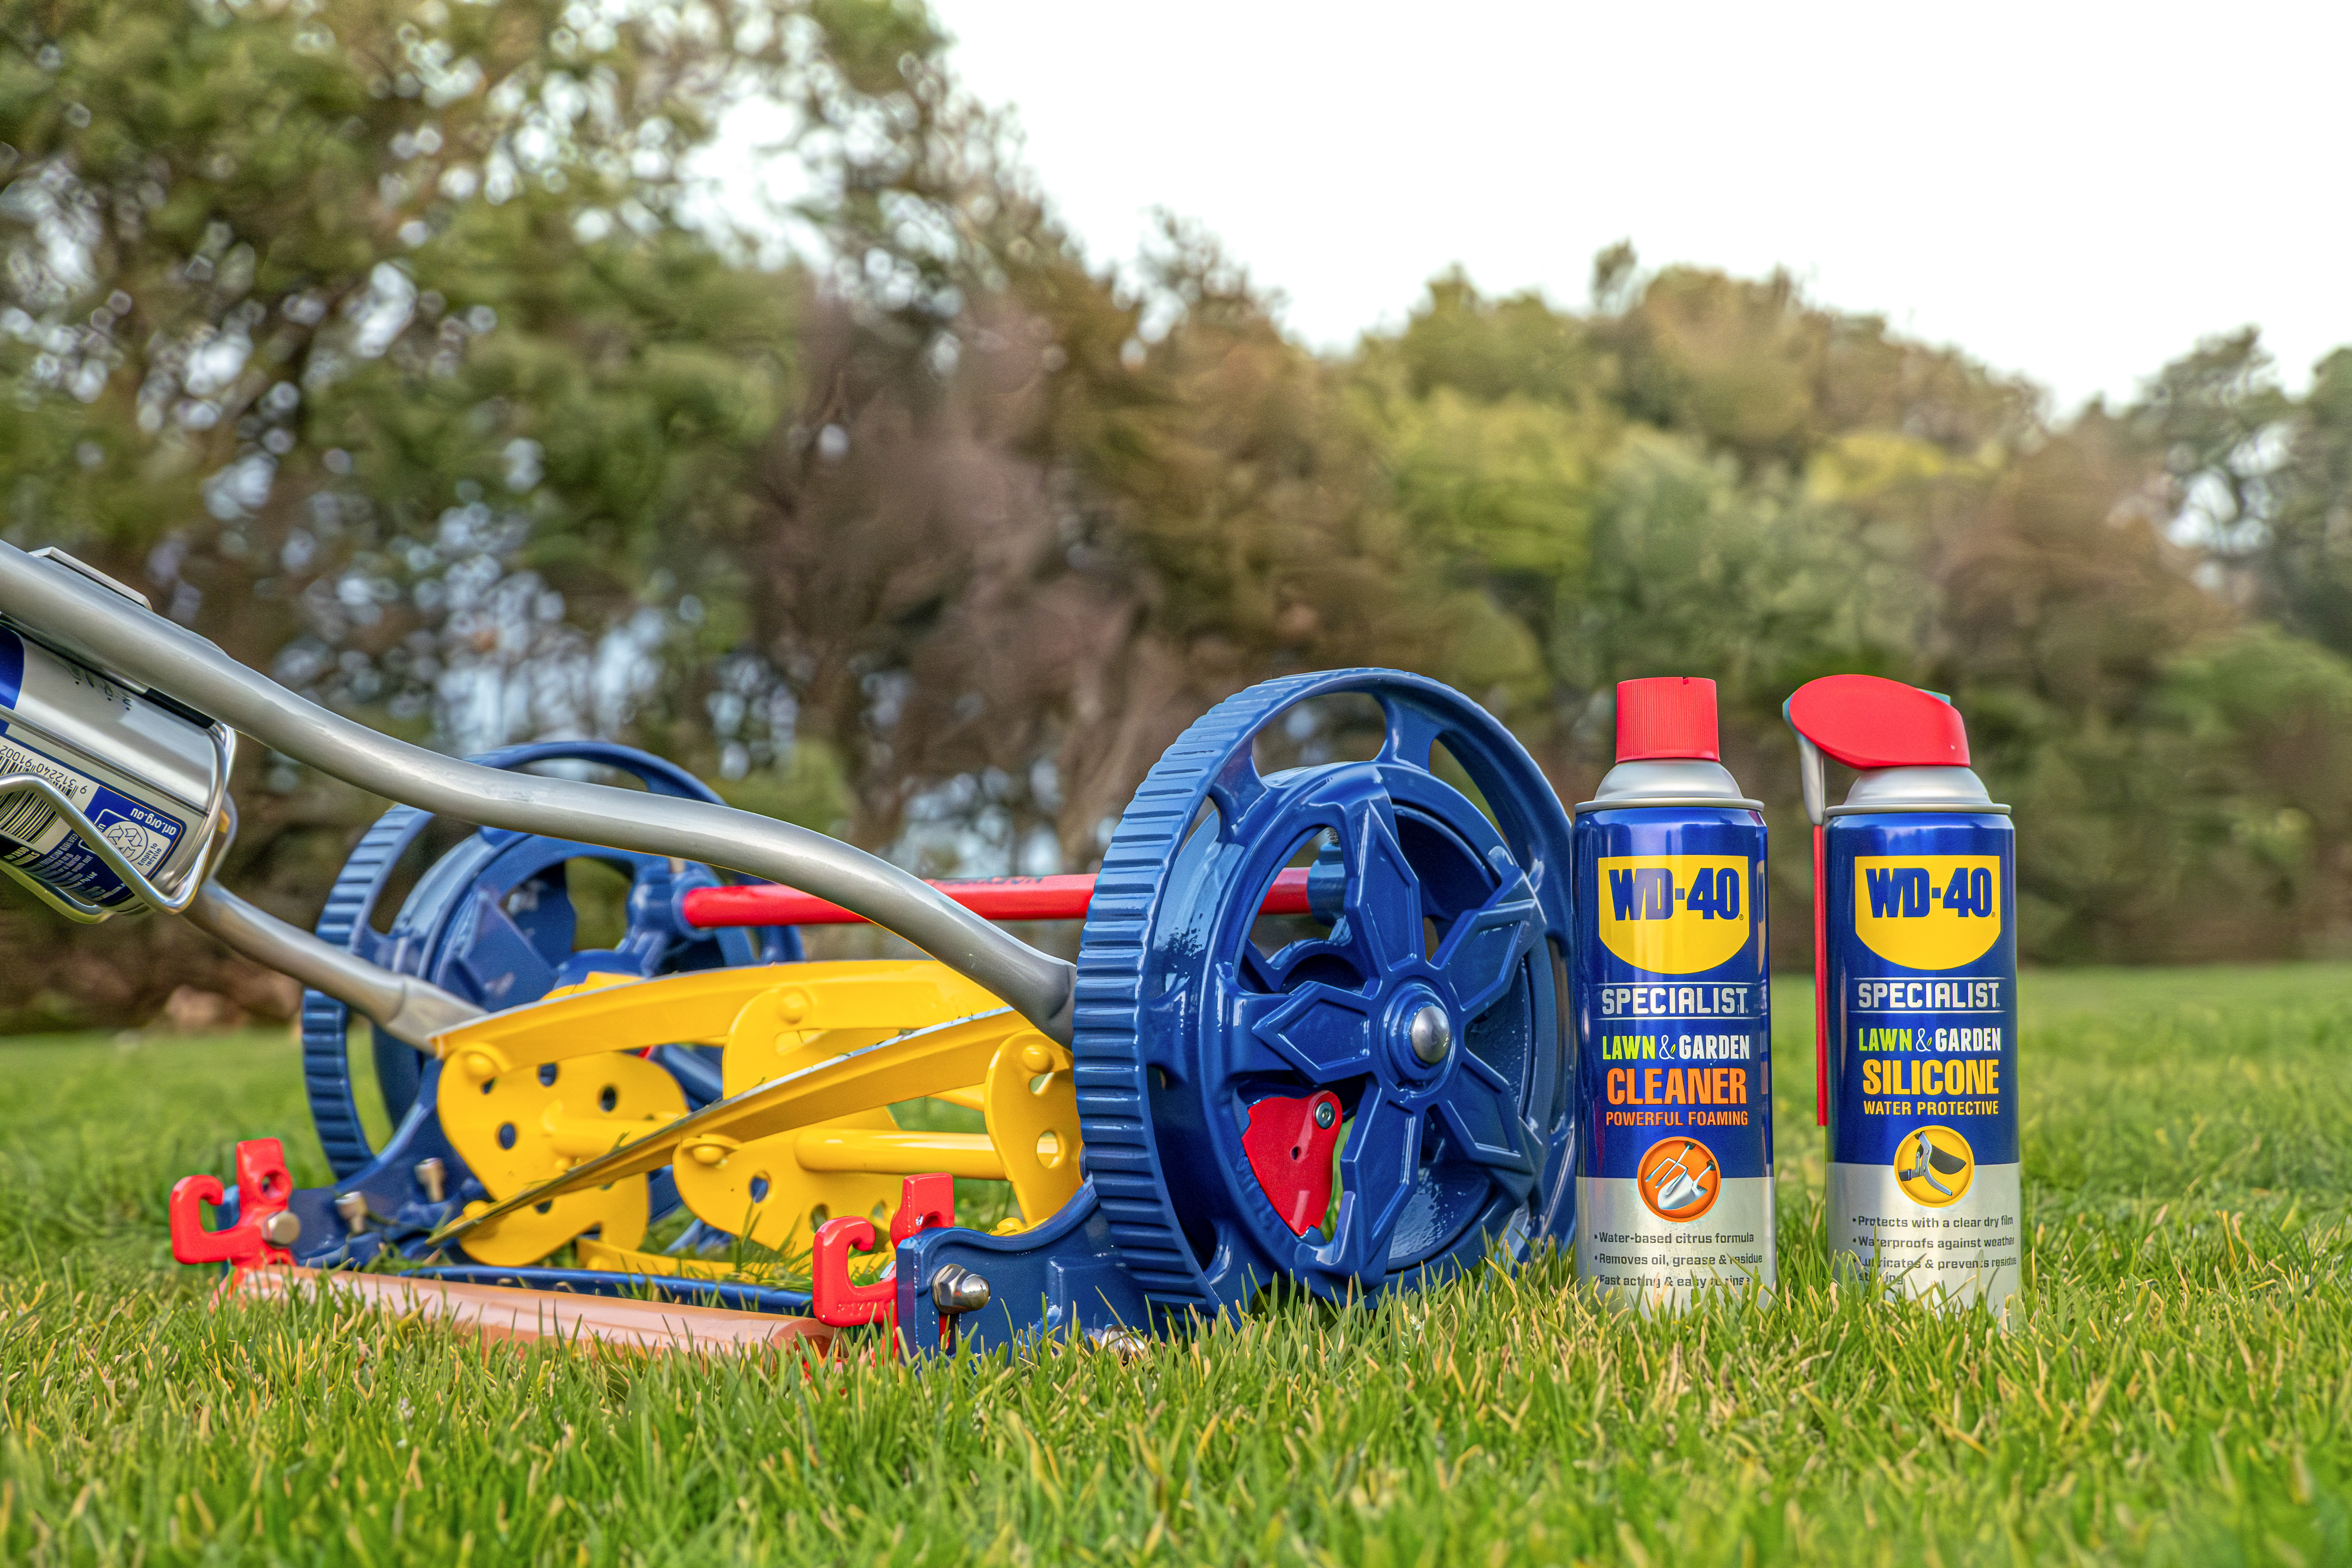
I decided to draw my main inspiration from WD40’s Specialist product range as, for a home workshop warrior such as myself, having these products in my toolkit can be just as valuable as the tools themself. So, I wanted to give them the credit that they deserve, and show how they can preserve.
Overview:
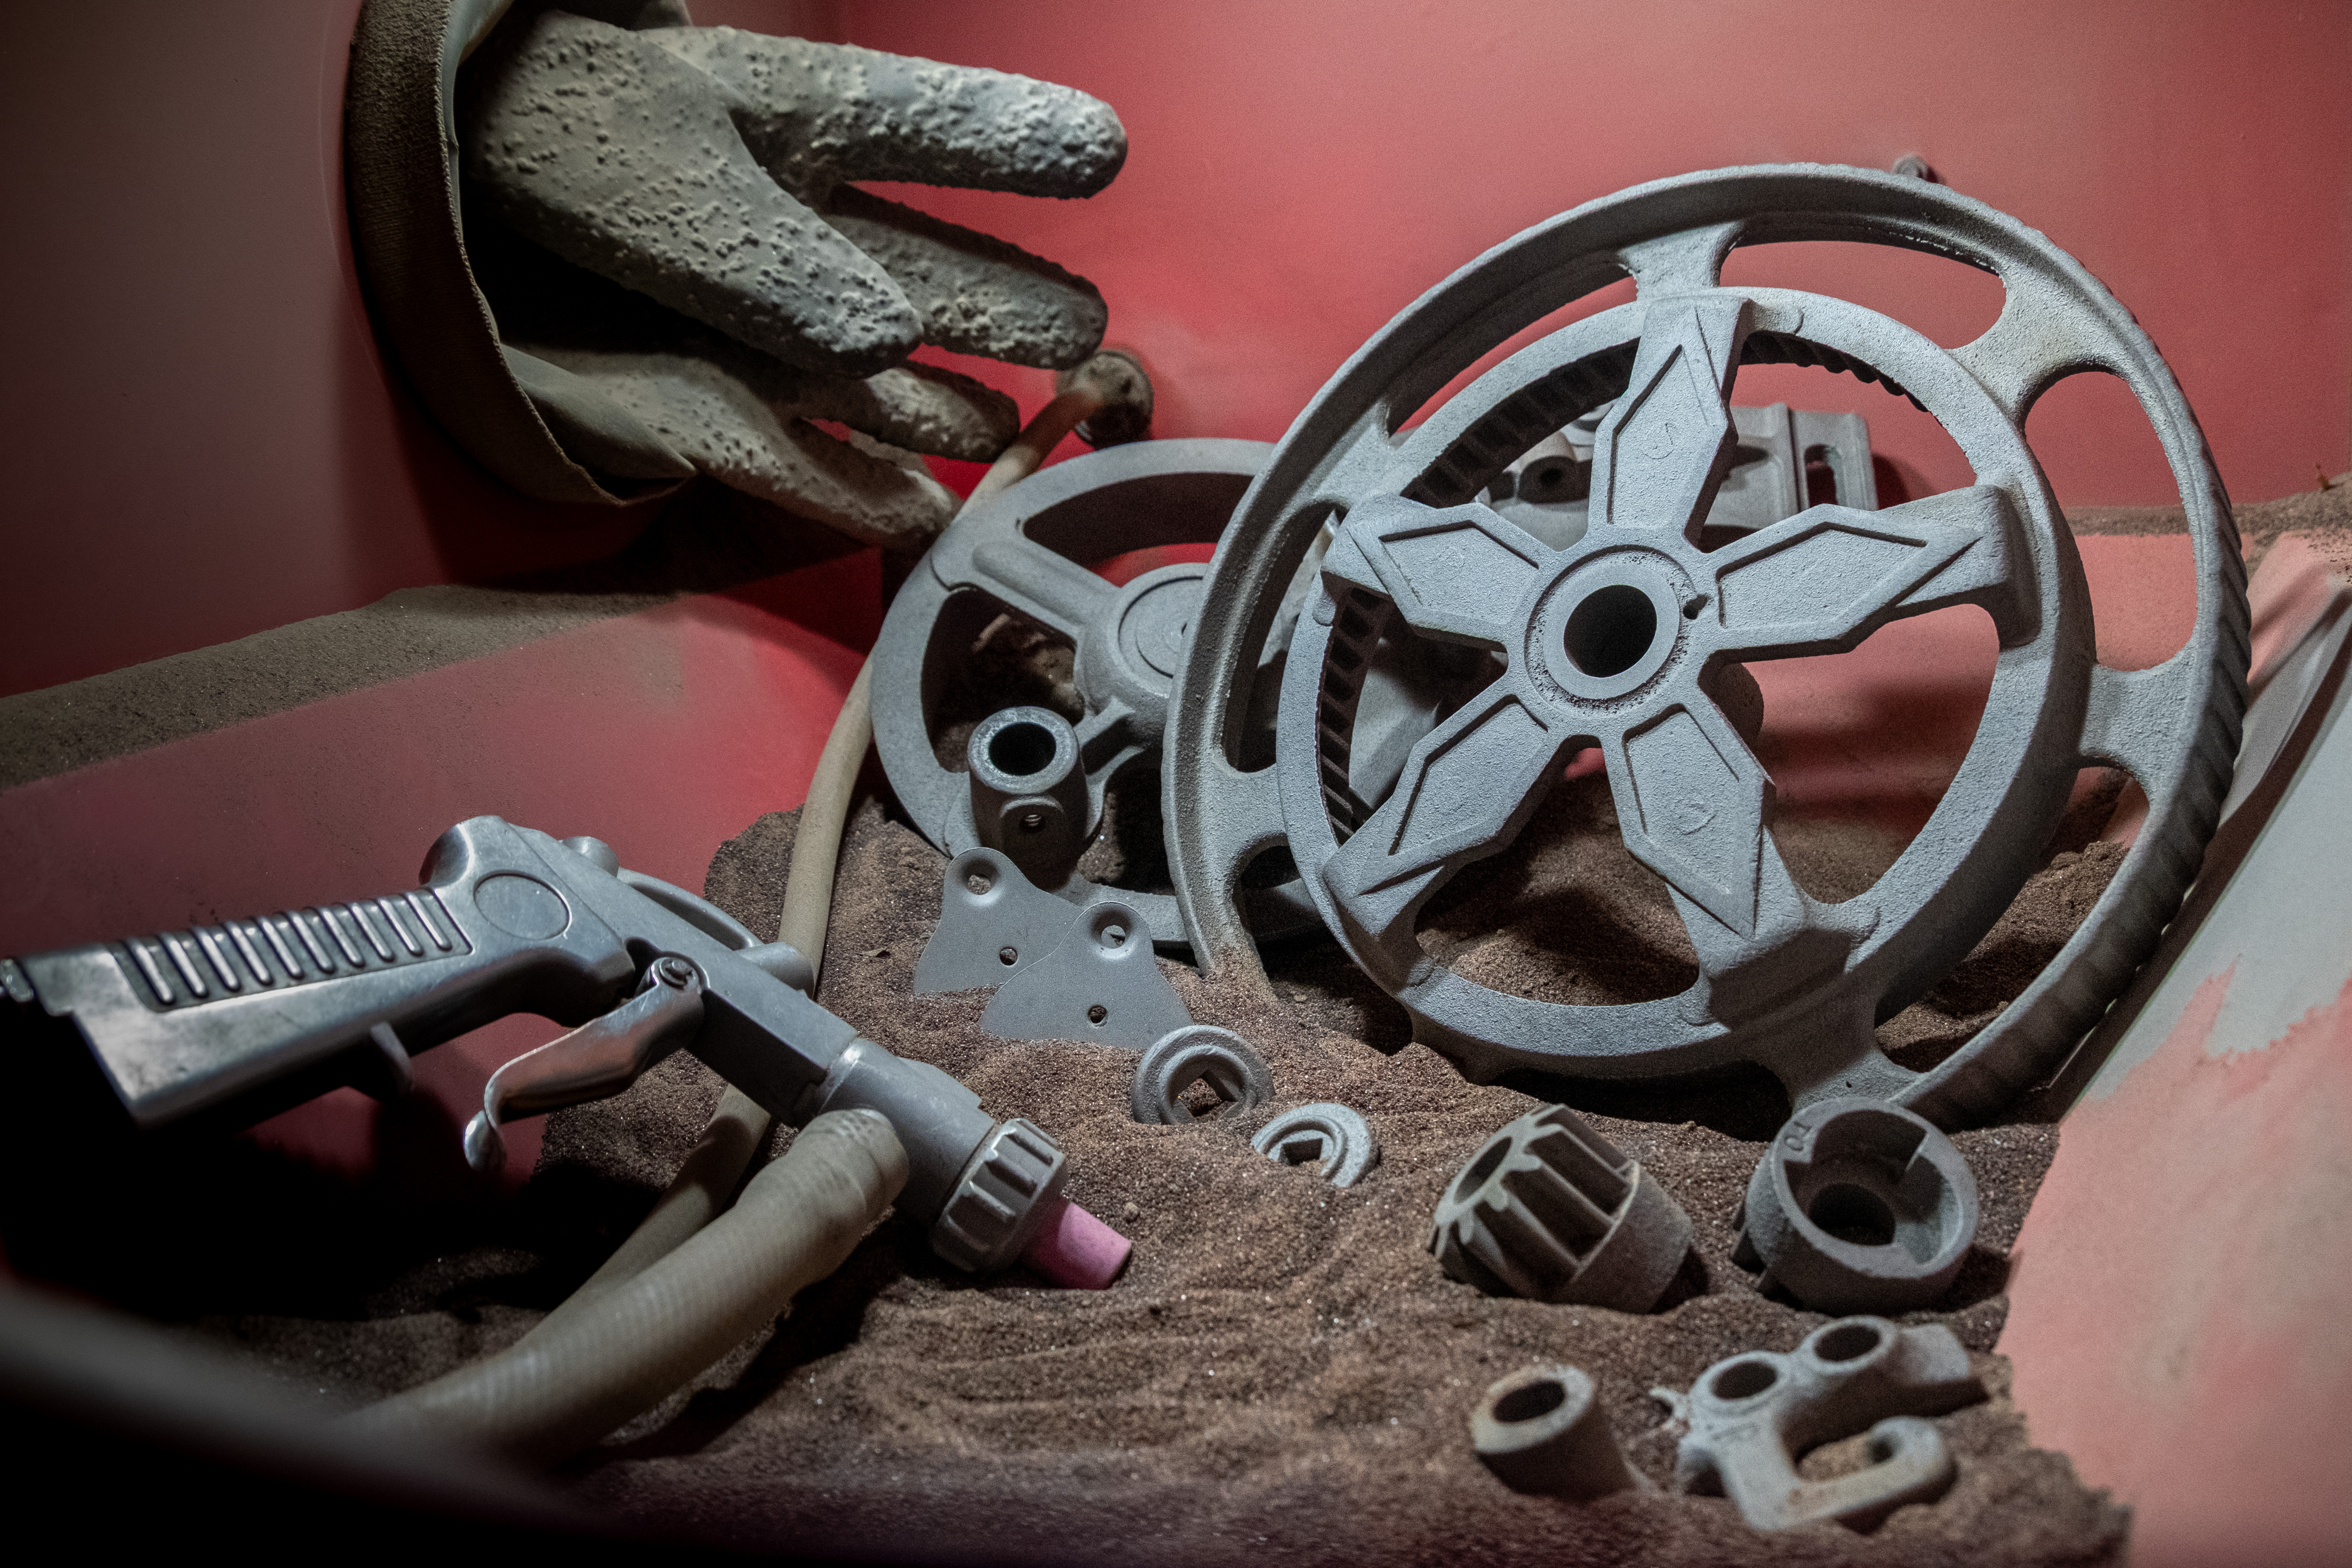
- Sandblasted down to bare cast-iron.
- Custom paint, colour-matched to the WD-40 Specialist can.
- All new stainless steel hardware and bearings.
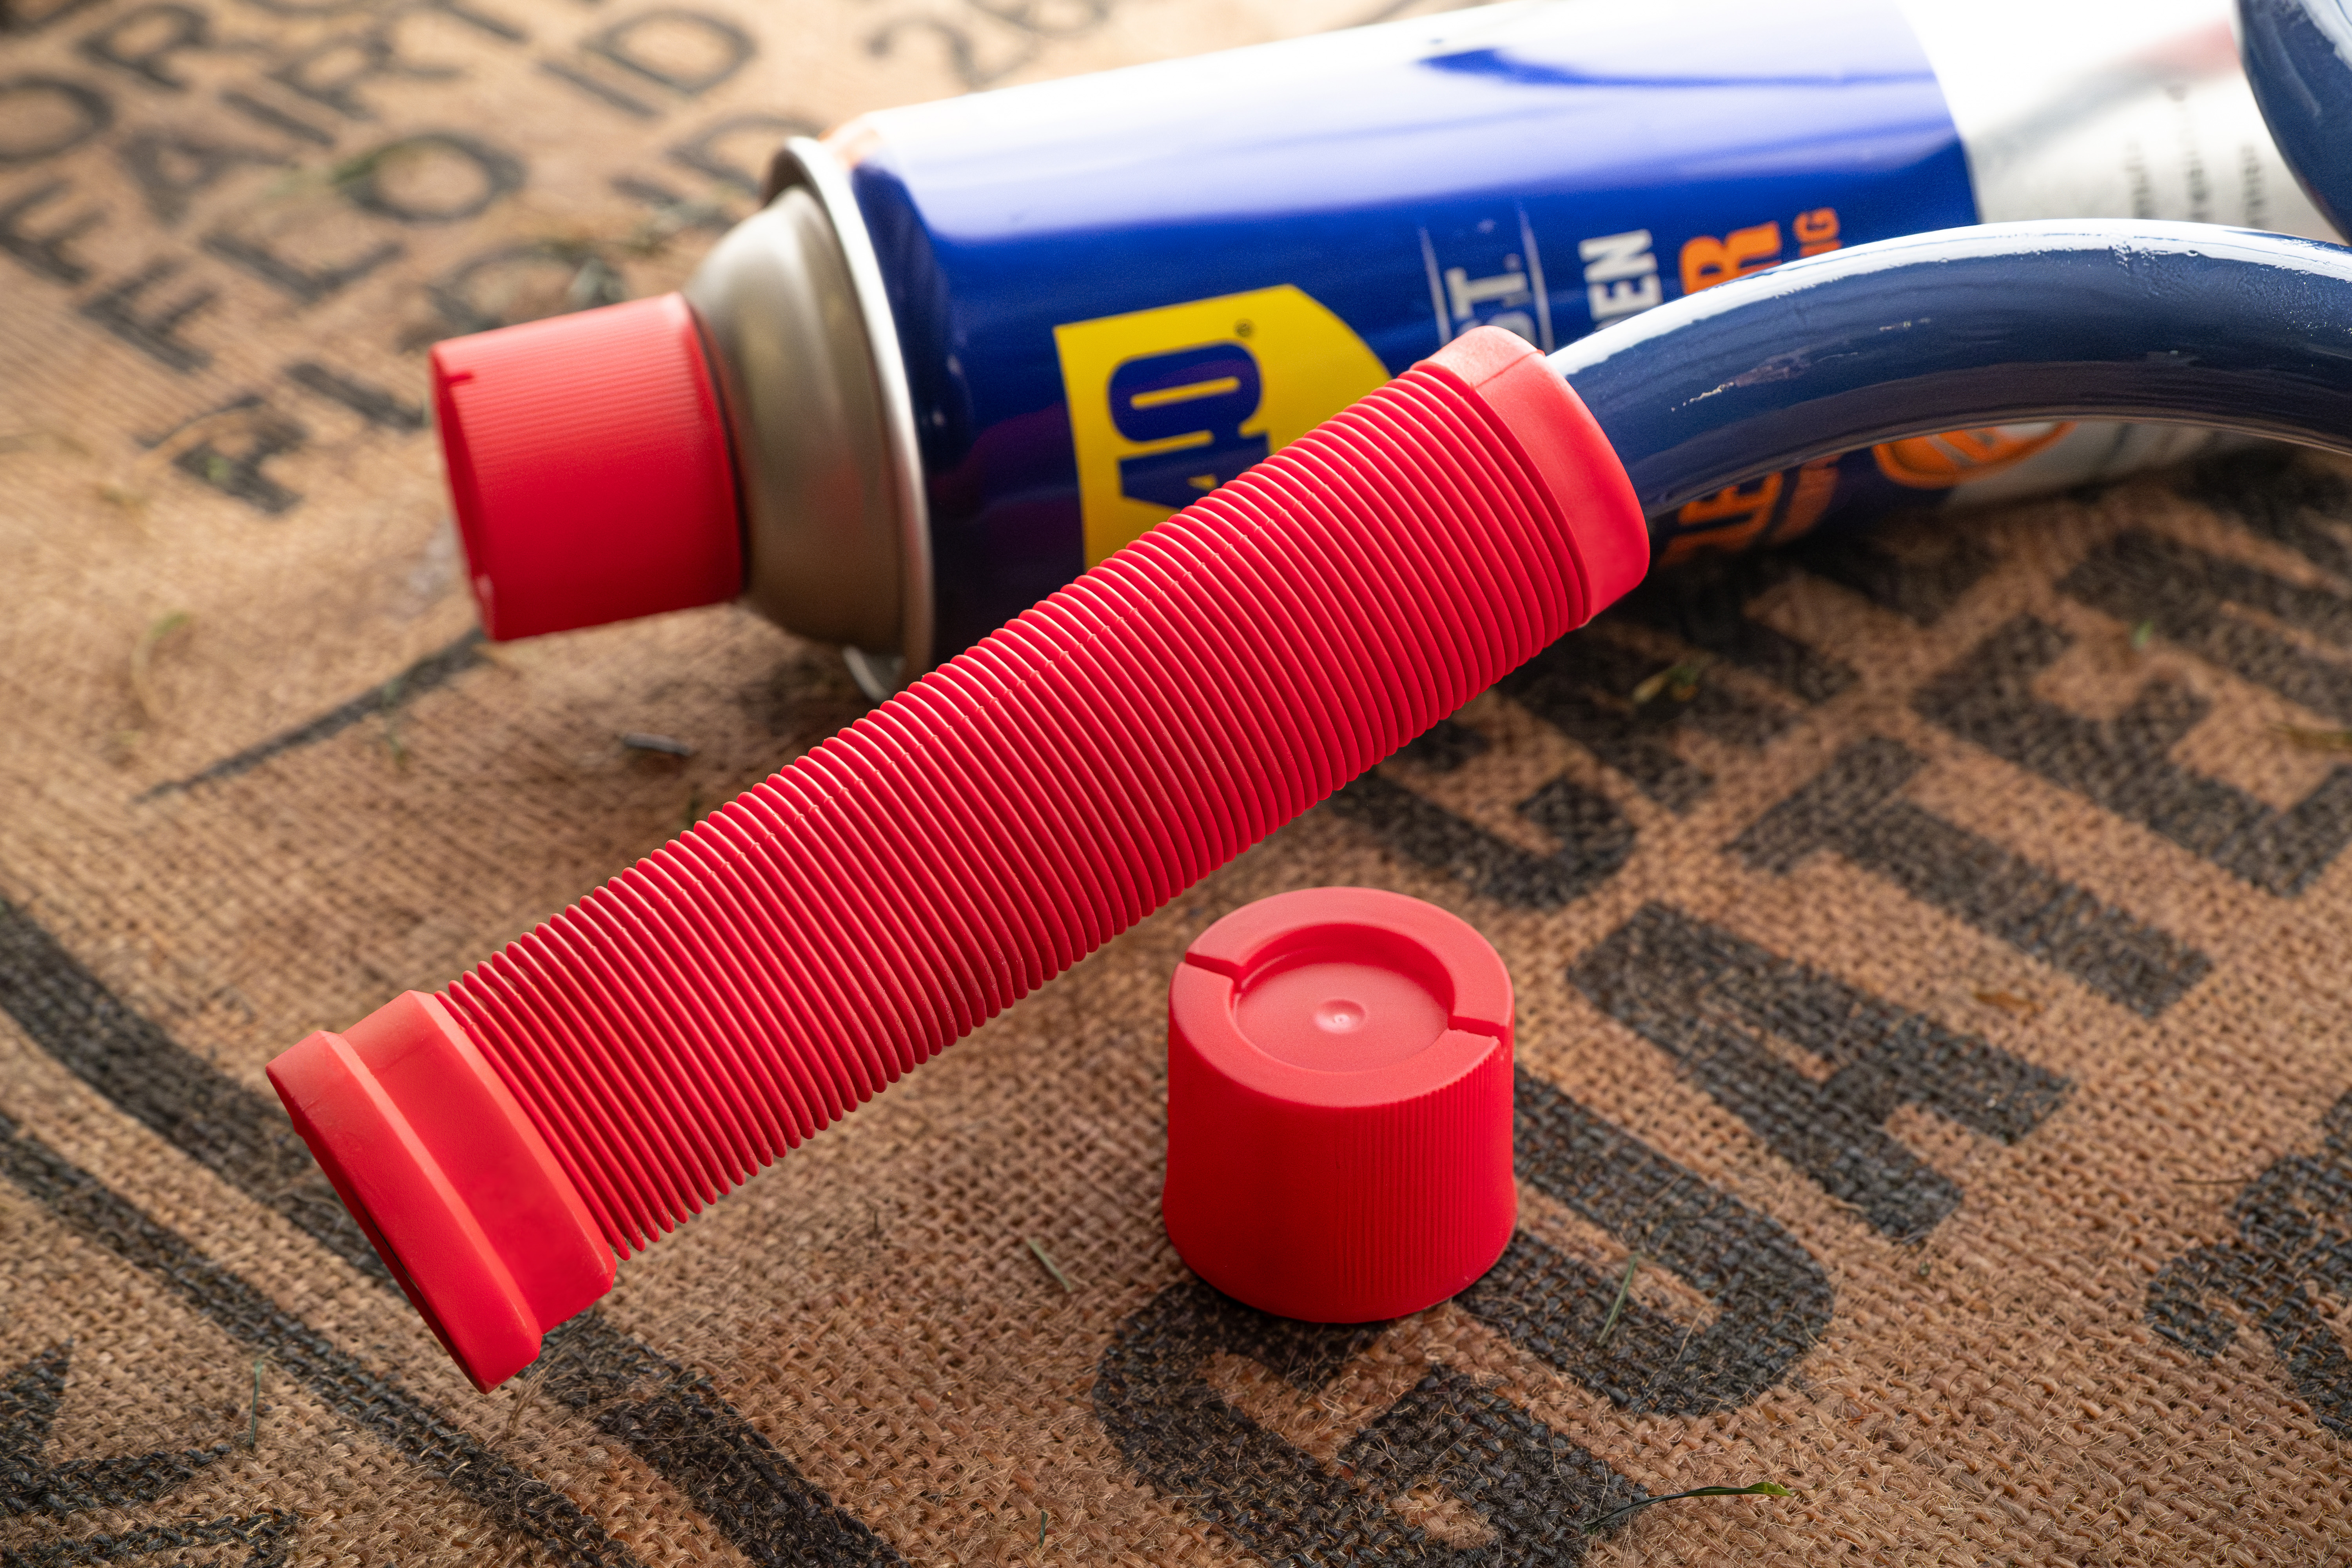
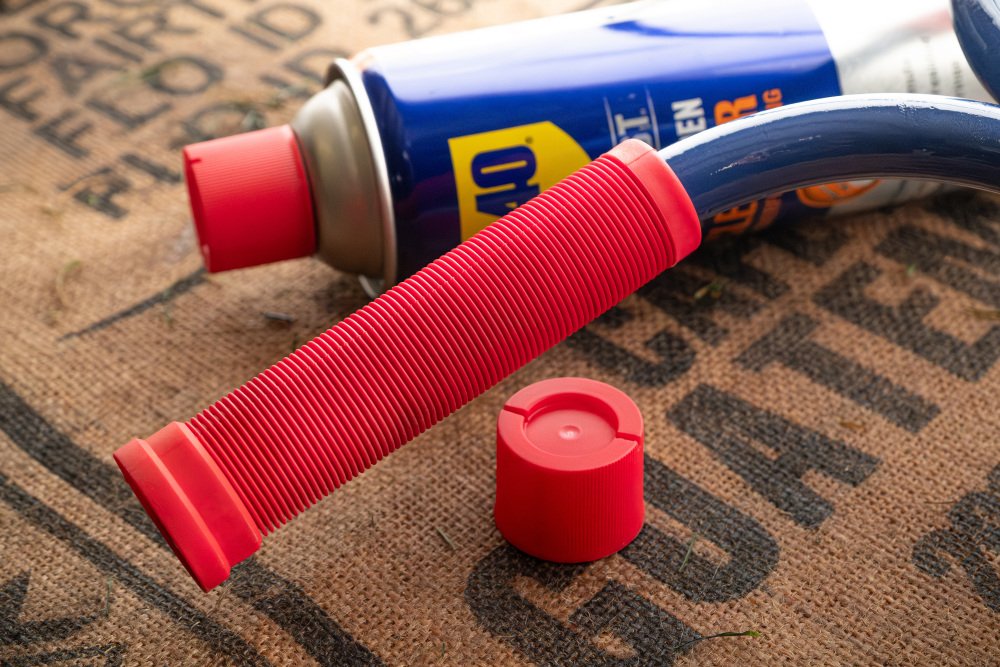
- Grips chosen to match the ribbed WD-40 cap.
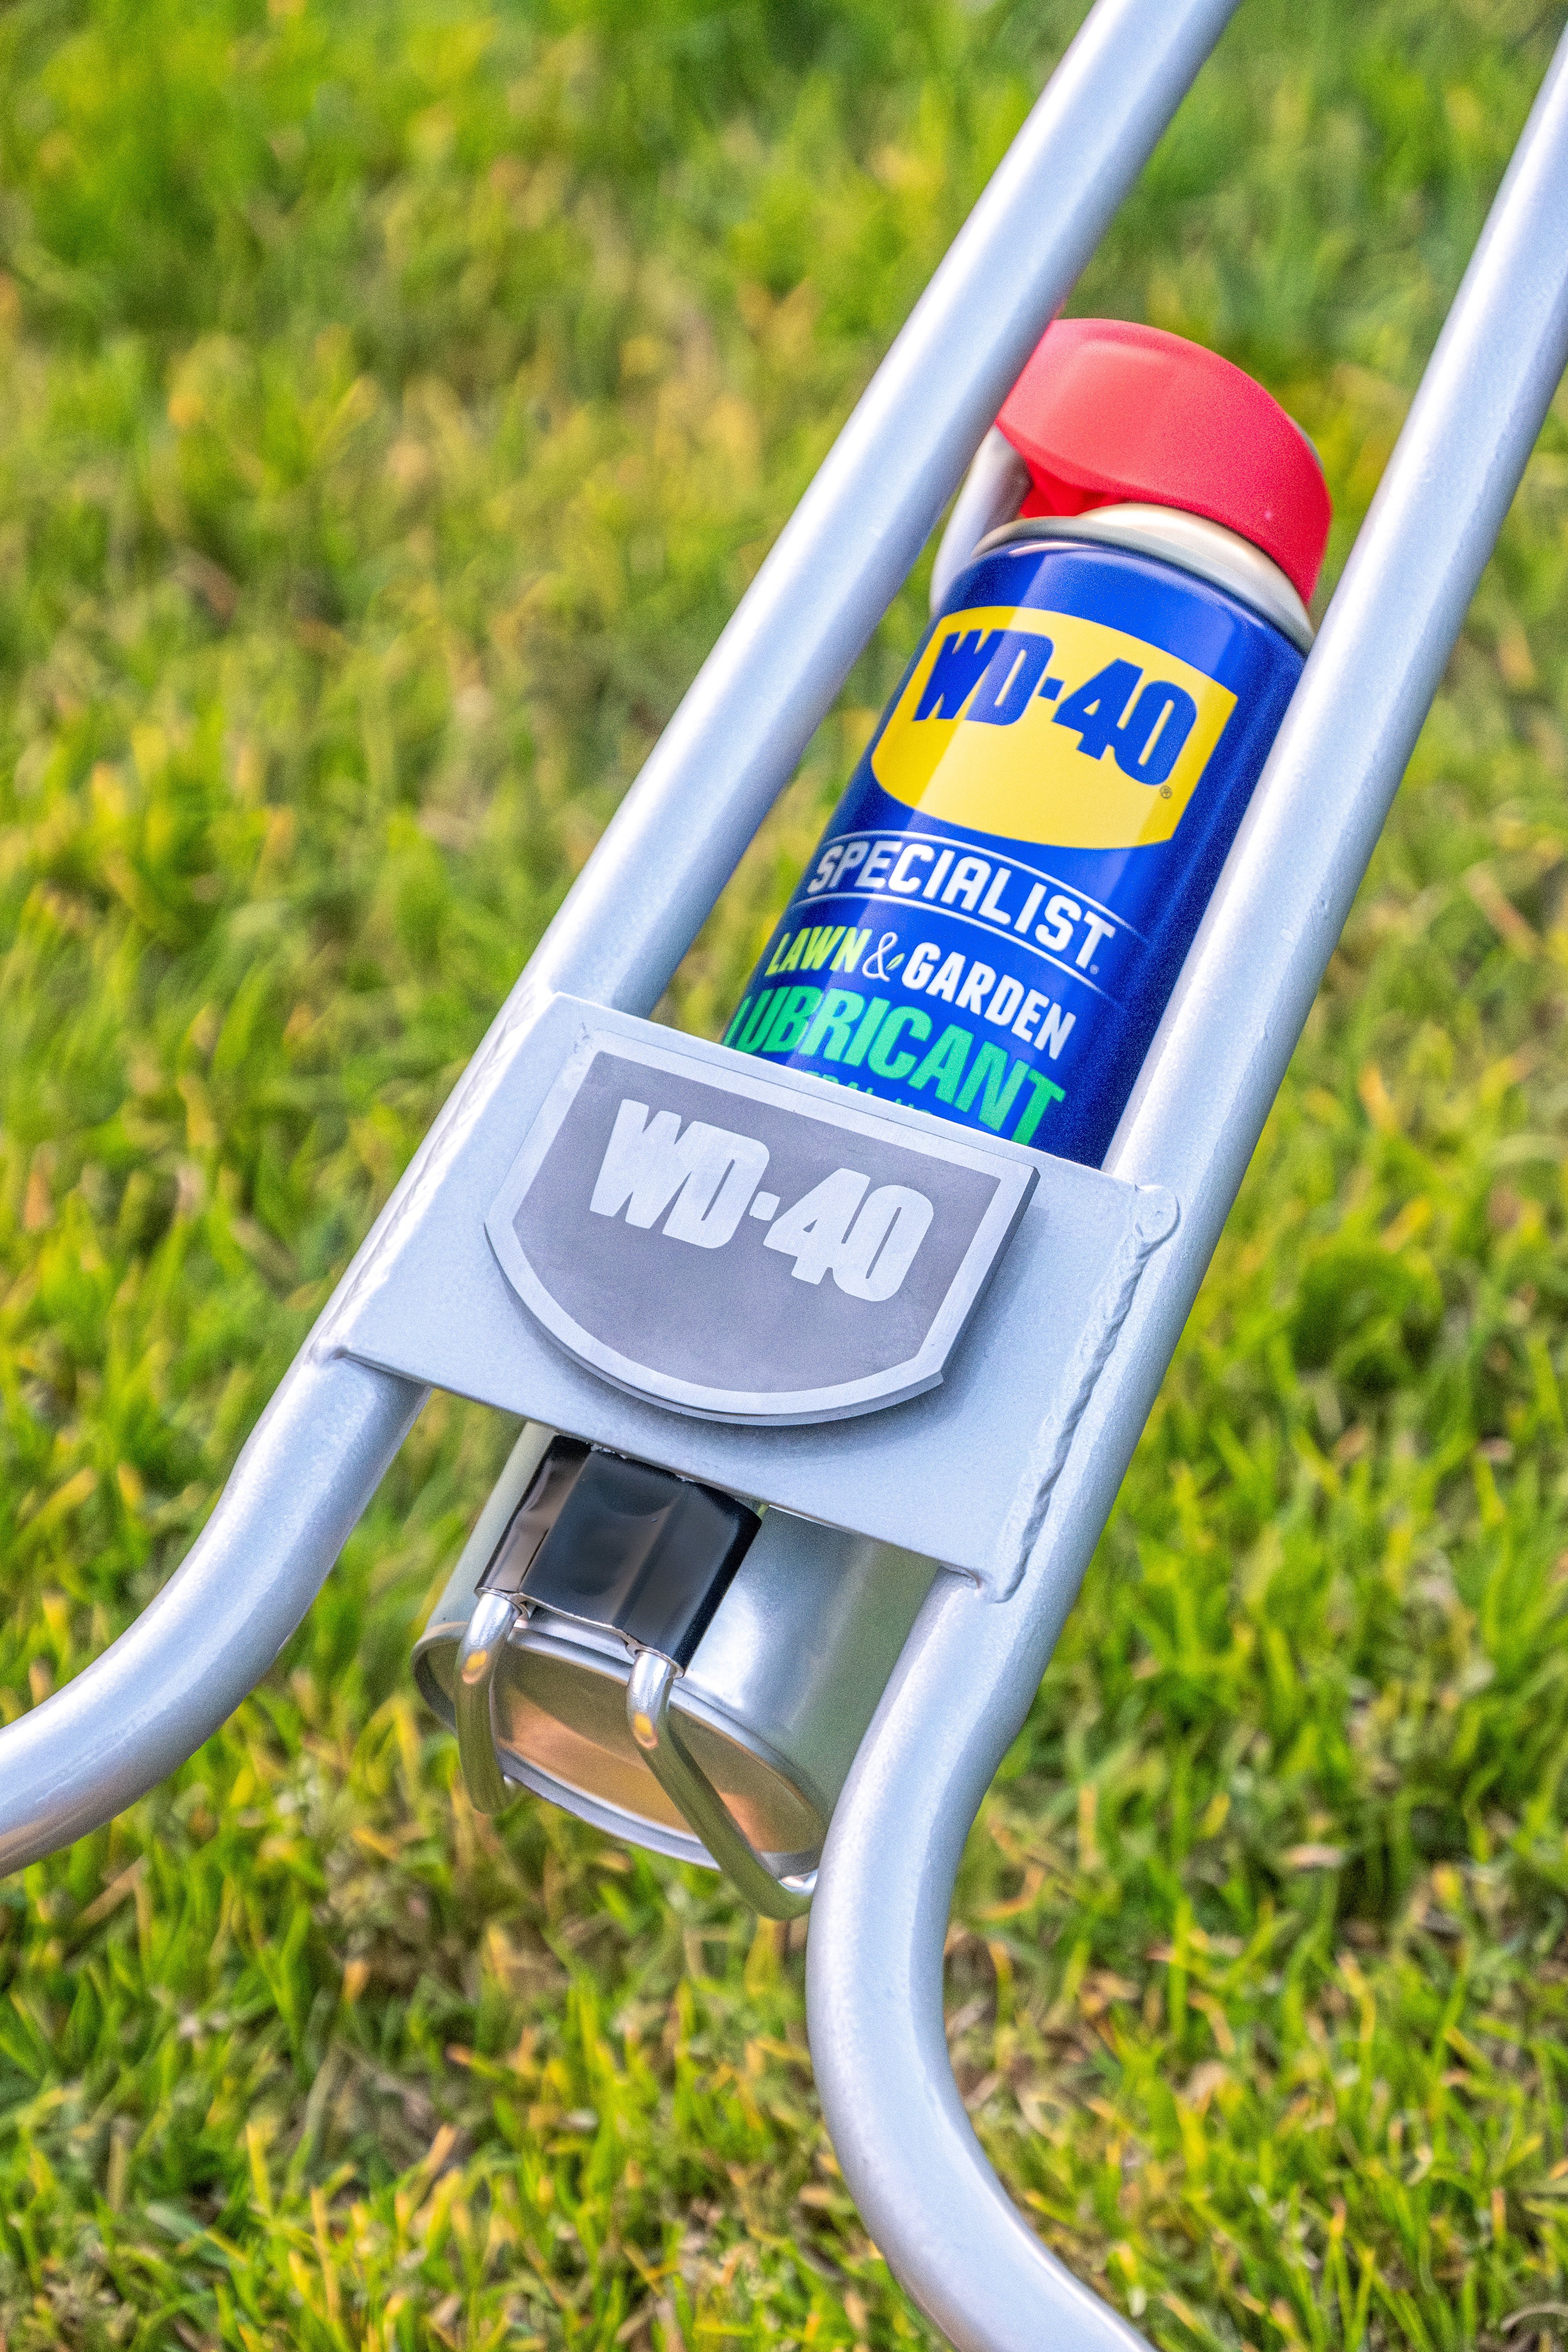
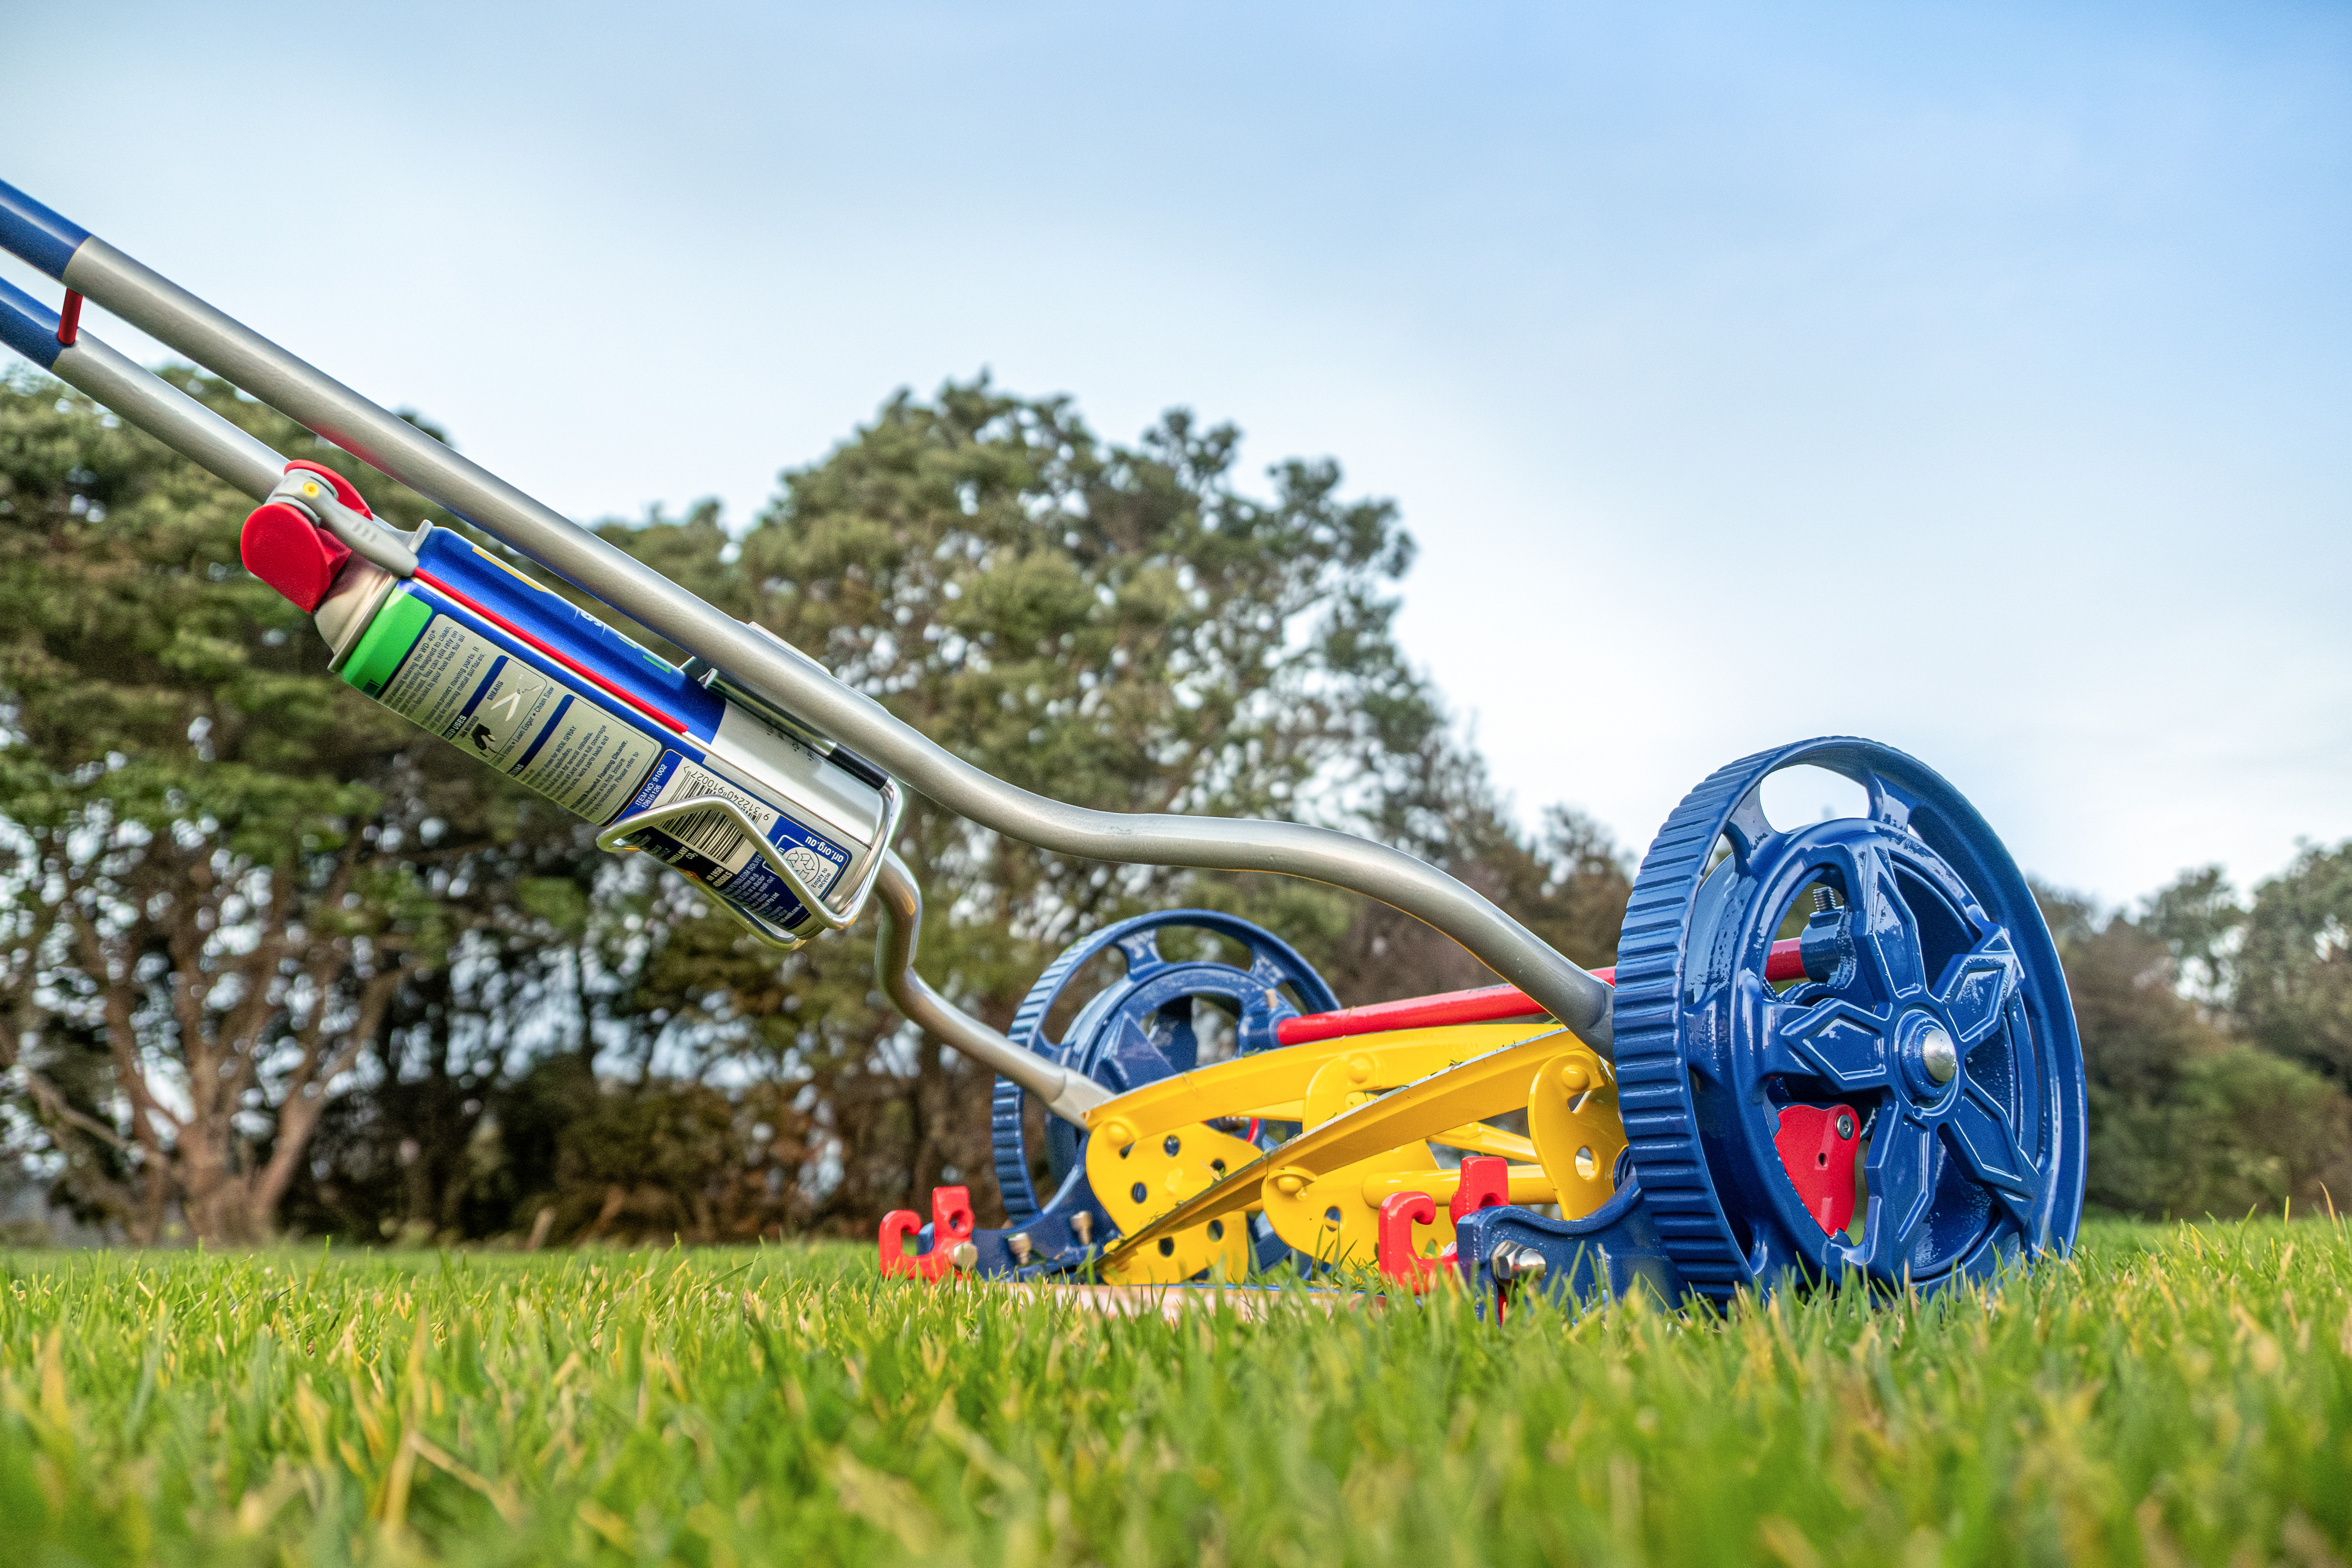
- Custom WD-40 can holder.
- Iconic WD-40 badge.
- Freshly sharpened.
Best of all, for sale!
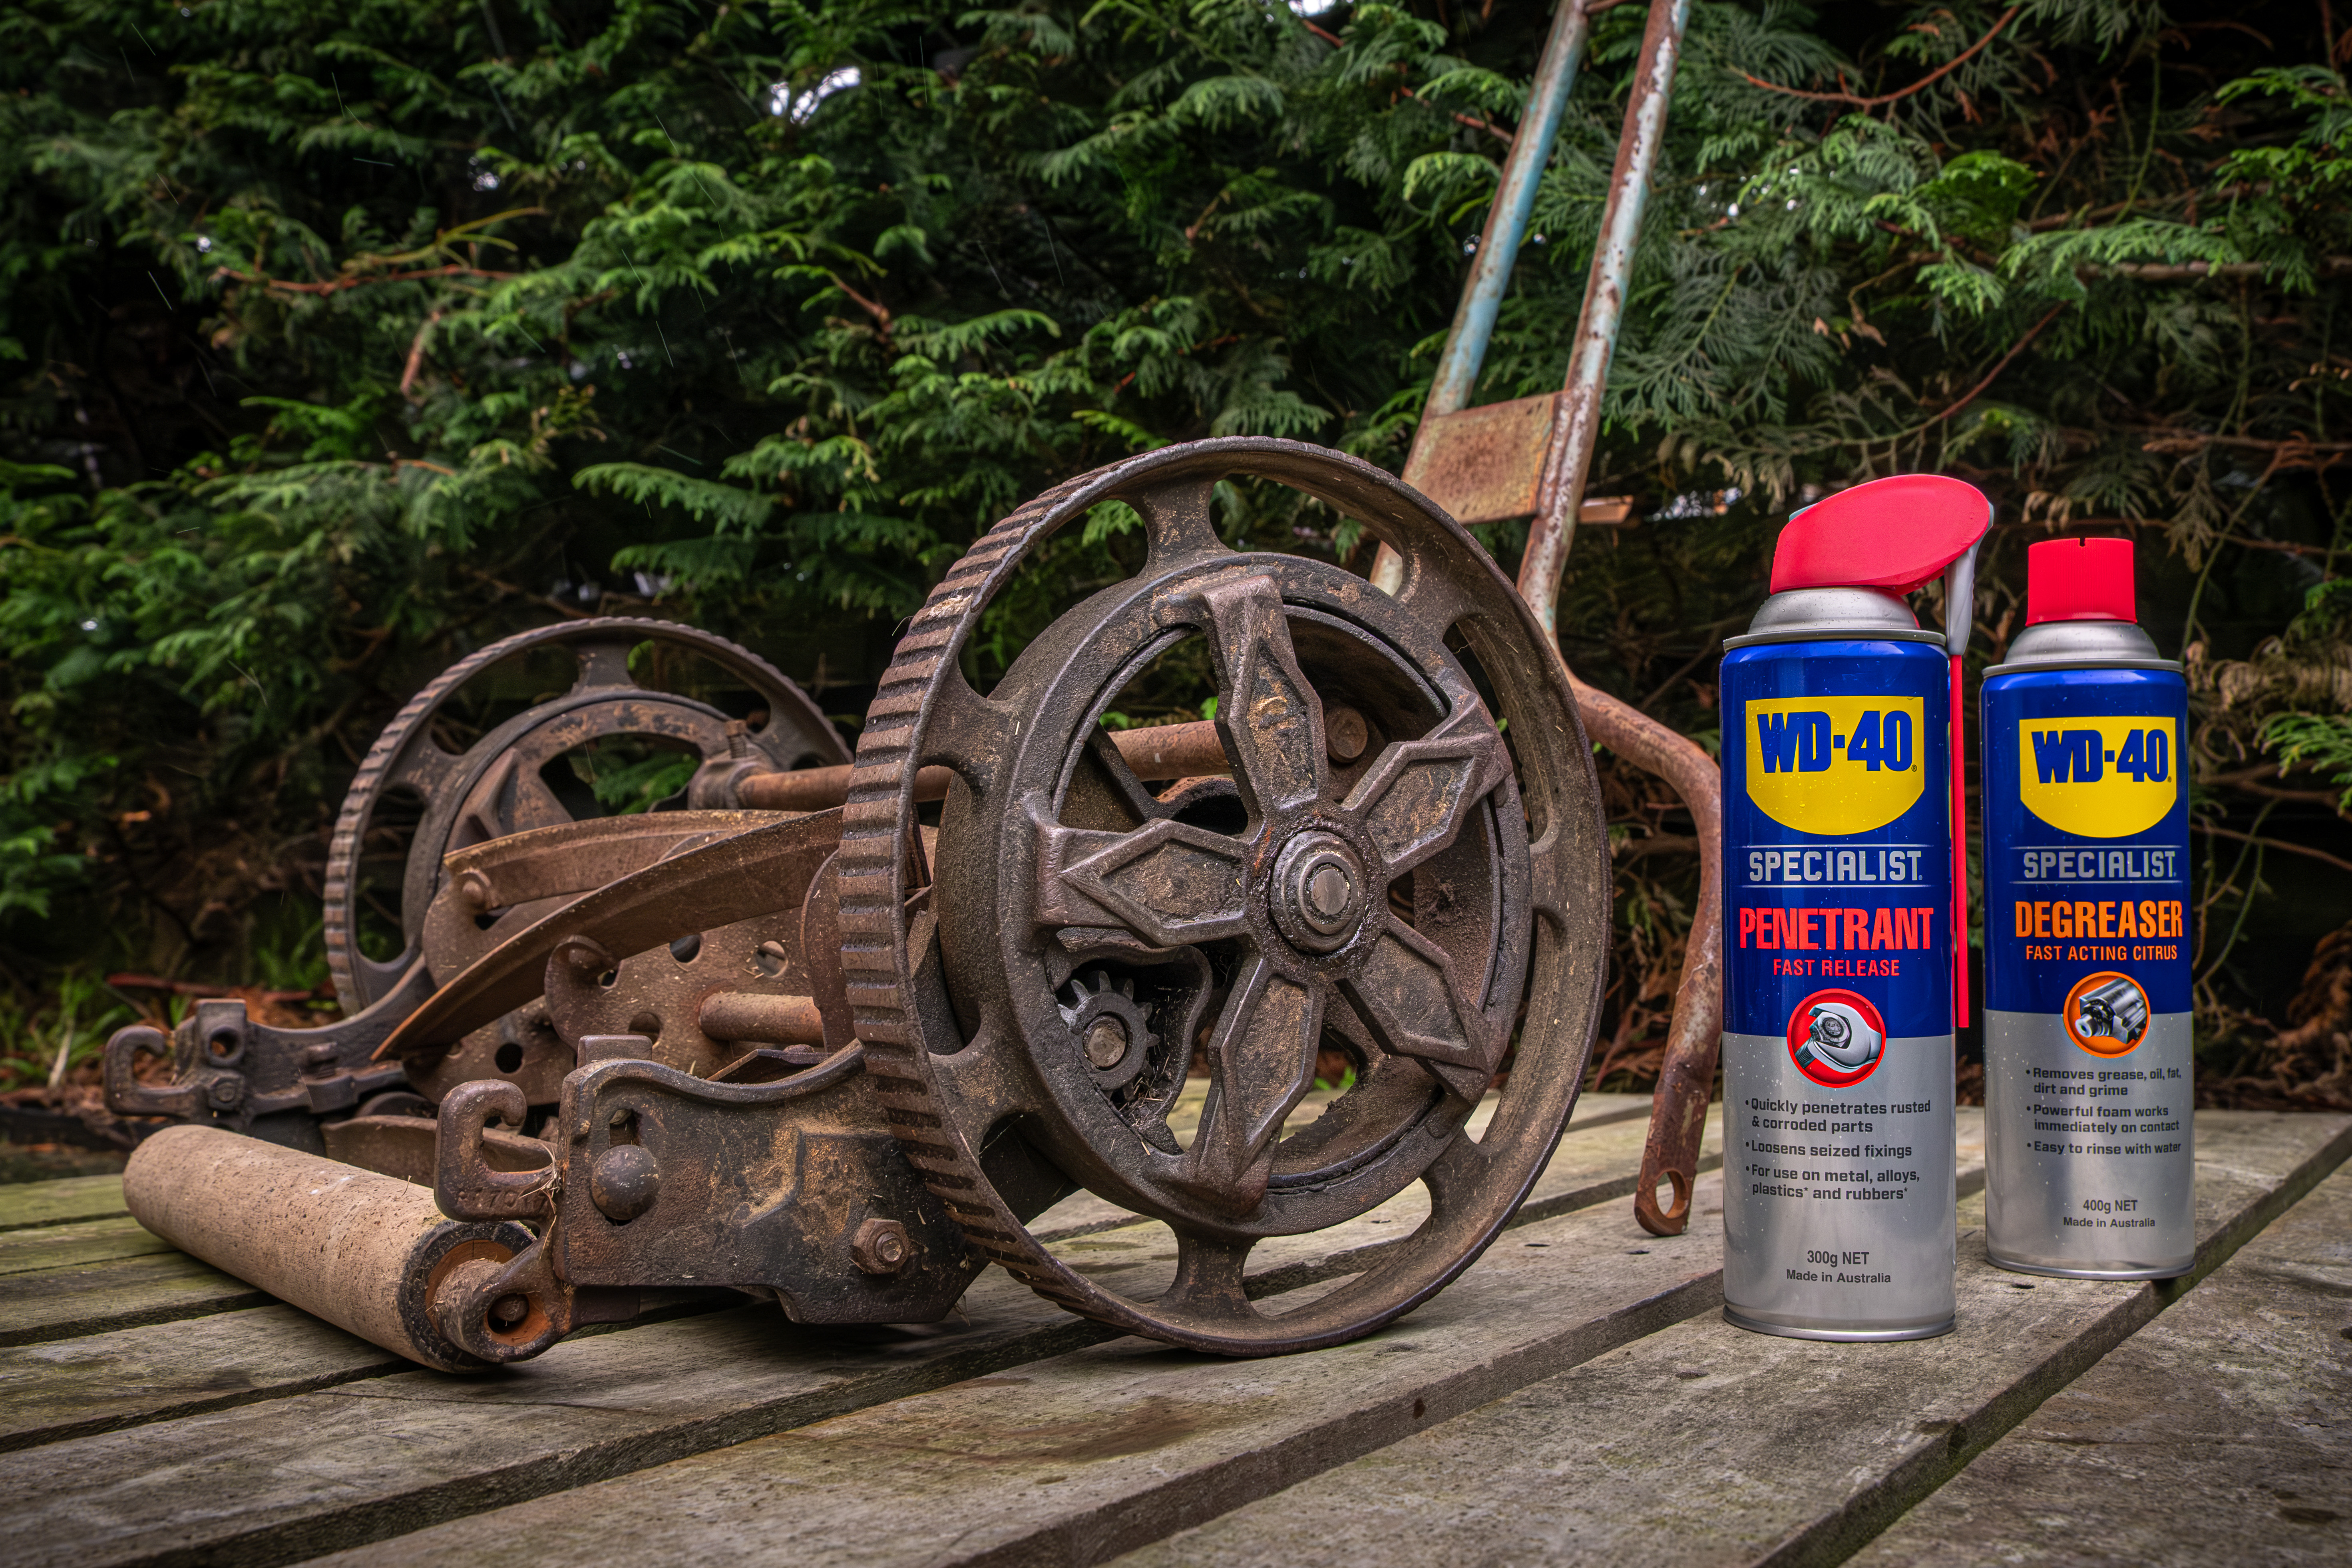
Step 1: Degrease
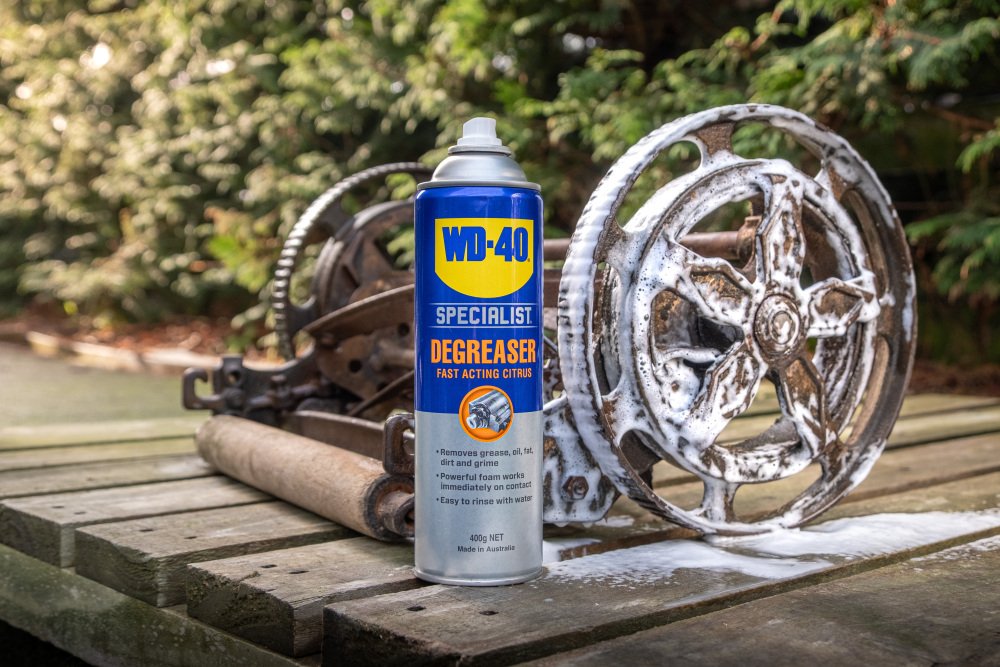
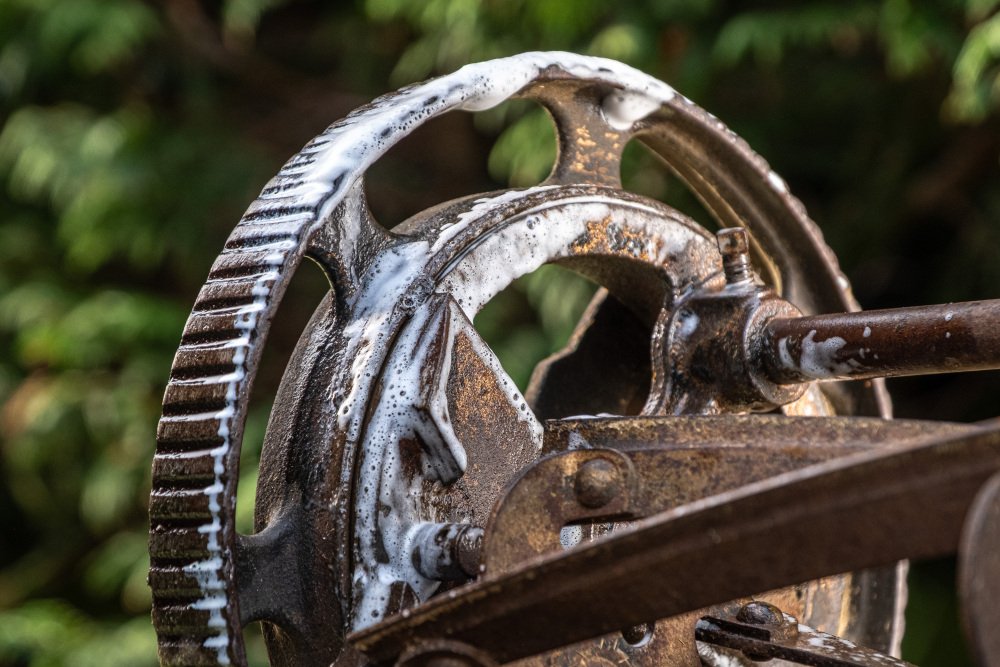
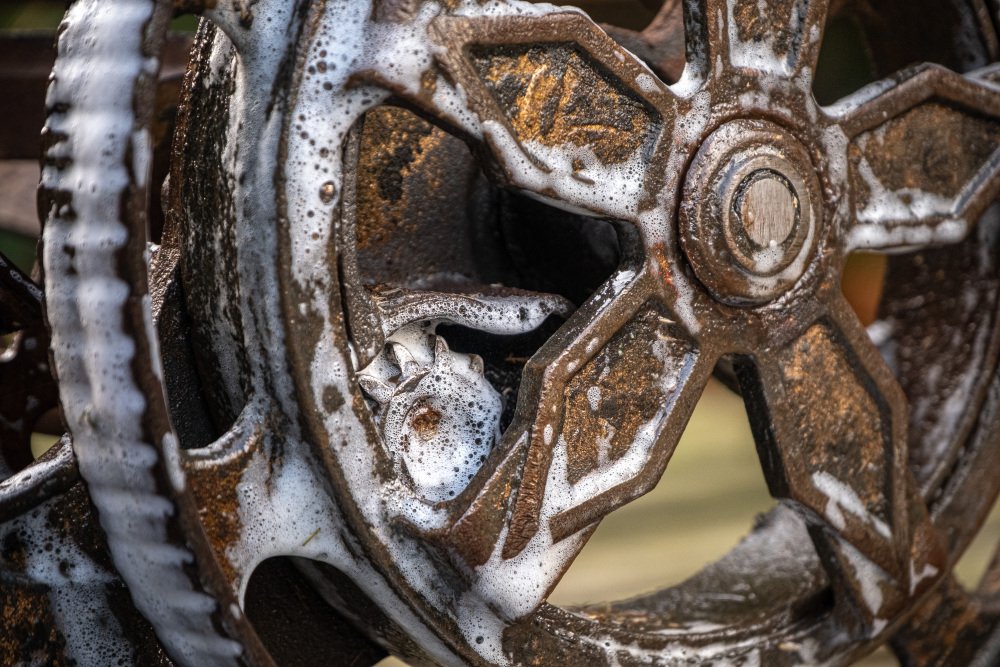
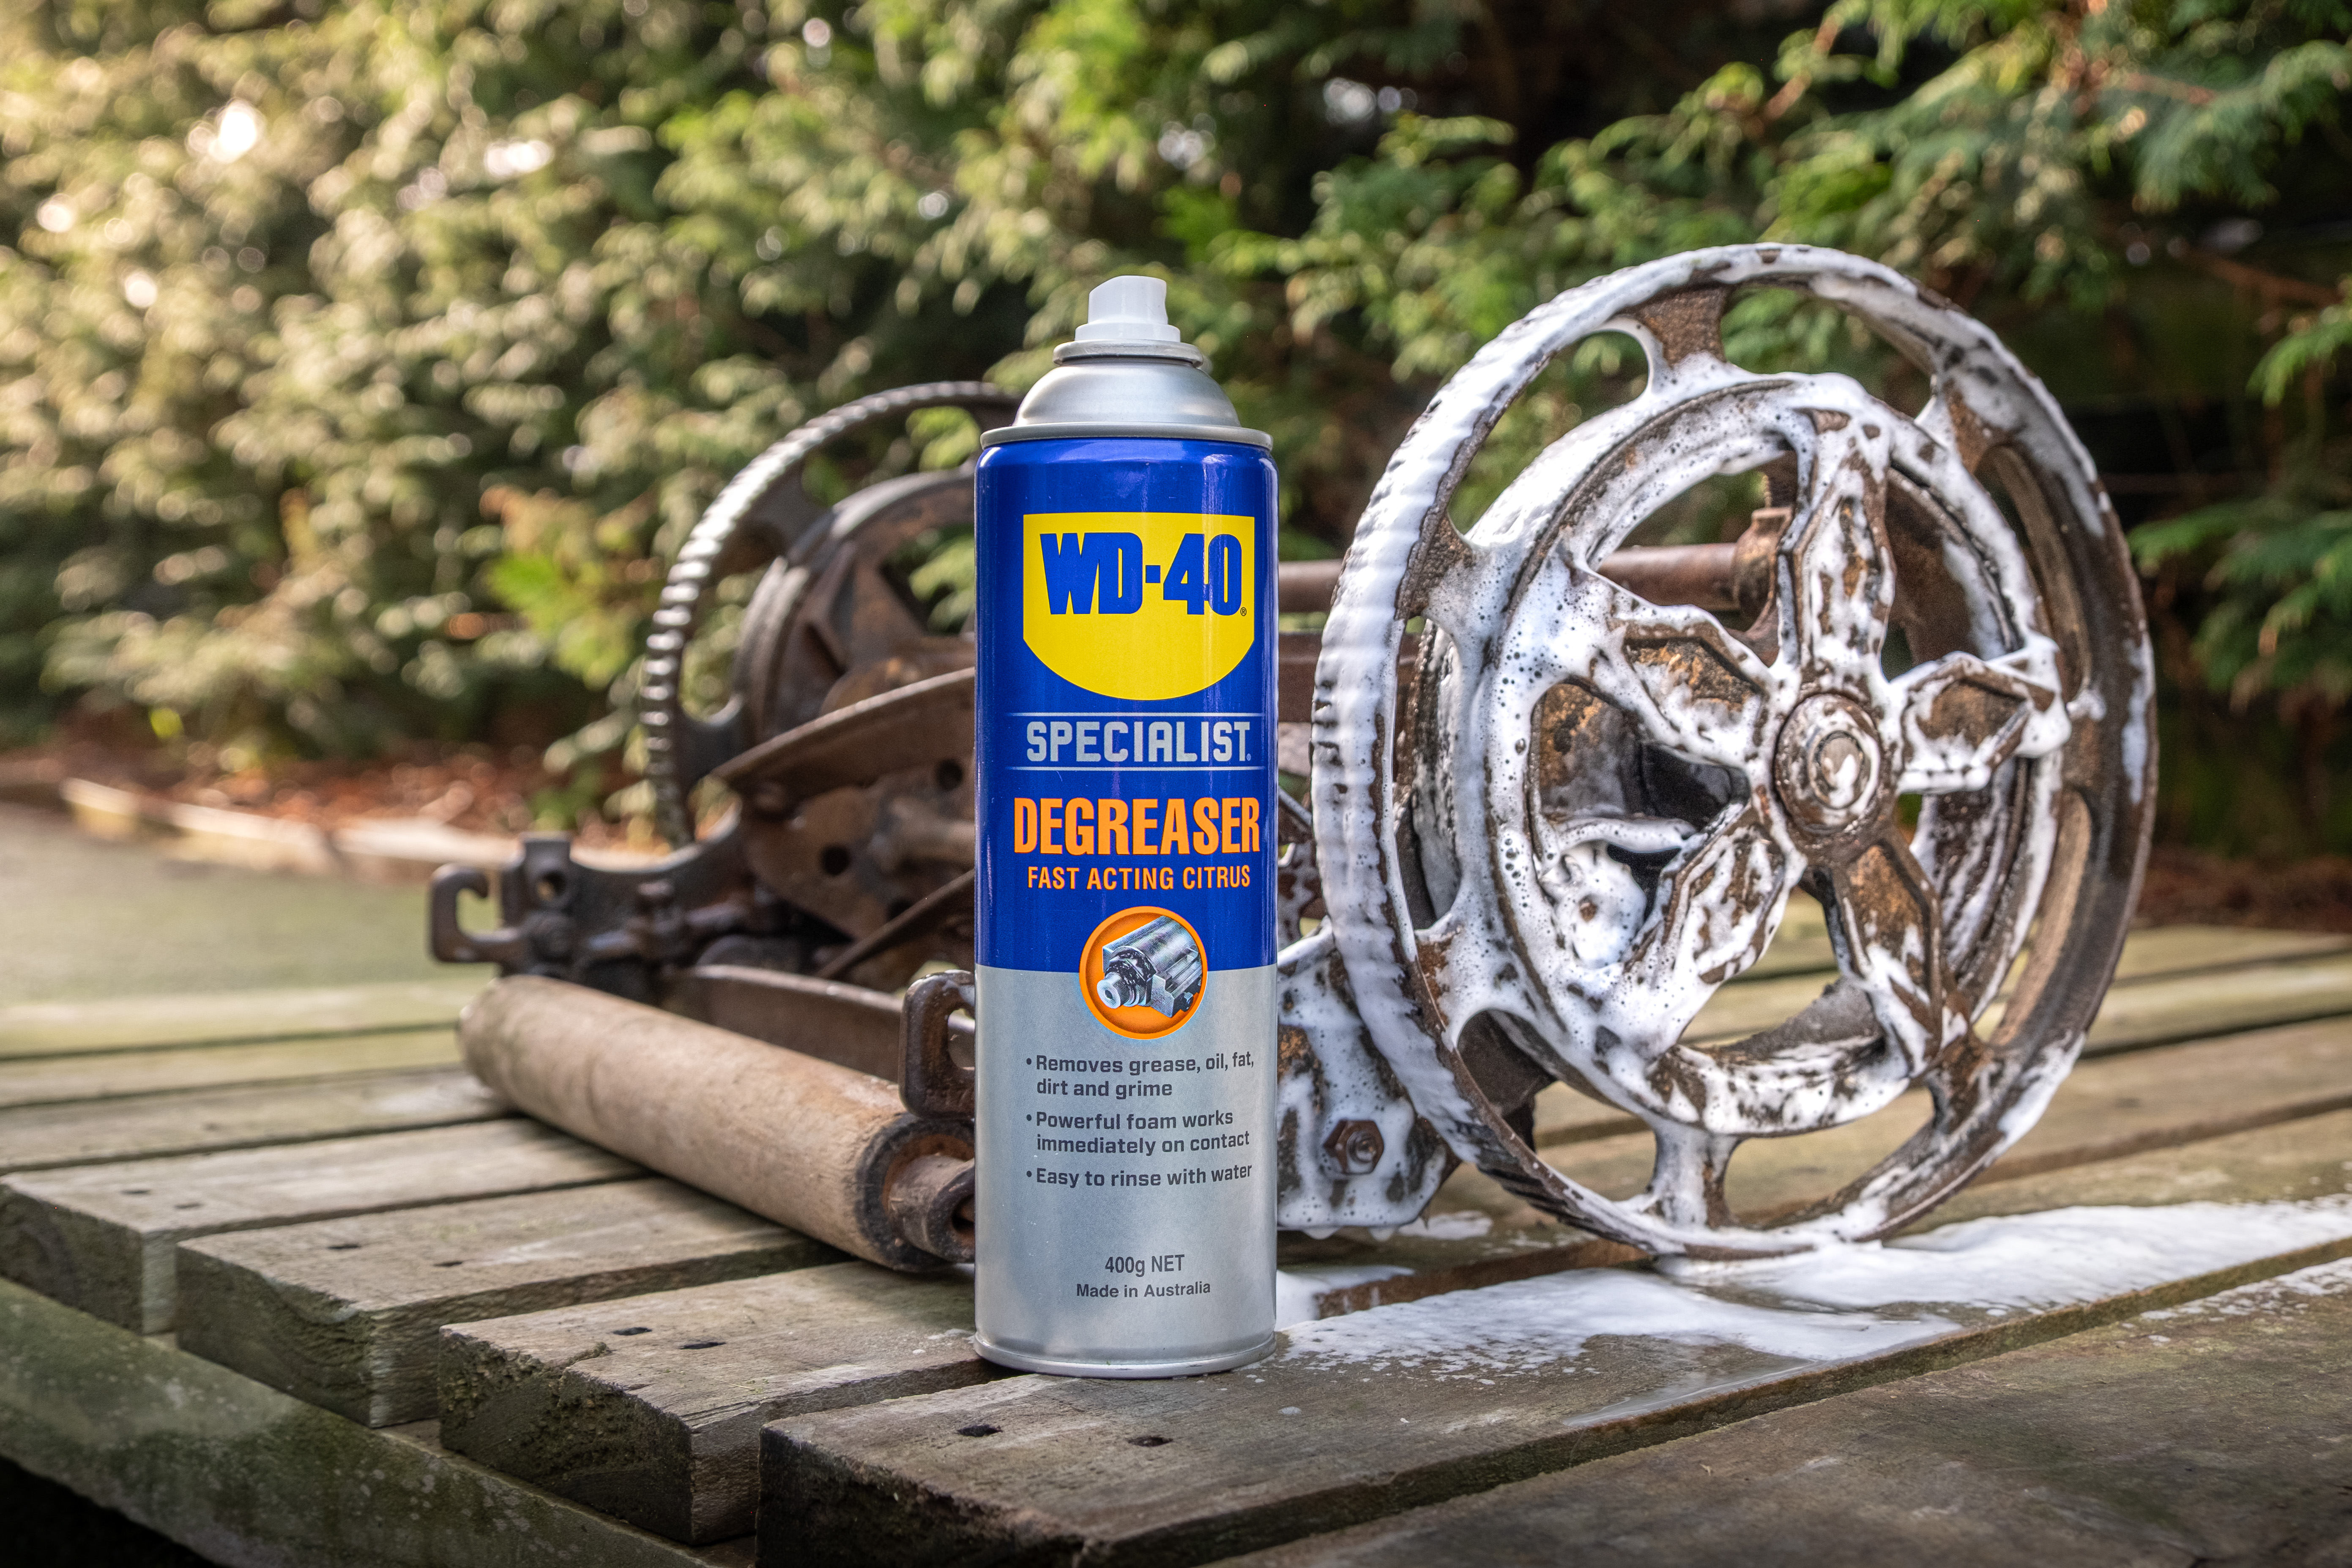
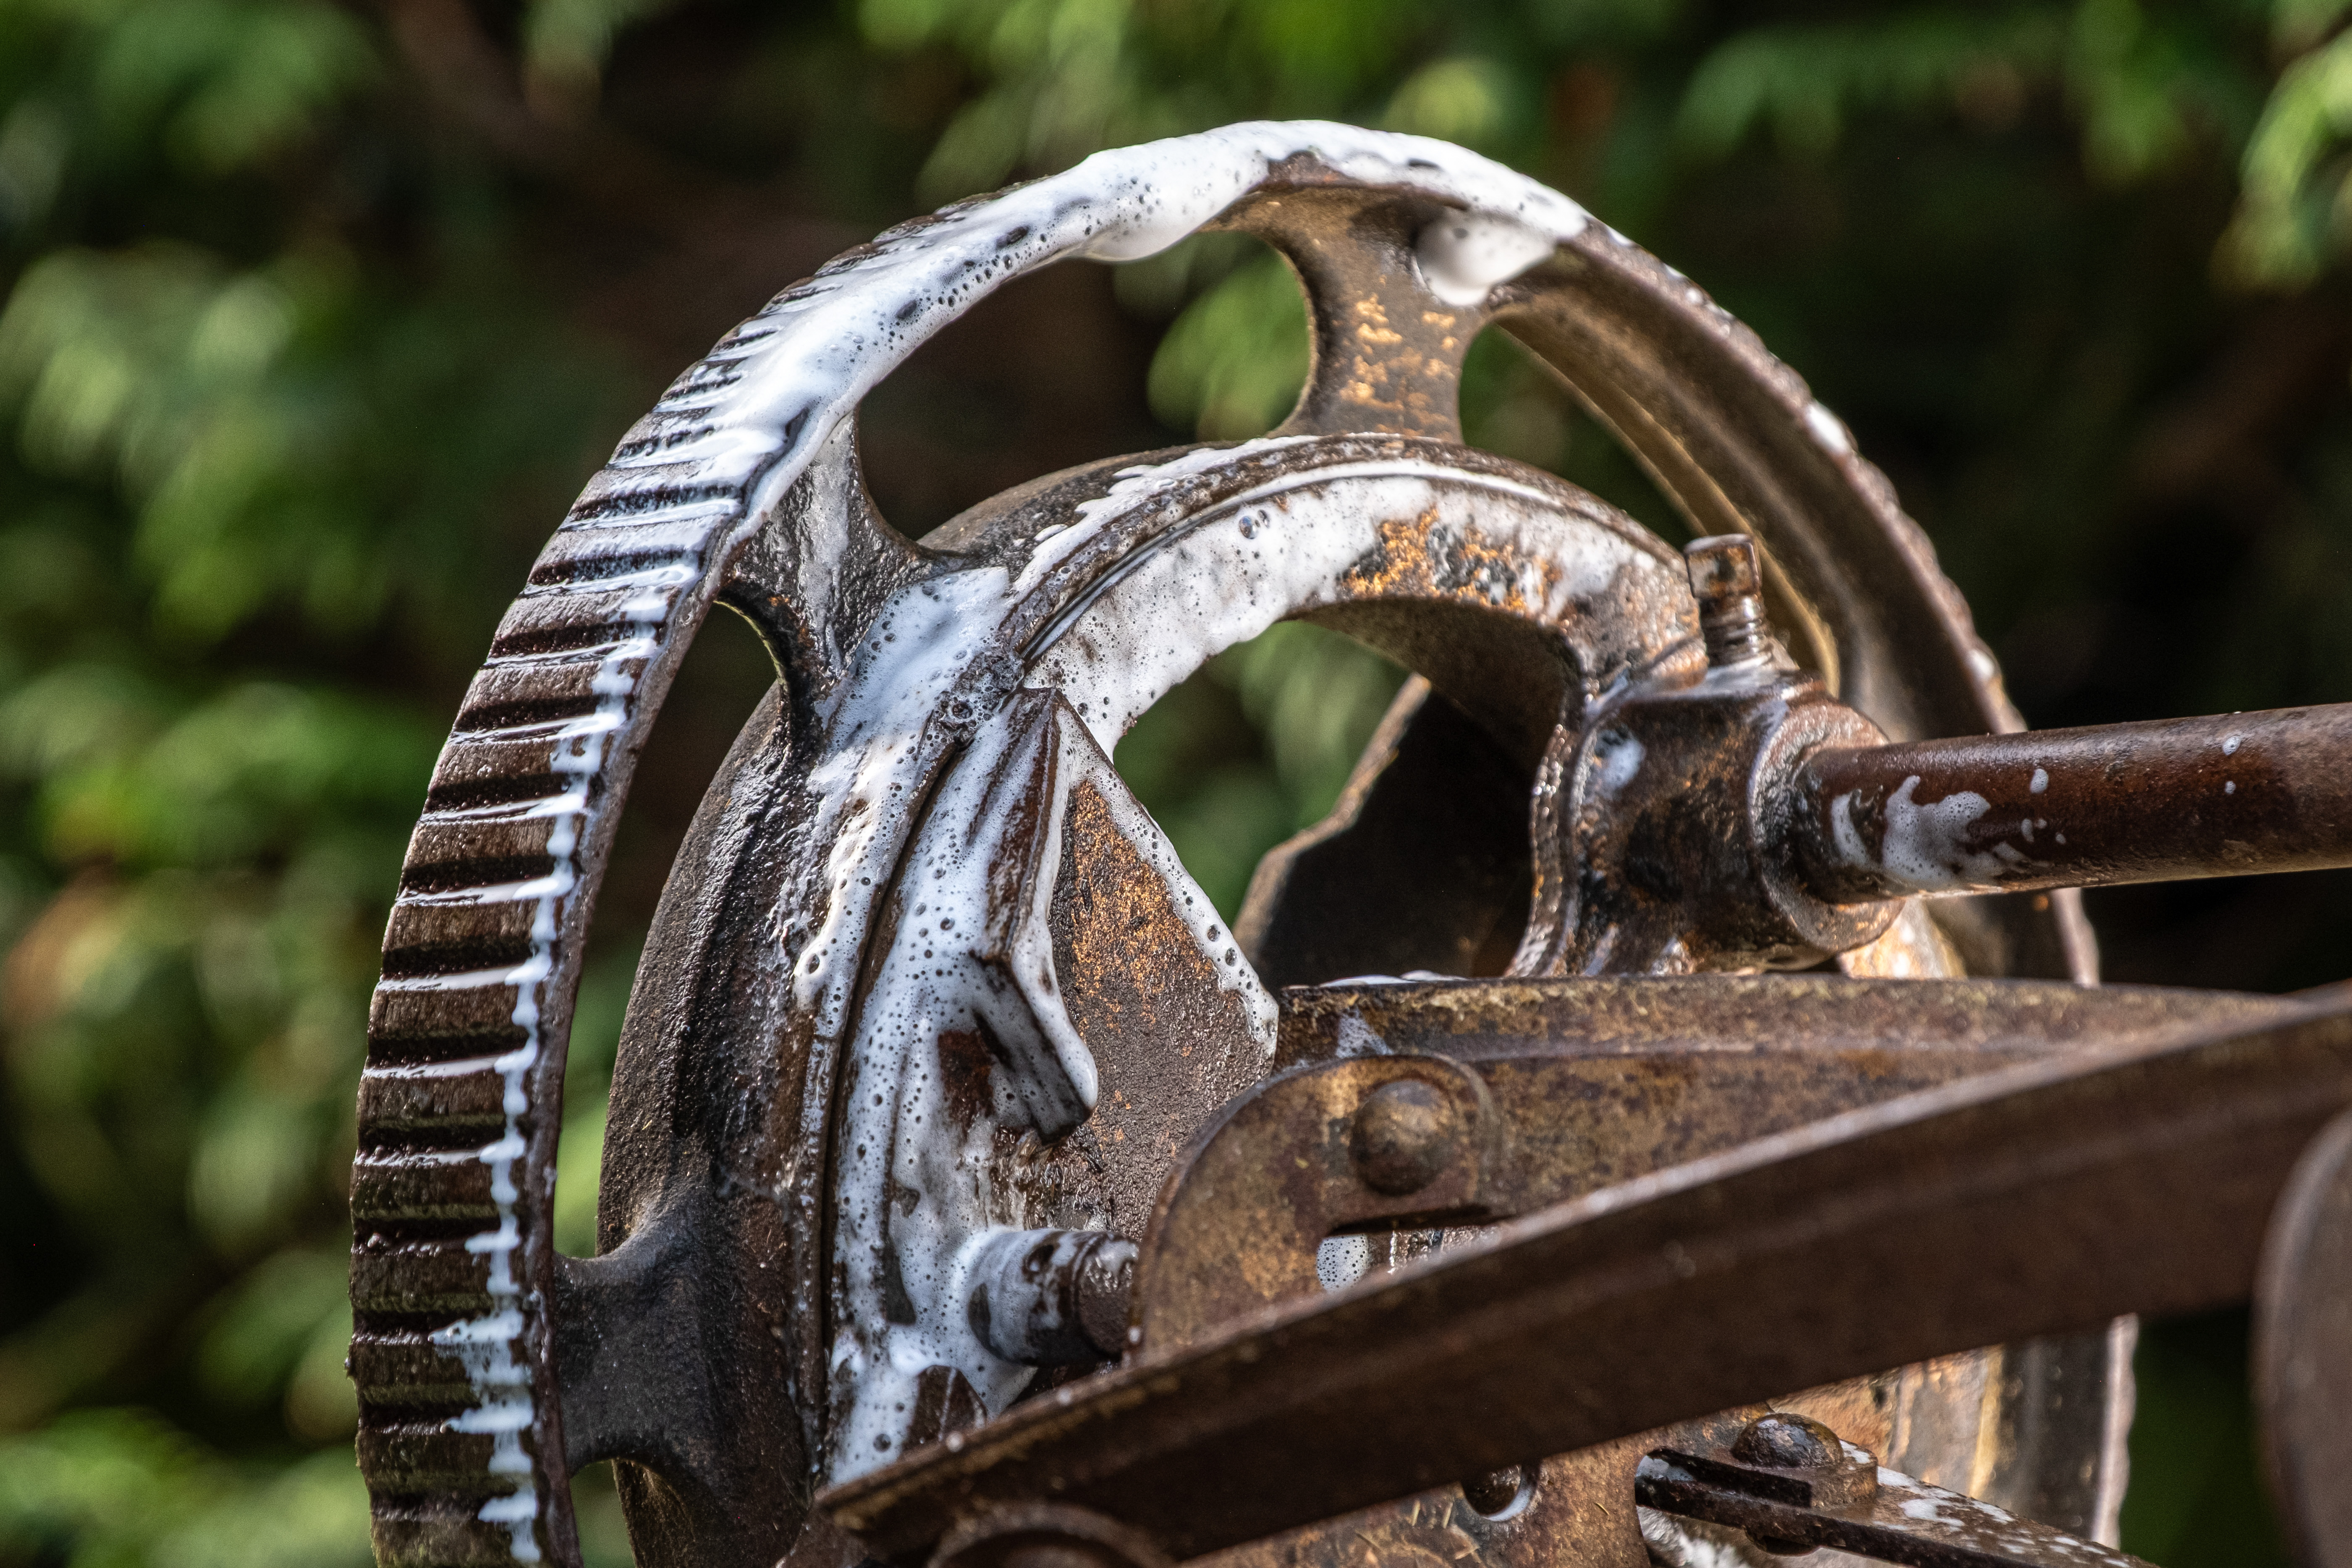
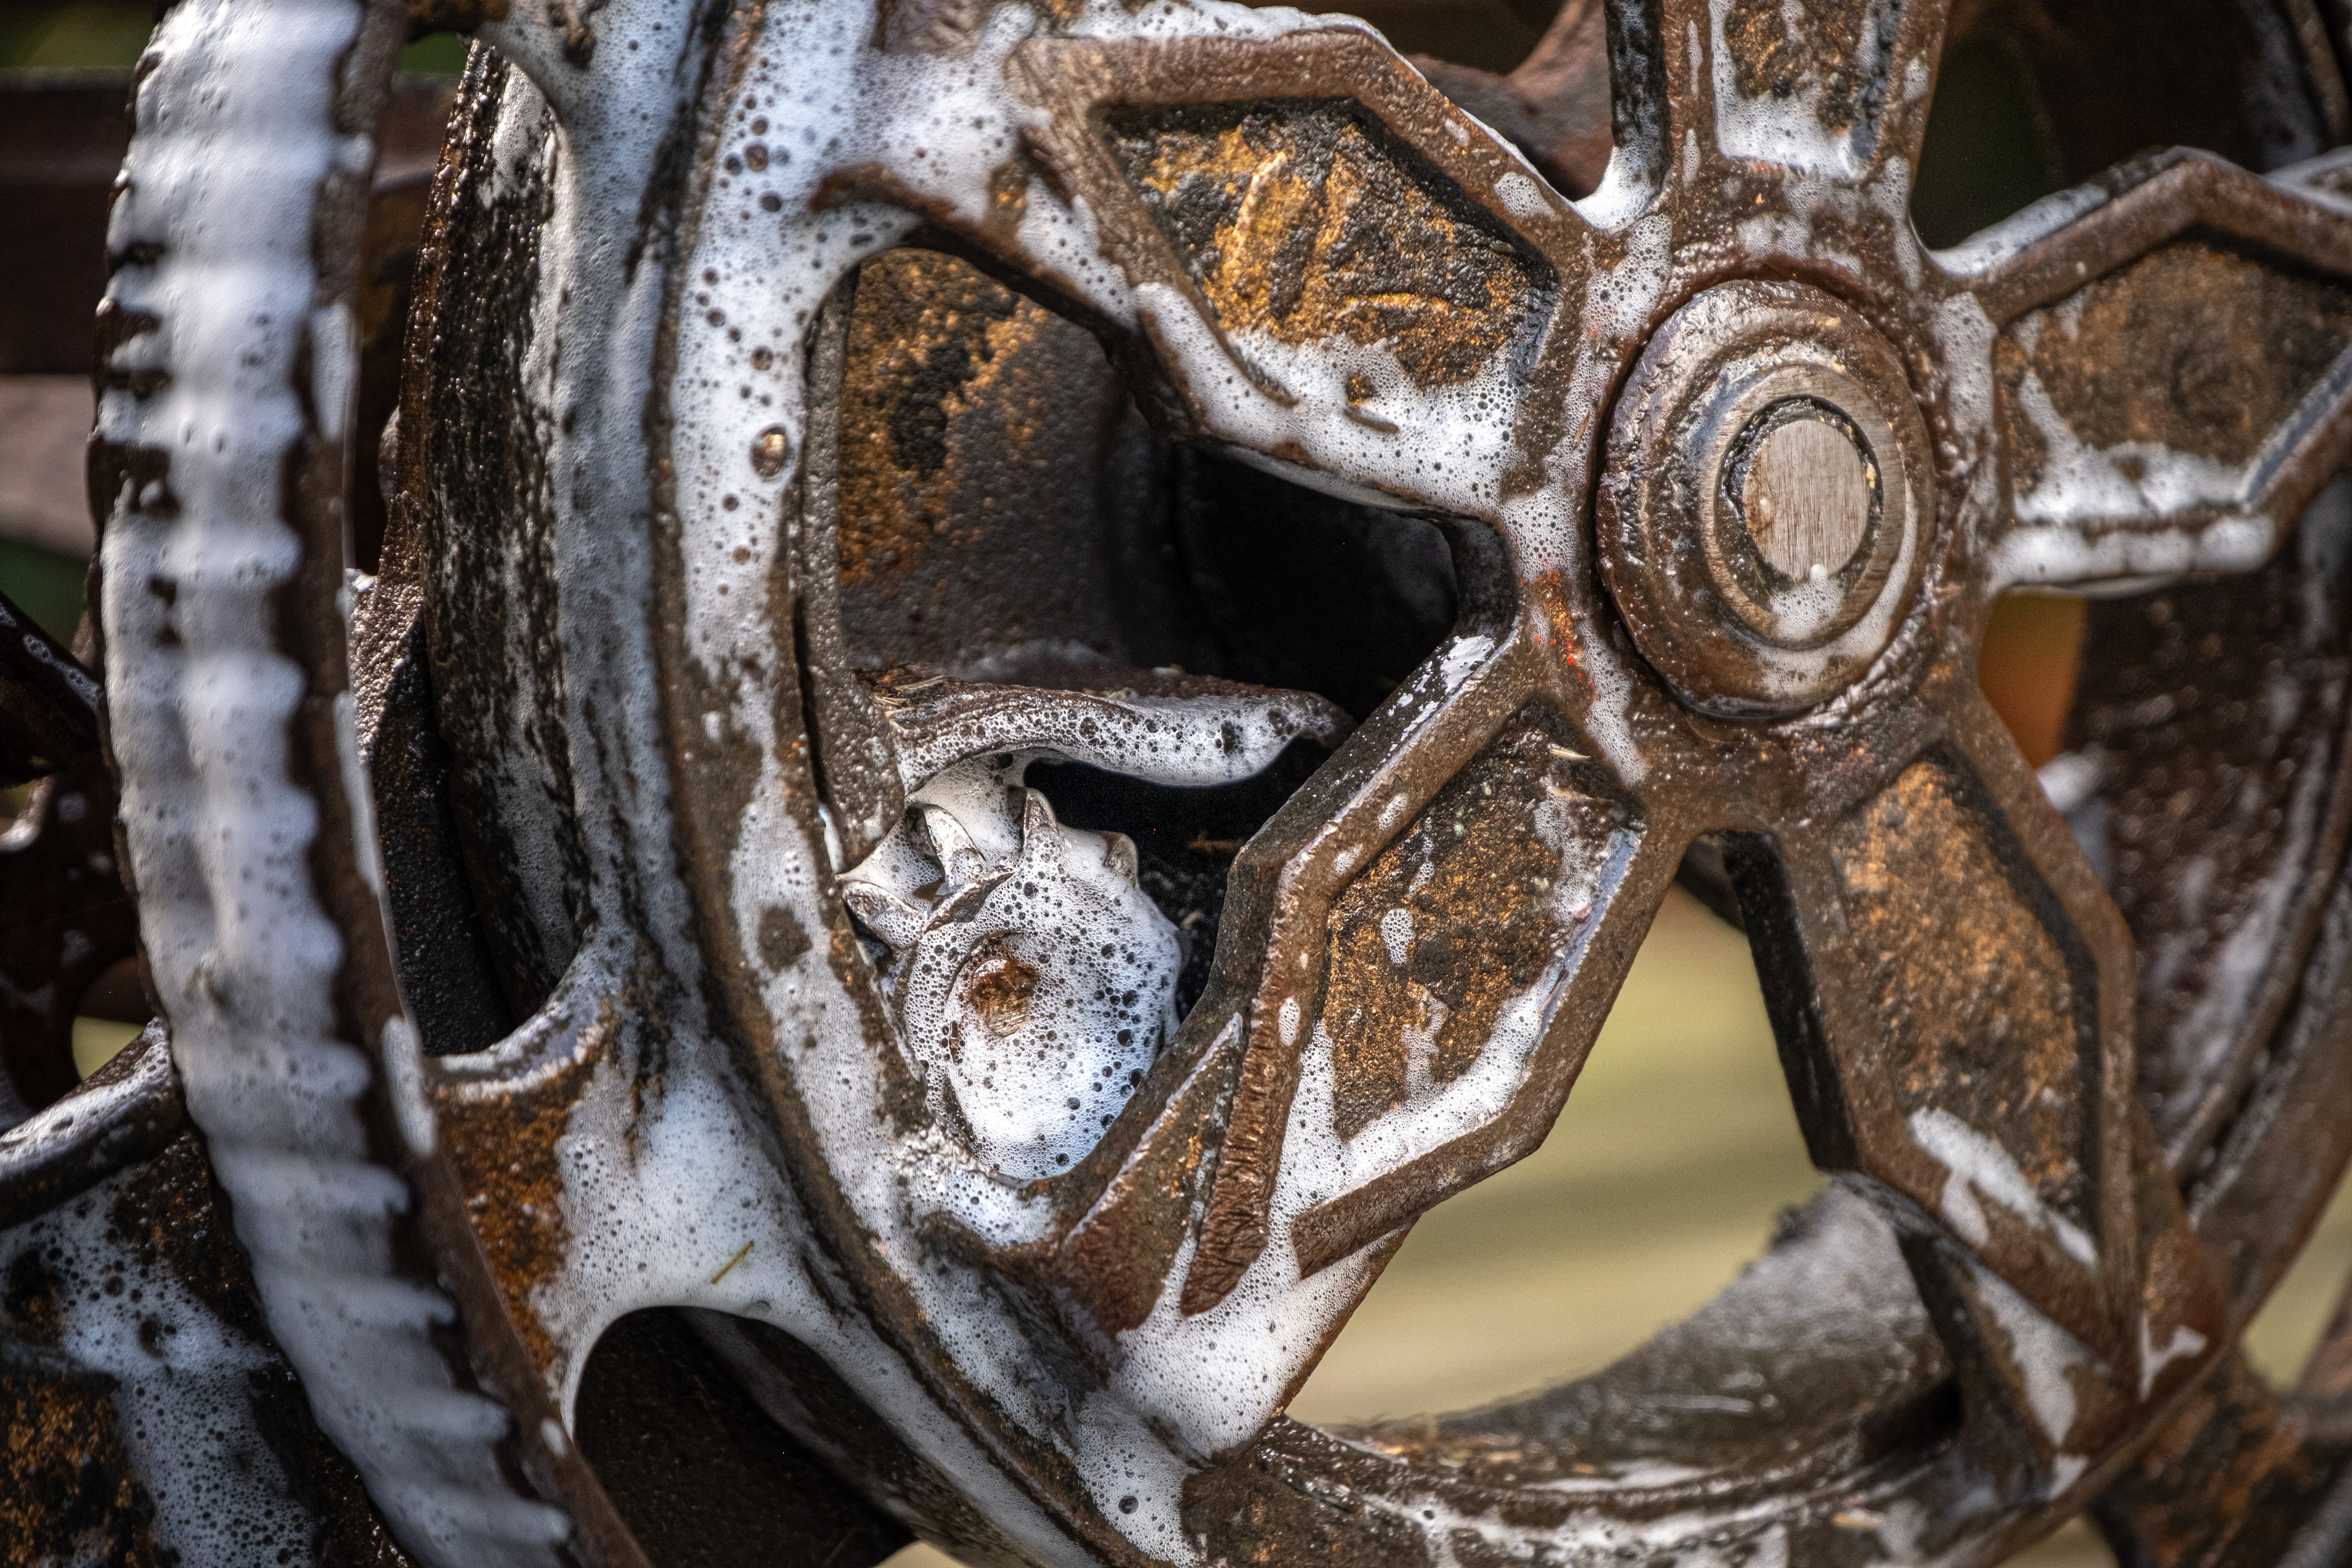
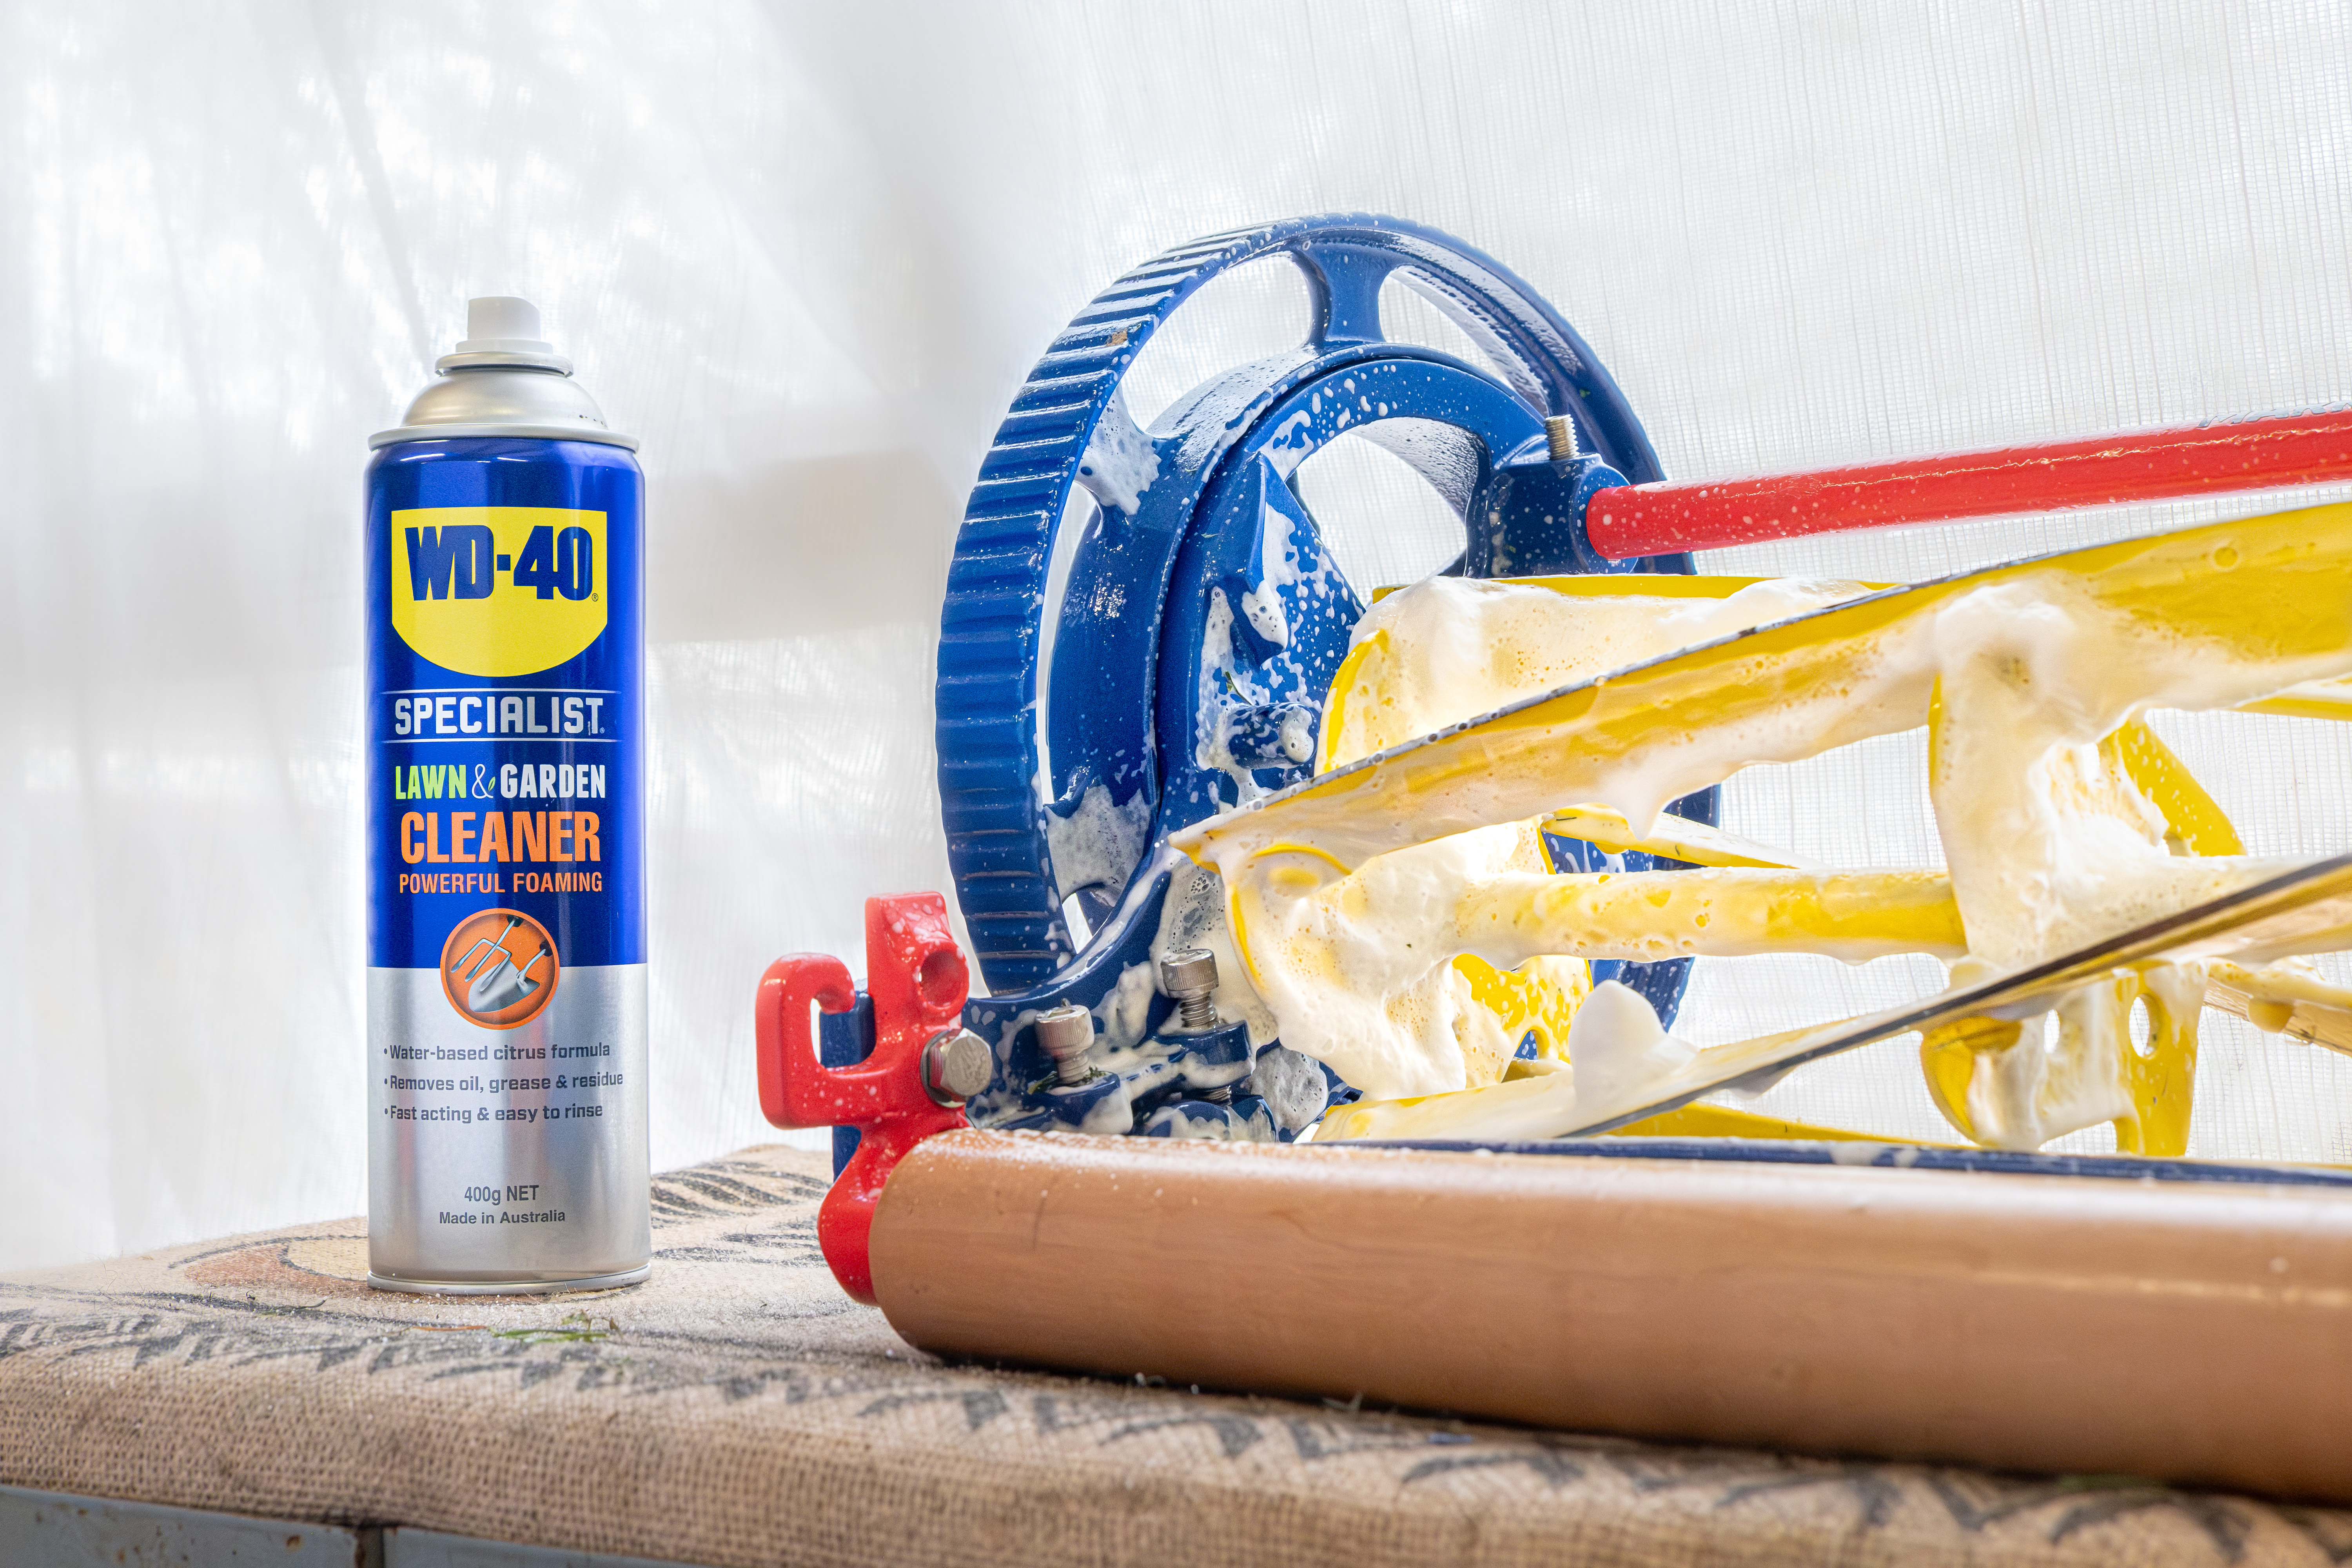
With over 40 years of grease and grime build-up, the WD-40 foaming degreaser cut through years of baked-on build-up like butter. Clinging to the irregular surfaces where other products would quickly drip and run off, this means more is left in the can and less on your hands. With a fresh citrus scent, it made what can be one of the most unpleasant jobs as easy as doing the dishes!
With enough time for a coffee break, I let it soak in and do all the hard work. I was easily able to brush the rest away, and rinse it all off with water. Not only did this break down the grease on the machine, but also the need for any elbow grease.
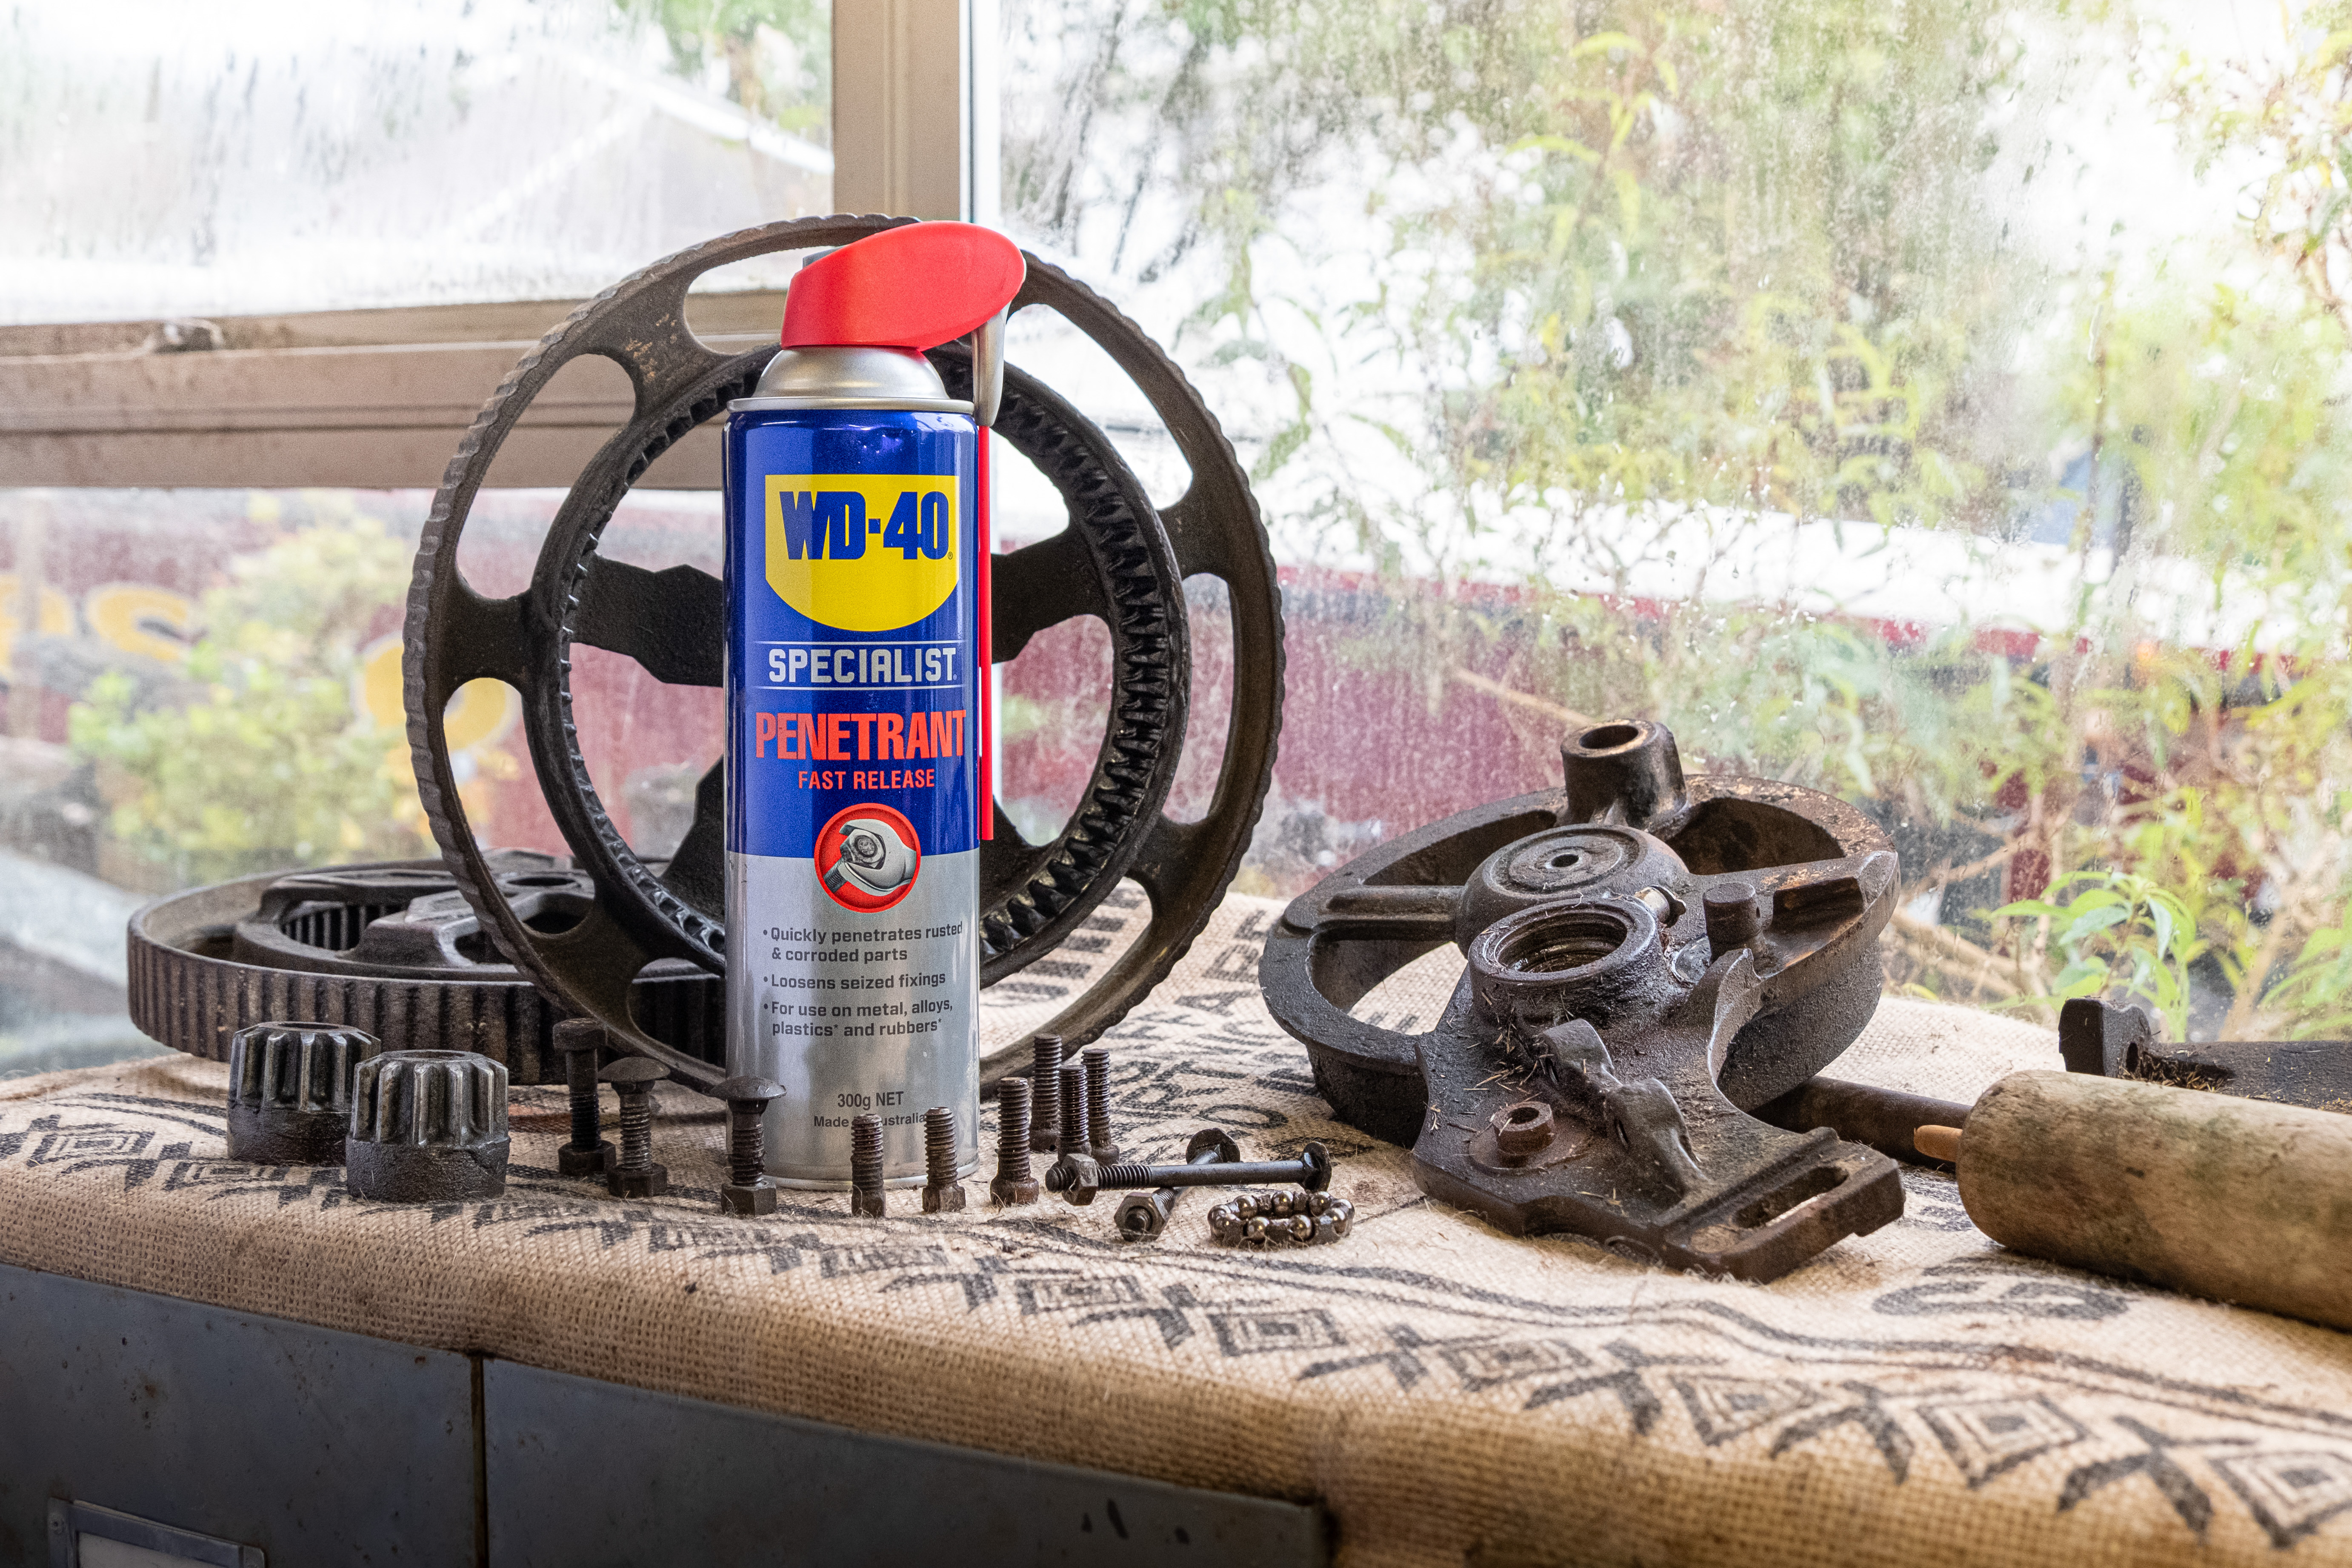
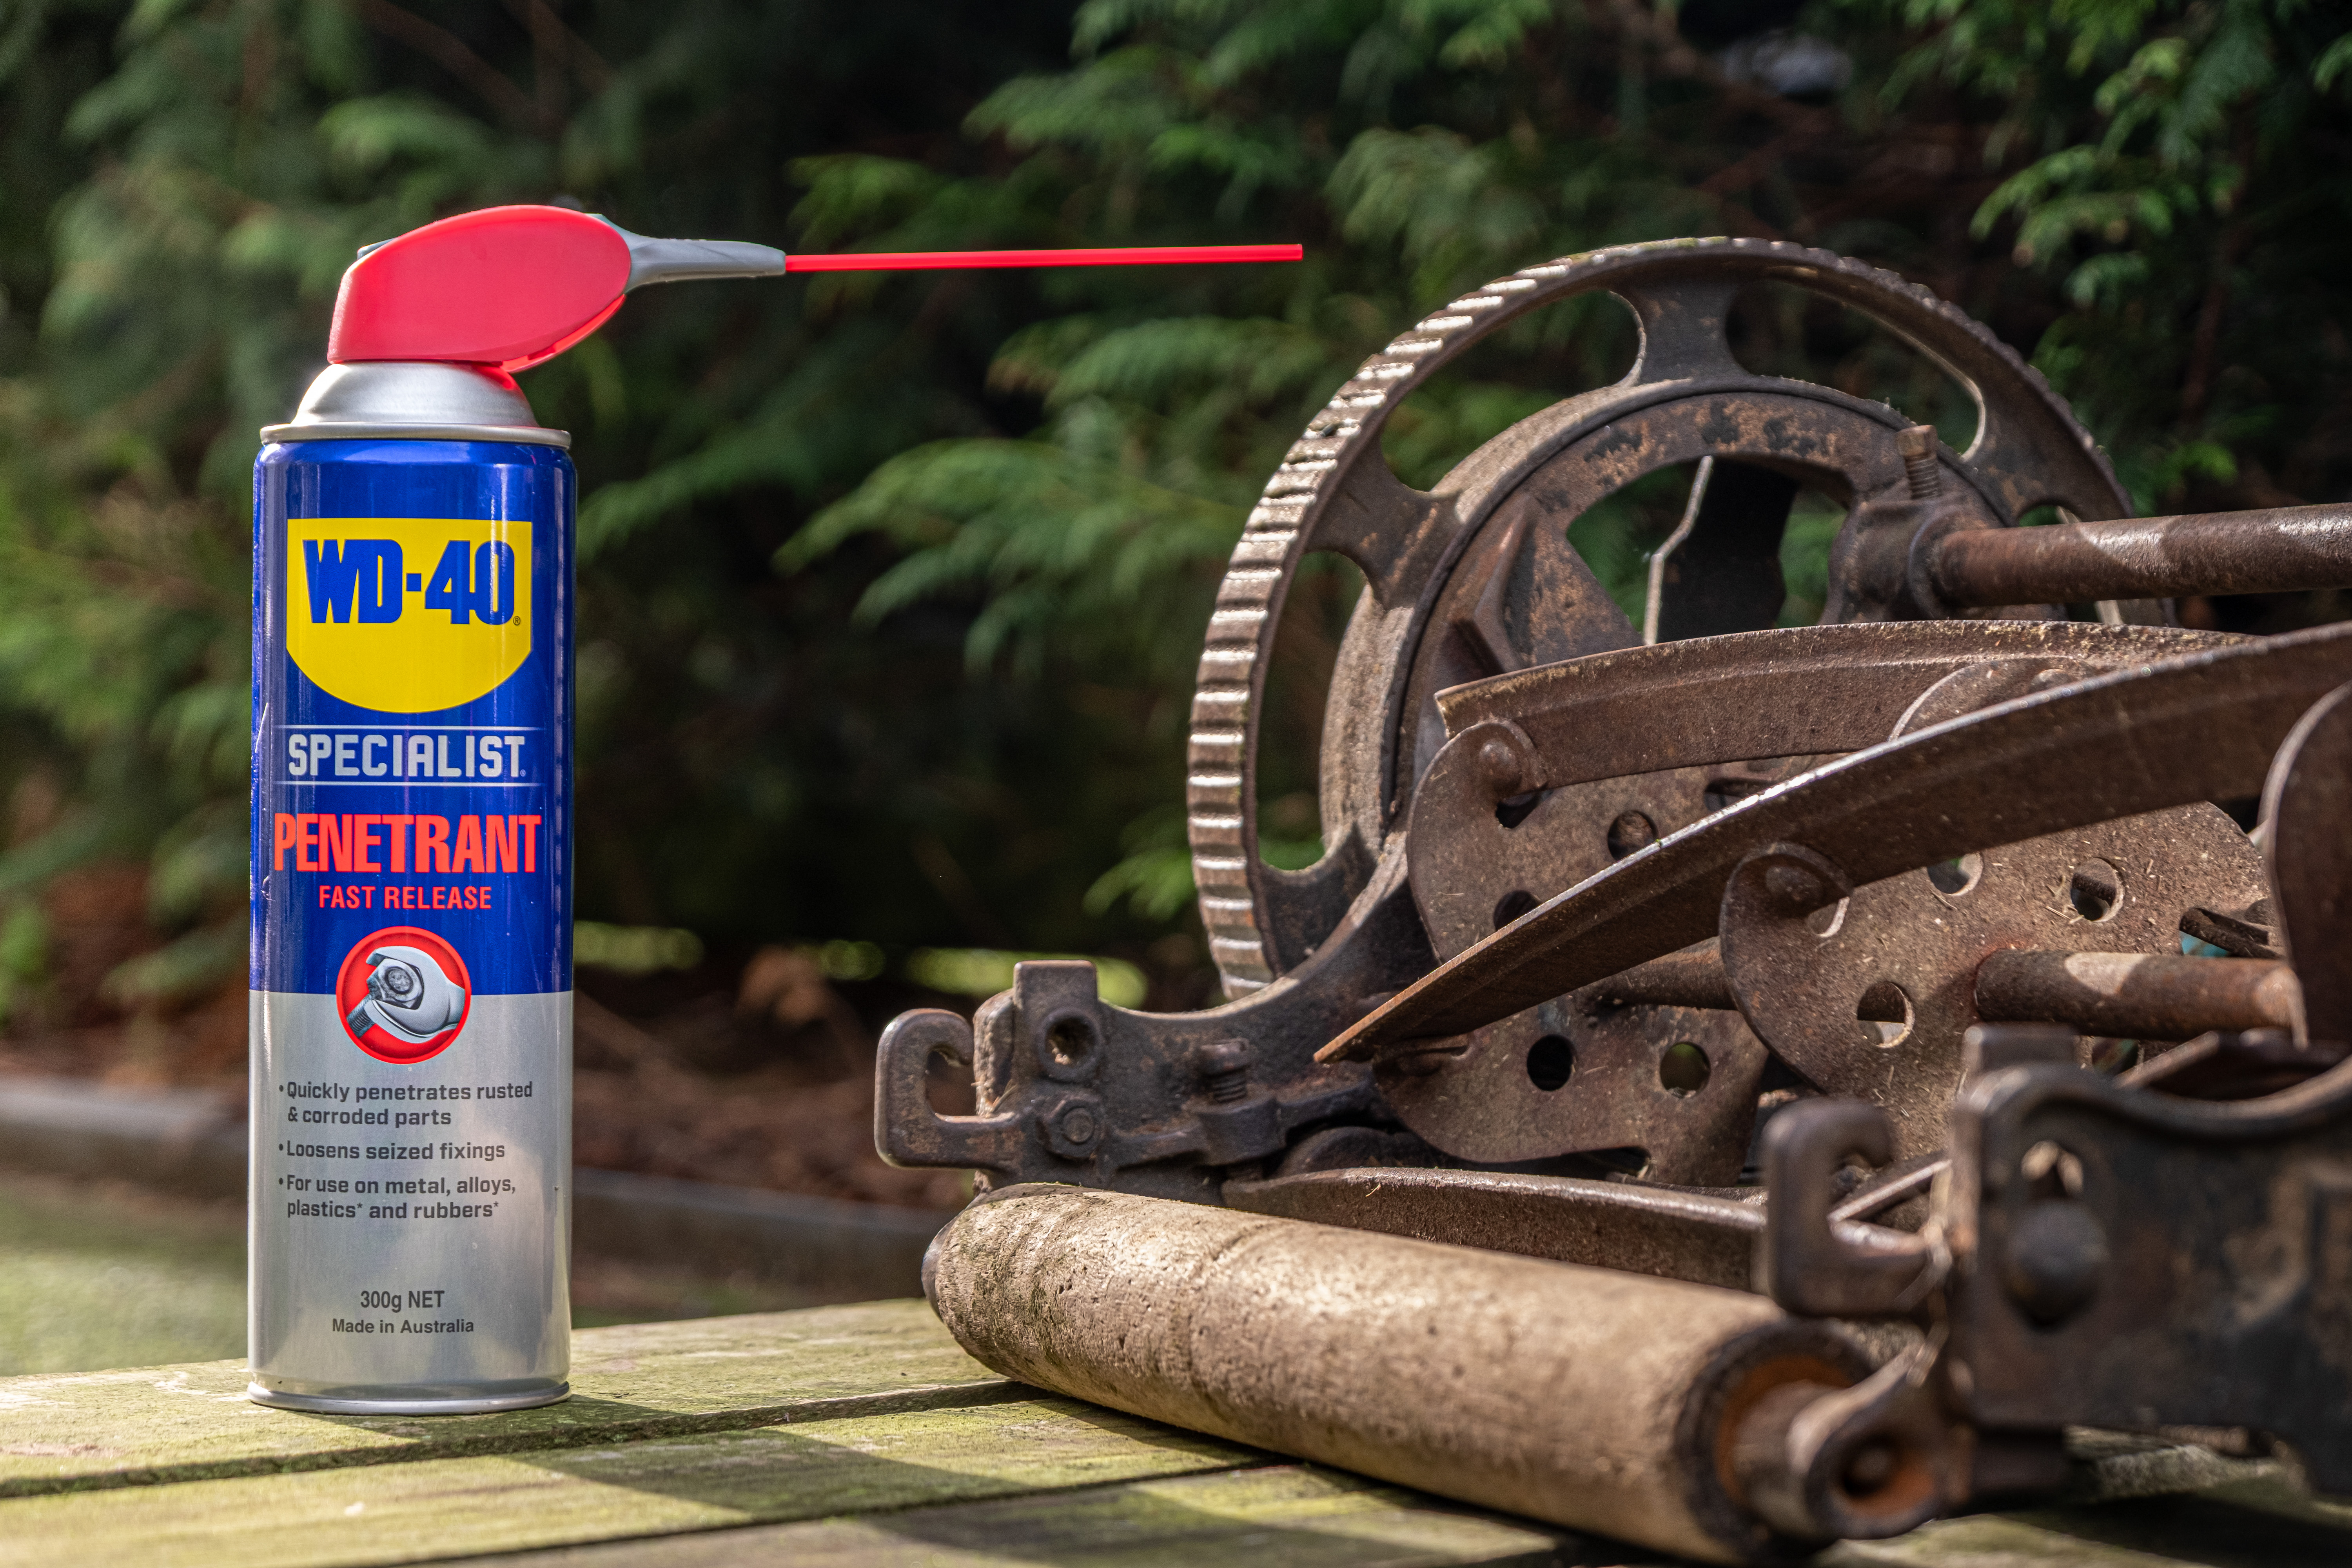
Step 2: Penetrant
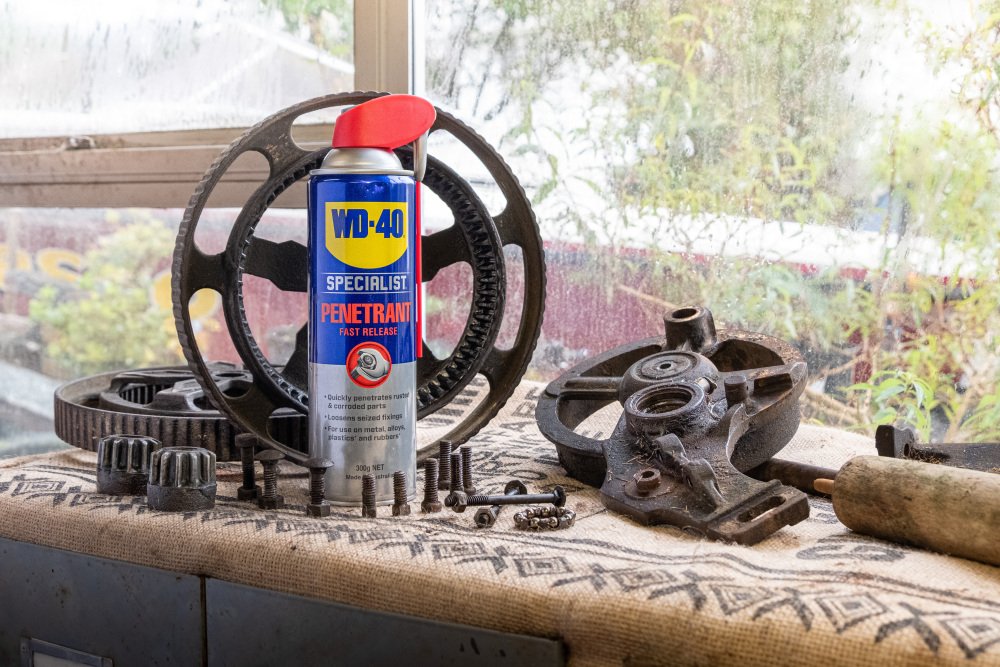
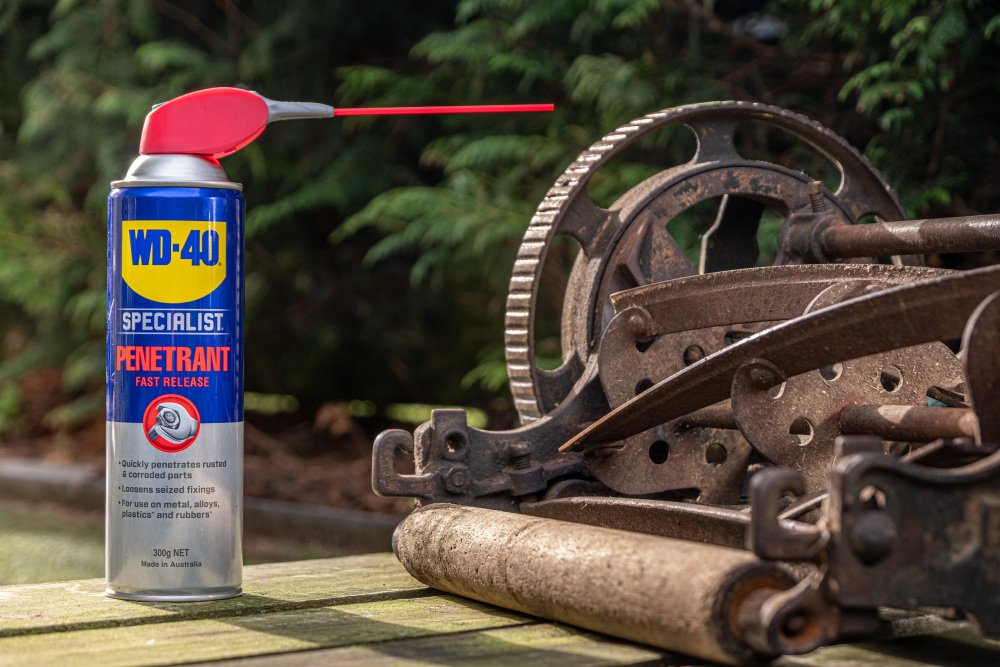
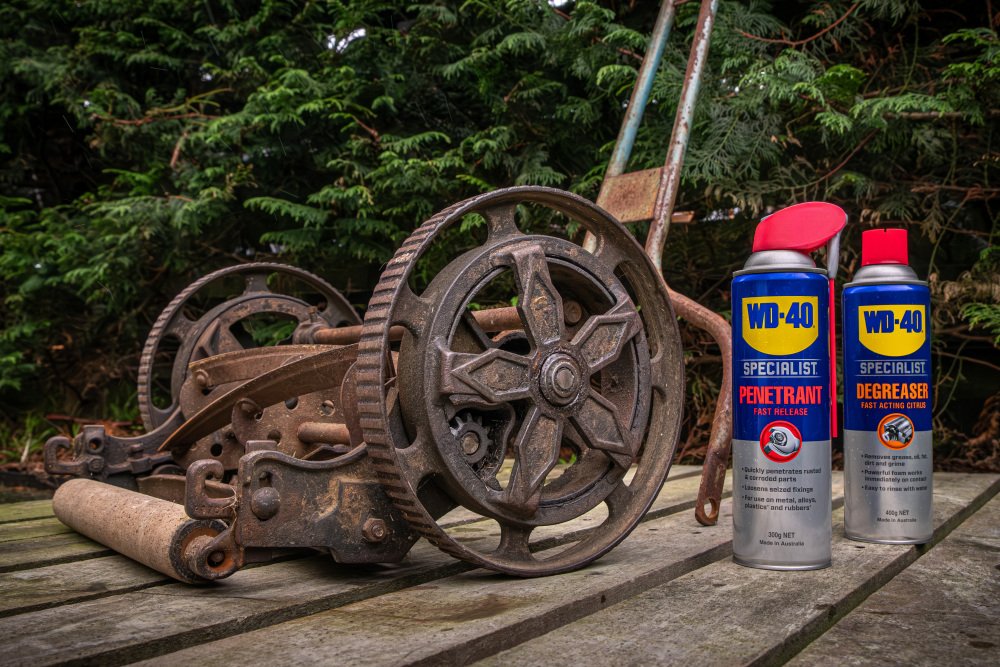
Penetrant is essentially a way to buy time in a can!
This stuff has saved me so many headaches and hours of extracting seized hardware, it’s safe to say that this stuff has penetrated its way into a full-time position on my workshop shelf, and I plan to keep it there.
Working on rusty, seized bolts older than myself, breaking loose rust isn't just a game of luck with this can around, and even better, it can work for you while you sleep!
Like all good things, it does take some time to work, so I made sure to apply some to each point of concern at the start of the day, and once again at the end, returning the next day to break each nut and bolt free for disassembly.
I firmly believe that there is a direct correlation between how many wrinkles and white hairs you have, with how much rust you have encountered in your lifetime. Now, I don’t know about you, but I’m not looking for any more! And this WD-40 penetrant is the solution in a can!
Step 3: Sandblasting
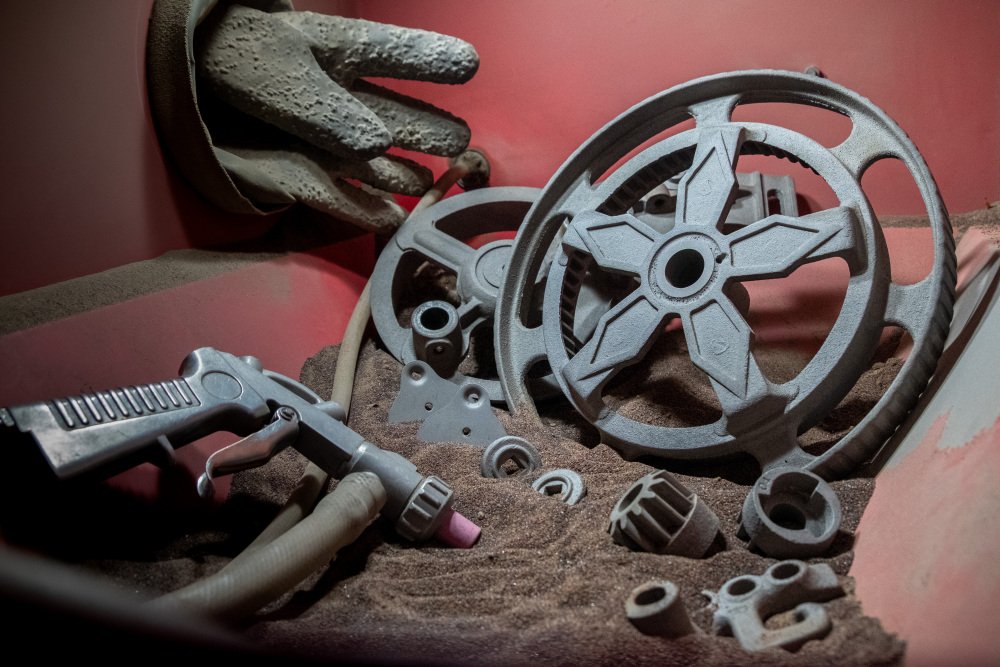
I believe that if you’re gonna do it once, do it right! Or at least try.
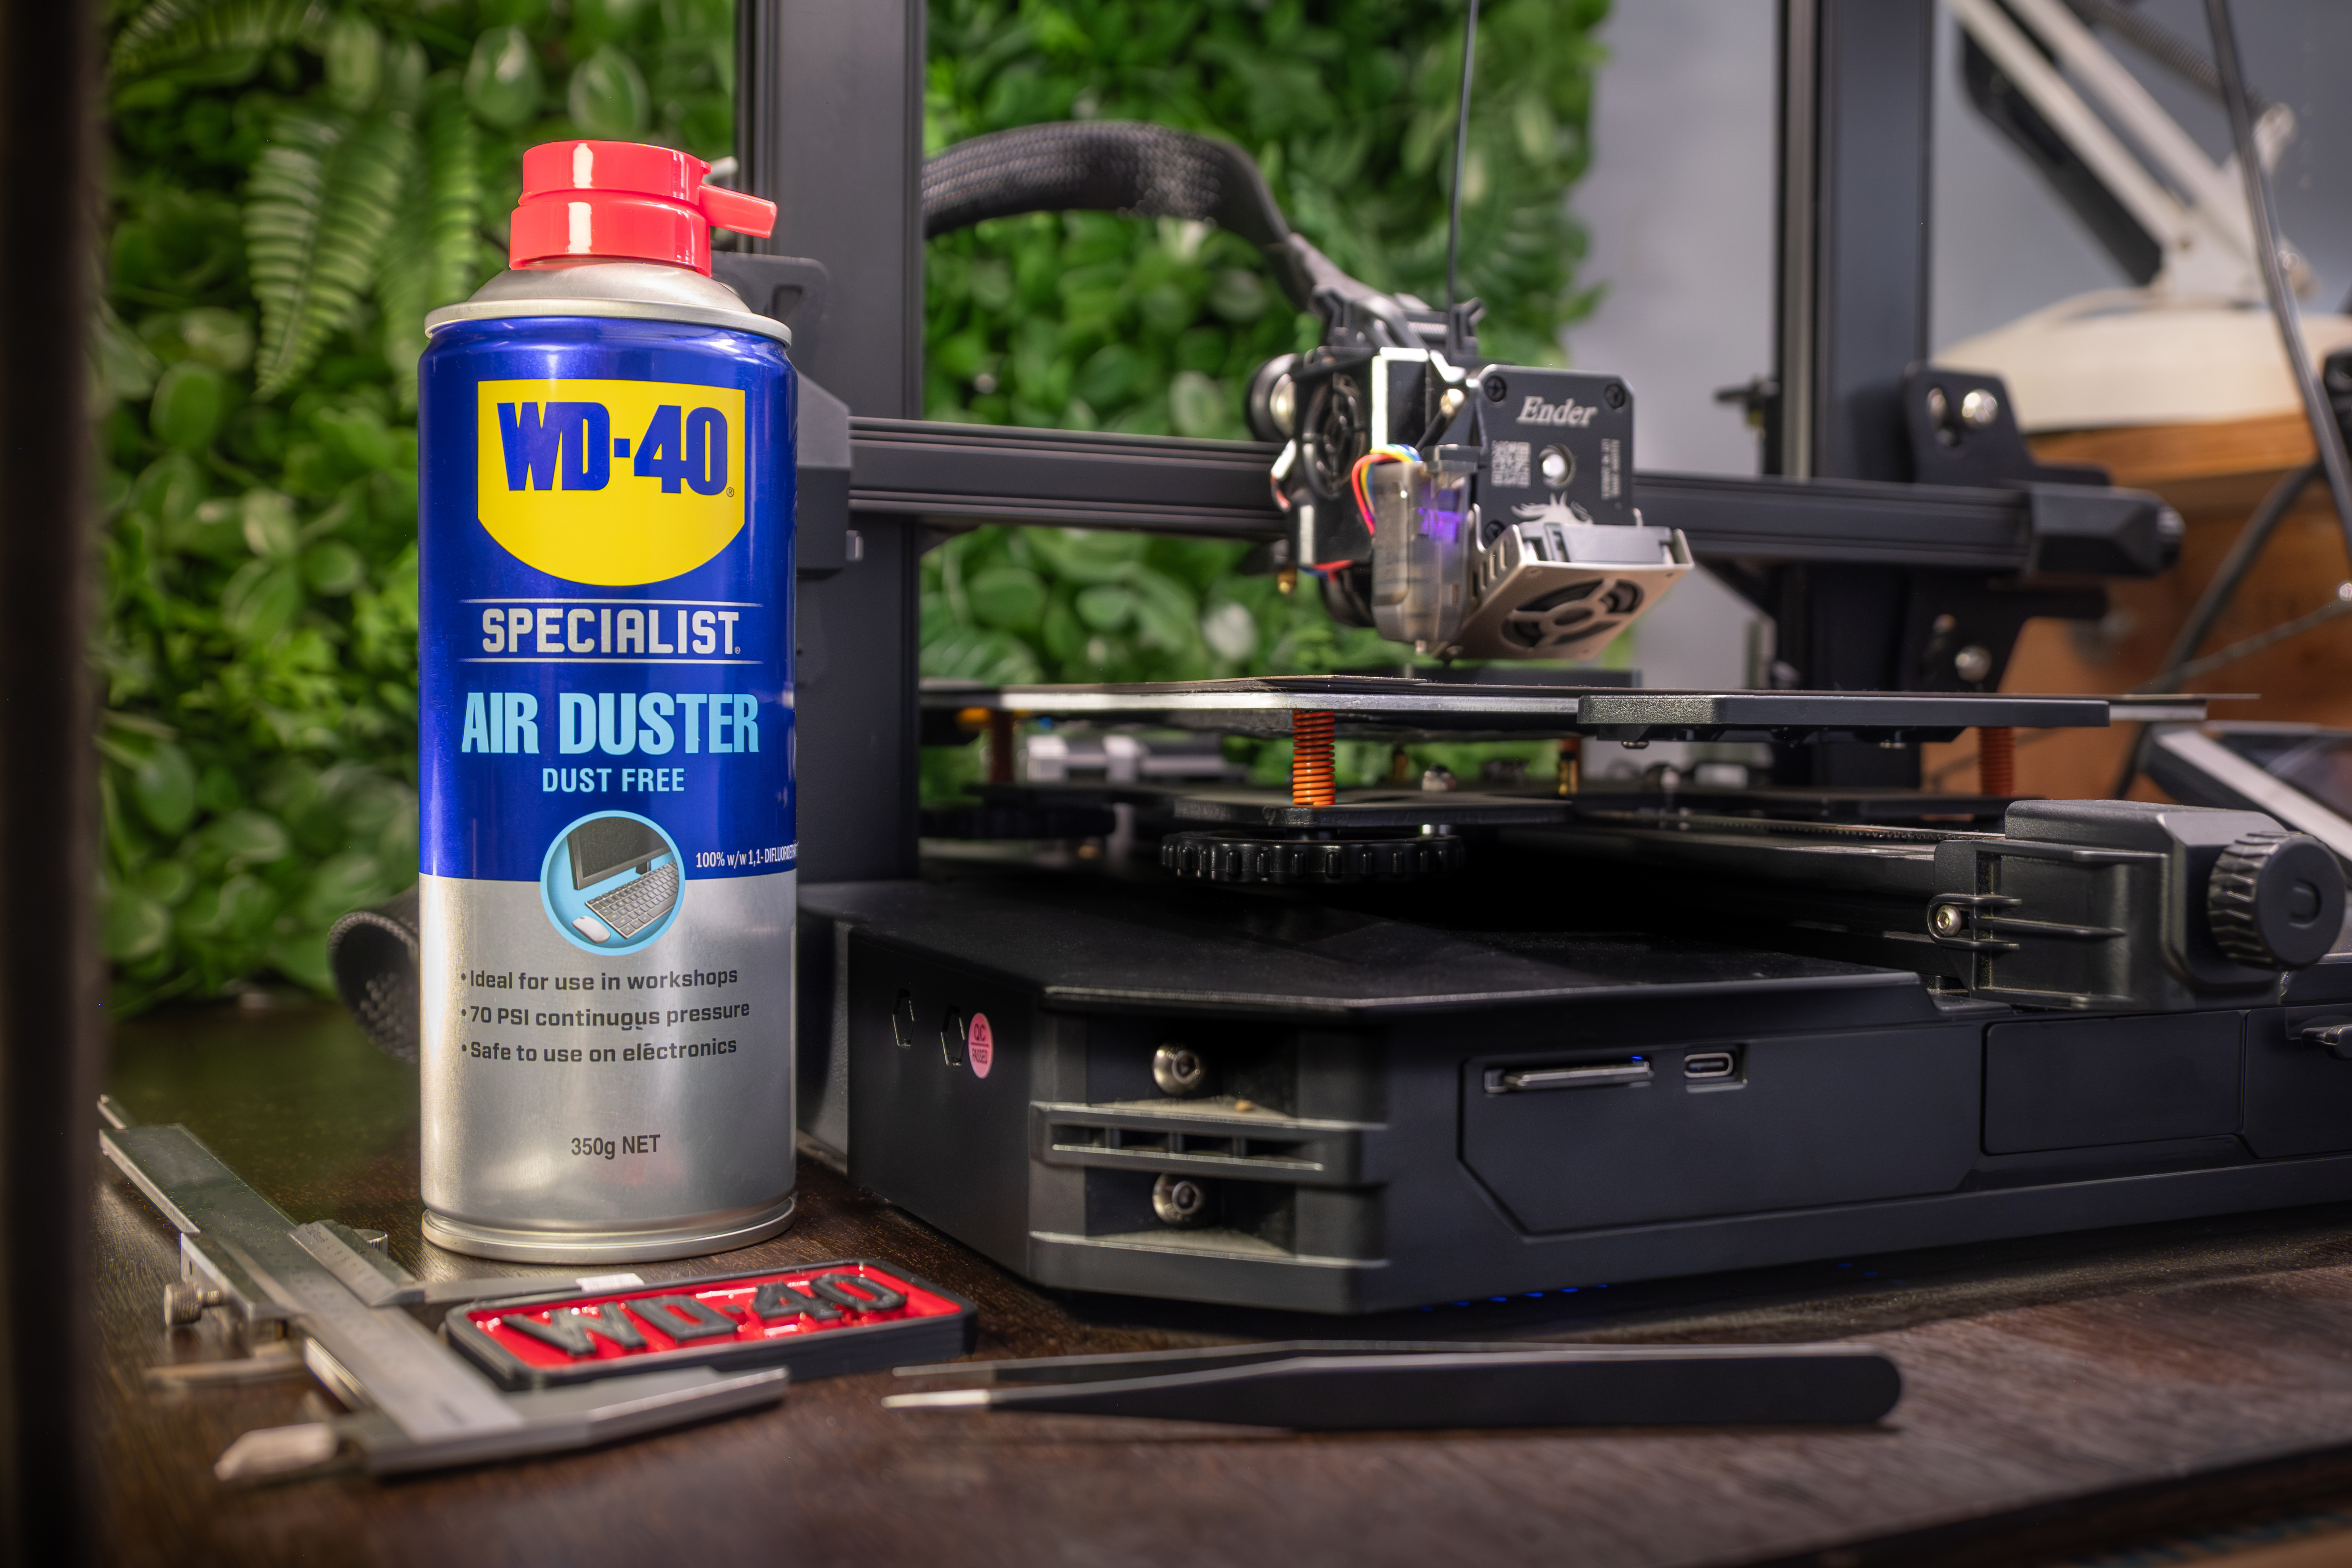
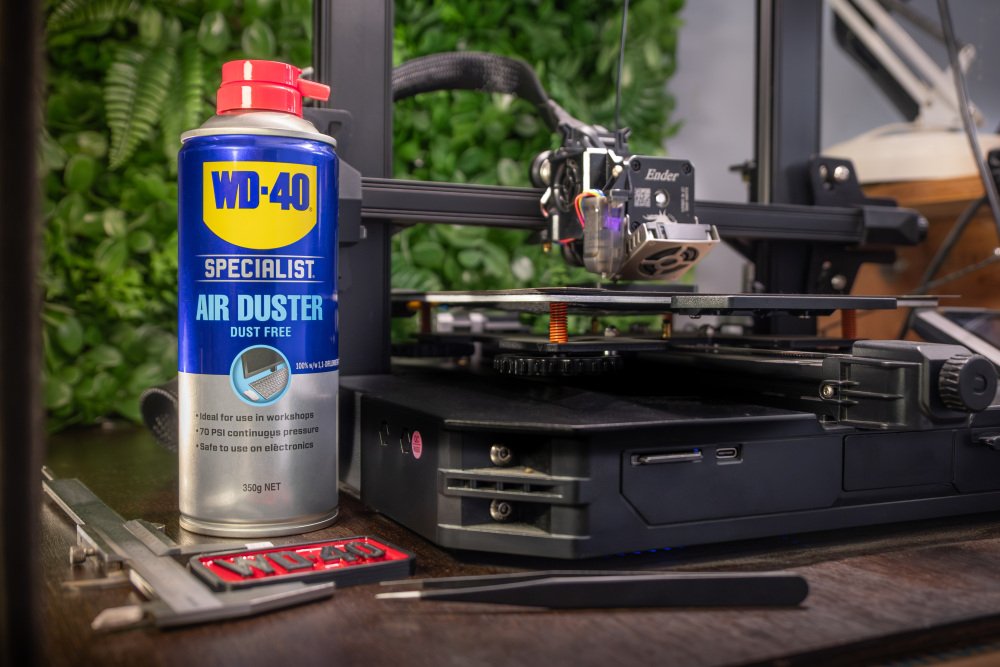
A crucial step for me in this project was to create the most ideal canvas that I could for painting. I wanted to fully invest into this build, and so I decided that I would sandblast each and every part, down to bare metal. I even created and 3D-printed custom covers to protect sensitive and moving parts or machined faces for this process. The WD-40 Air Duster has been a staple at my 3D printing set-up, and for good reason. It has been ideal for blasting away any dust that might prevent my prints from sticking to the print bed, as well as to keep dust away from exposed electrical connectors, an easy way to prevent a fire!
Over 20+ hours later, and more than a few podcasts deep, the end result of sandblasting is always worth the effort. Not only does this help the end result to really shine, but it's about doing it right, so that this mower will have many lawns left in its lifetime. This one isn't just done for looks!
Looking at the bare cast-iron is like going back in a time machine to where things were really made to last, but had also been designed to be repaired. Standing on the shoulders of giants in this project, I wanted to make sure that their efforts were equally reflected, as they were the ones who had created something that I have been able to bring back to life.
In preparation to paint, each piece was pressure-sprayed down with acetone and compressed air. Then, gently and evenly heated, to bring the moisture buried within the porous cast iron to the surface and to evaporate.
Step 4: Painting
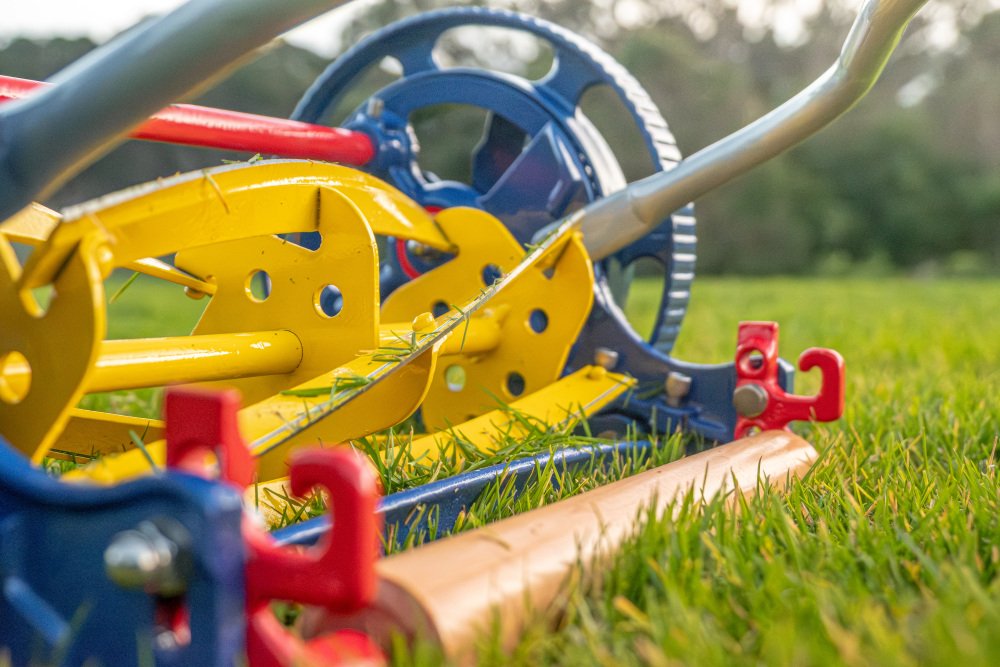
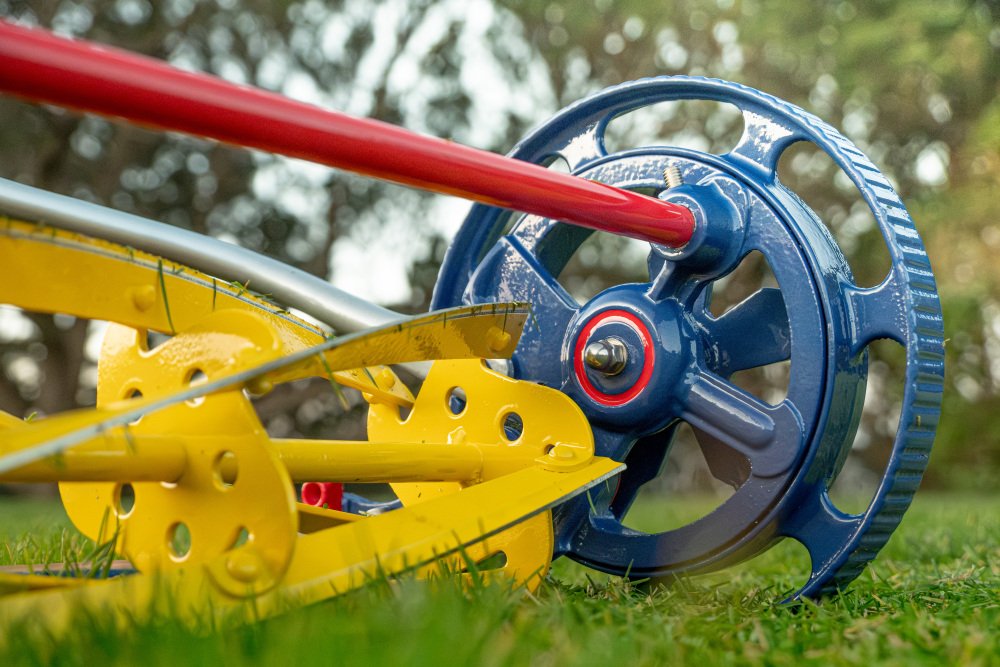
With my blank canvas that can also cut grass, I was like a kid with a colouring book, excited to finally lay down my bright colour palette of custom colour-matched paint. Projects like this come to life in the small details for me, and this applies to paint too!
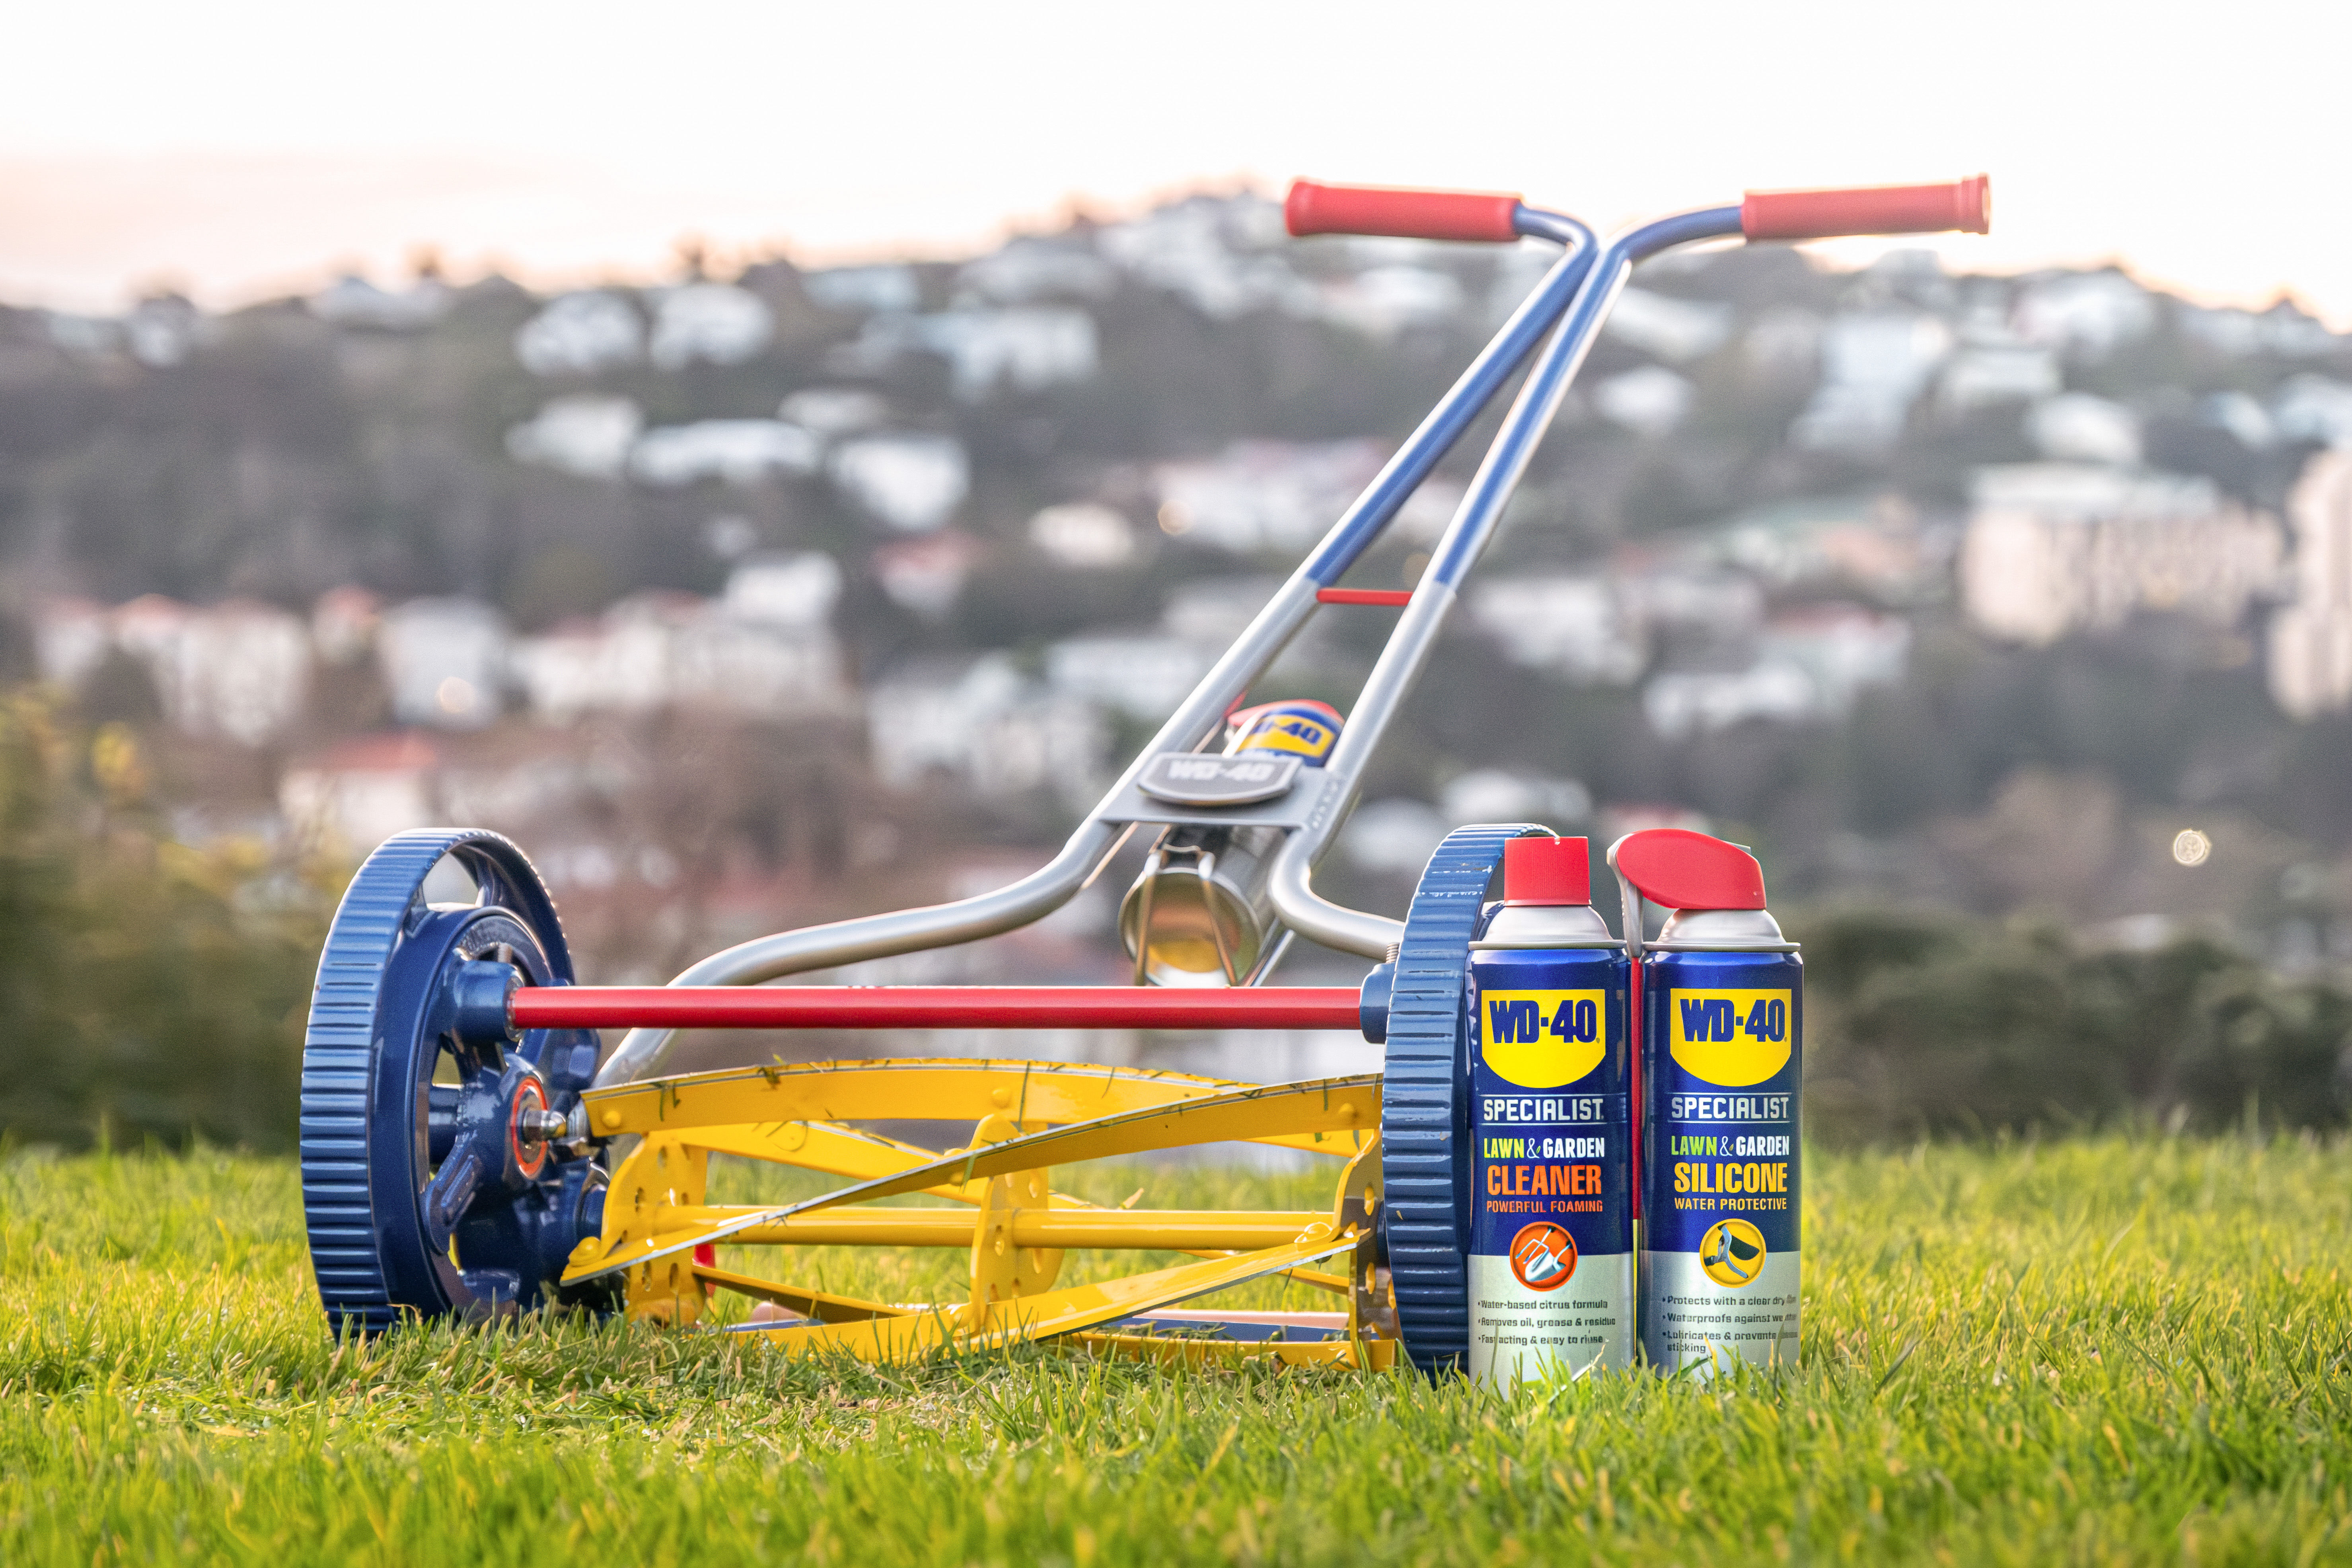
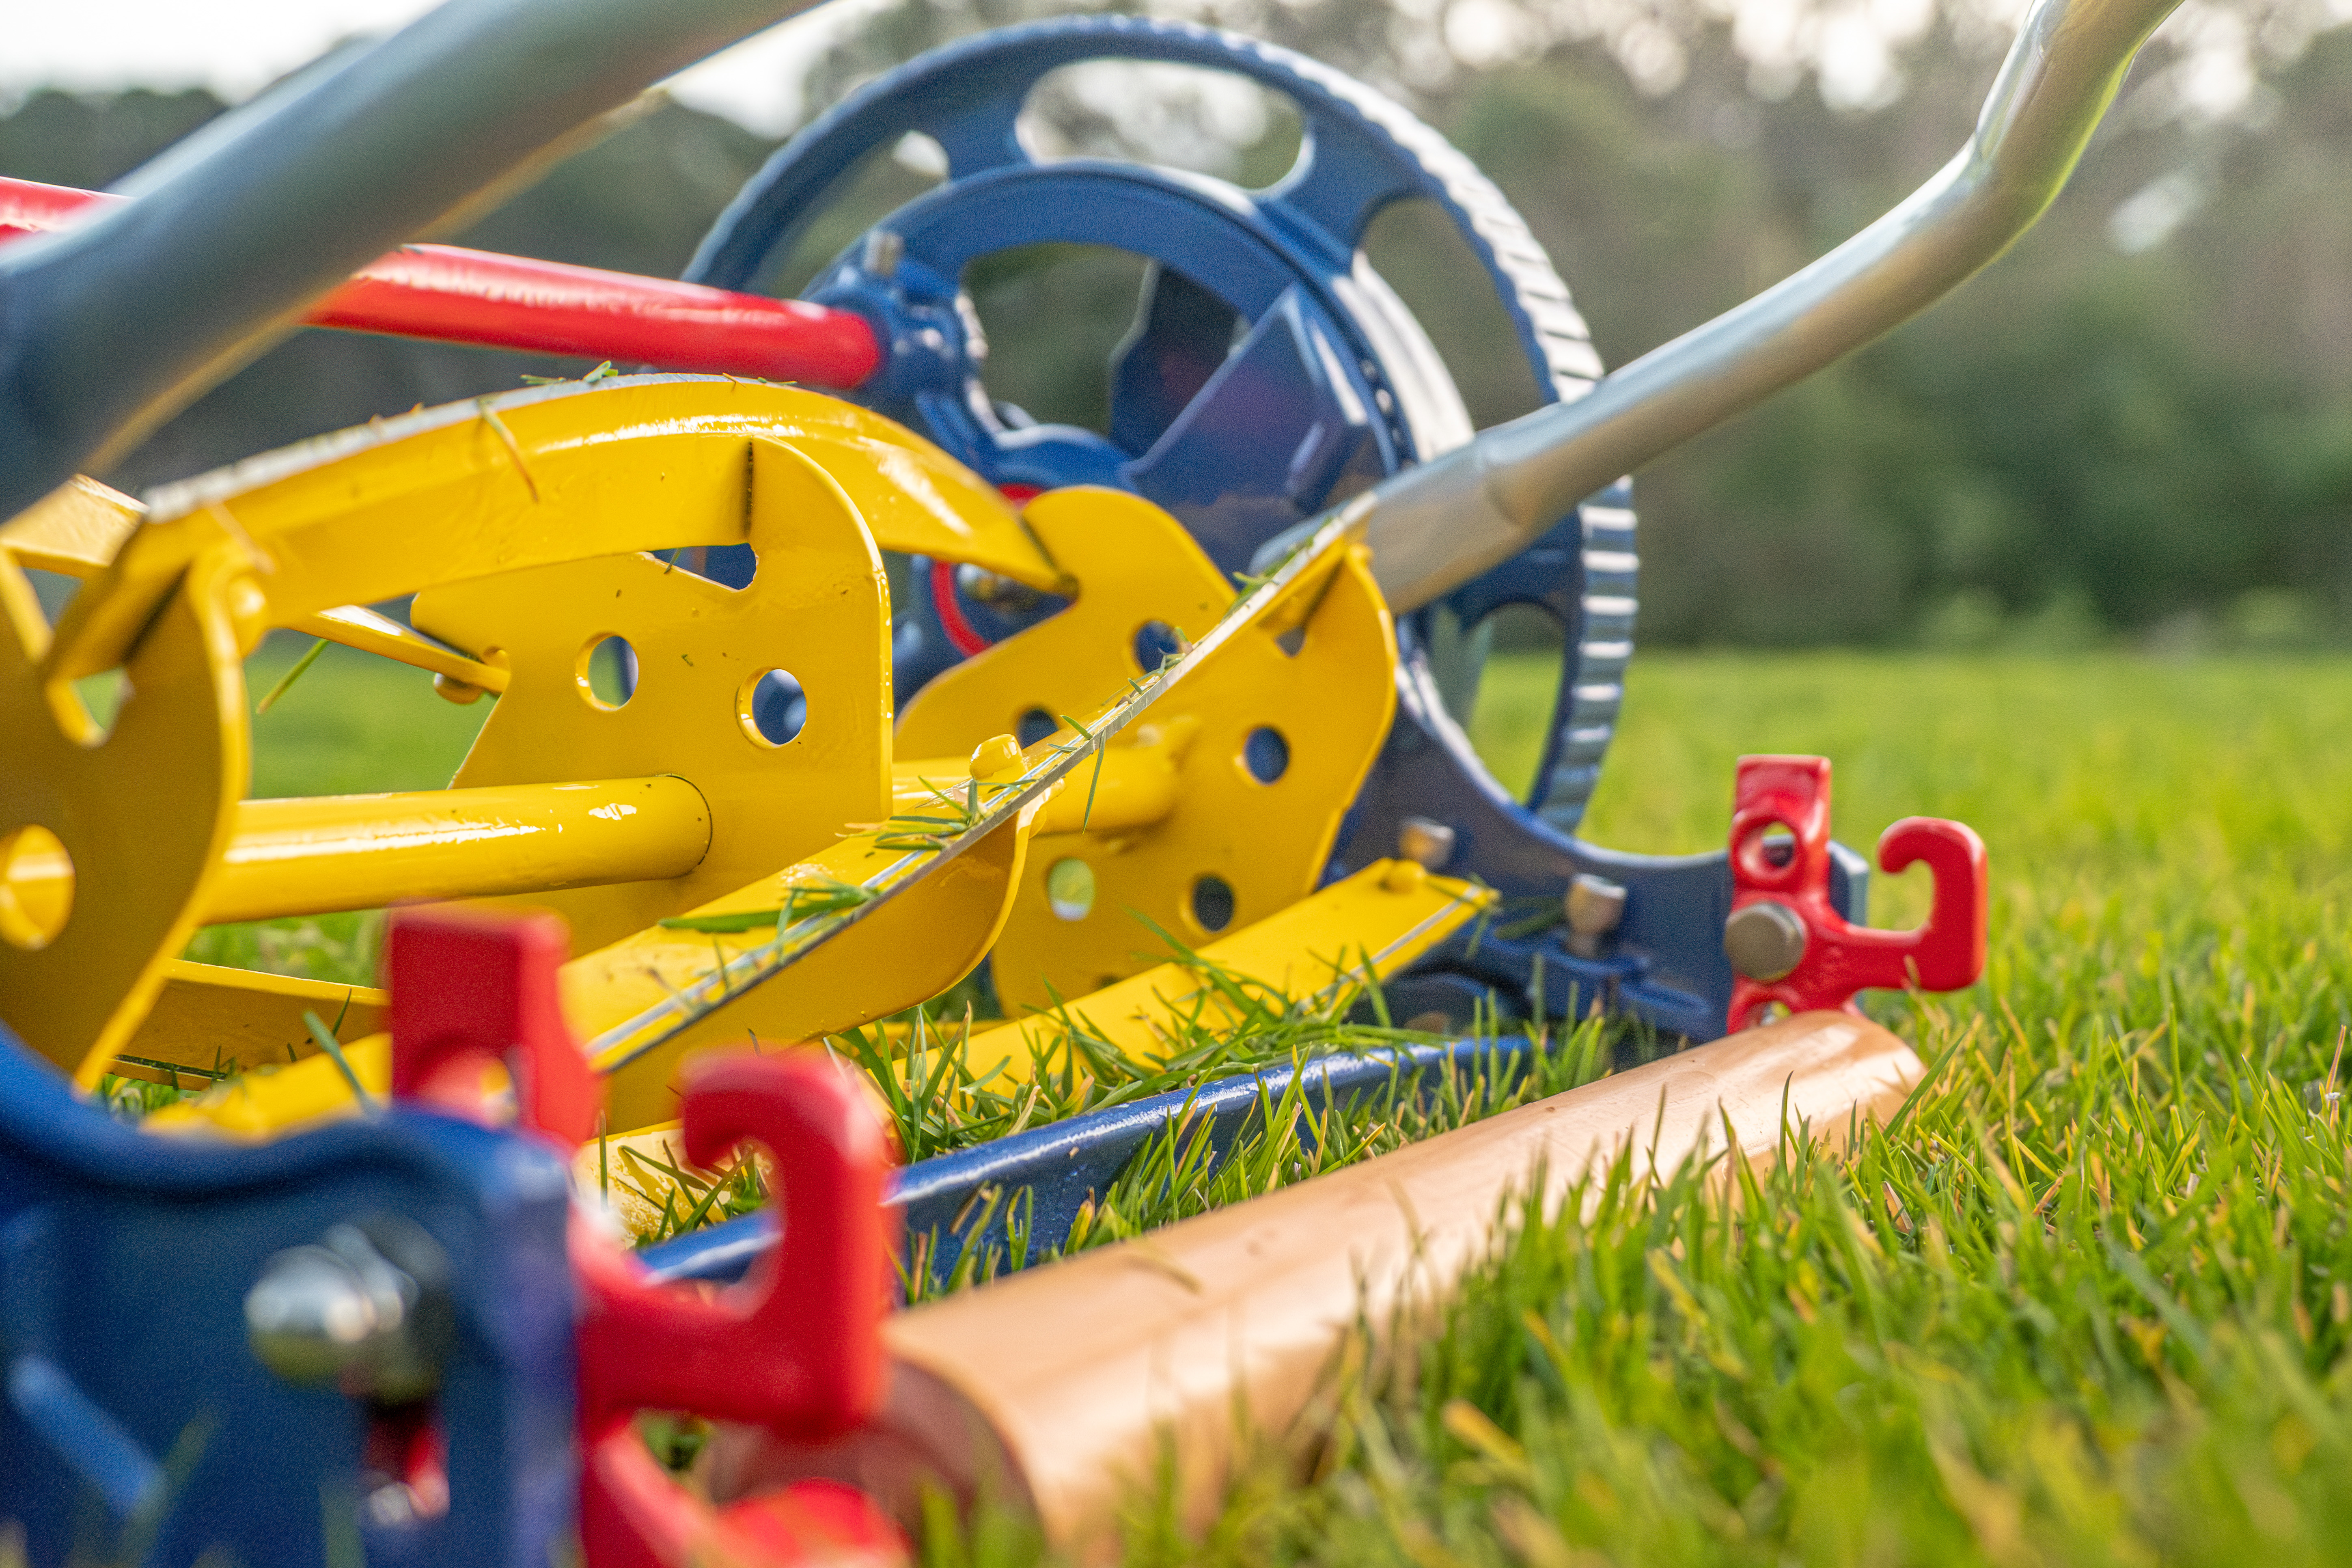
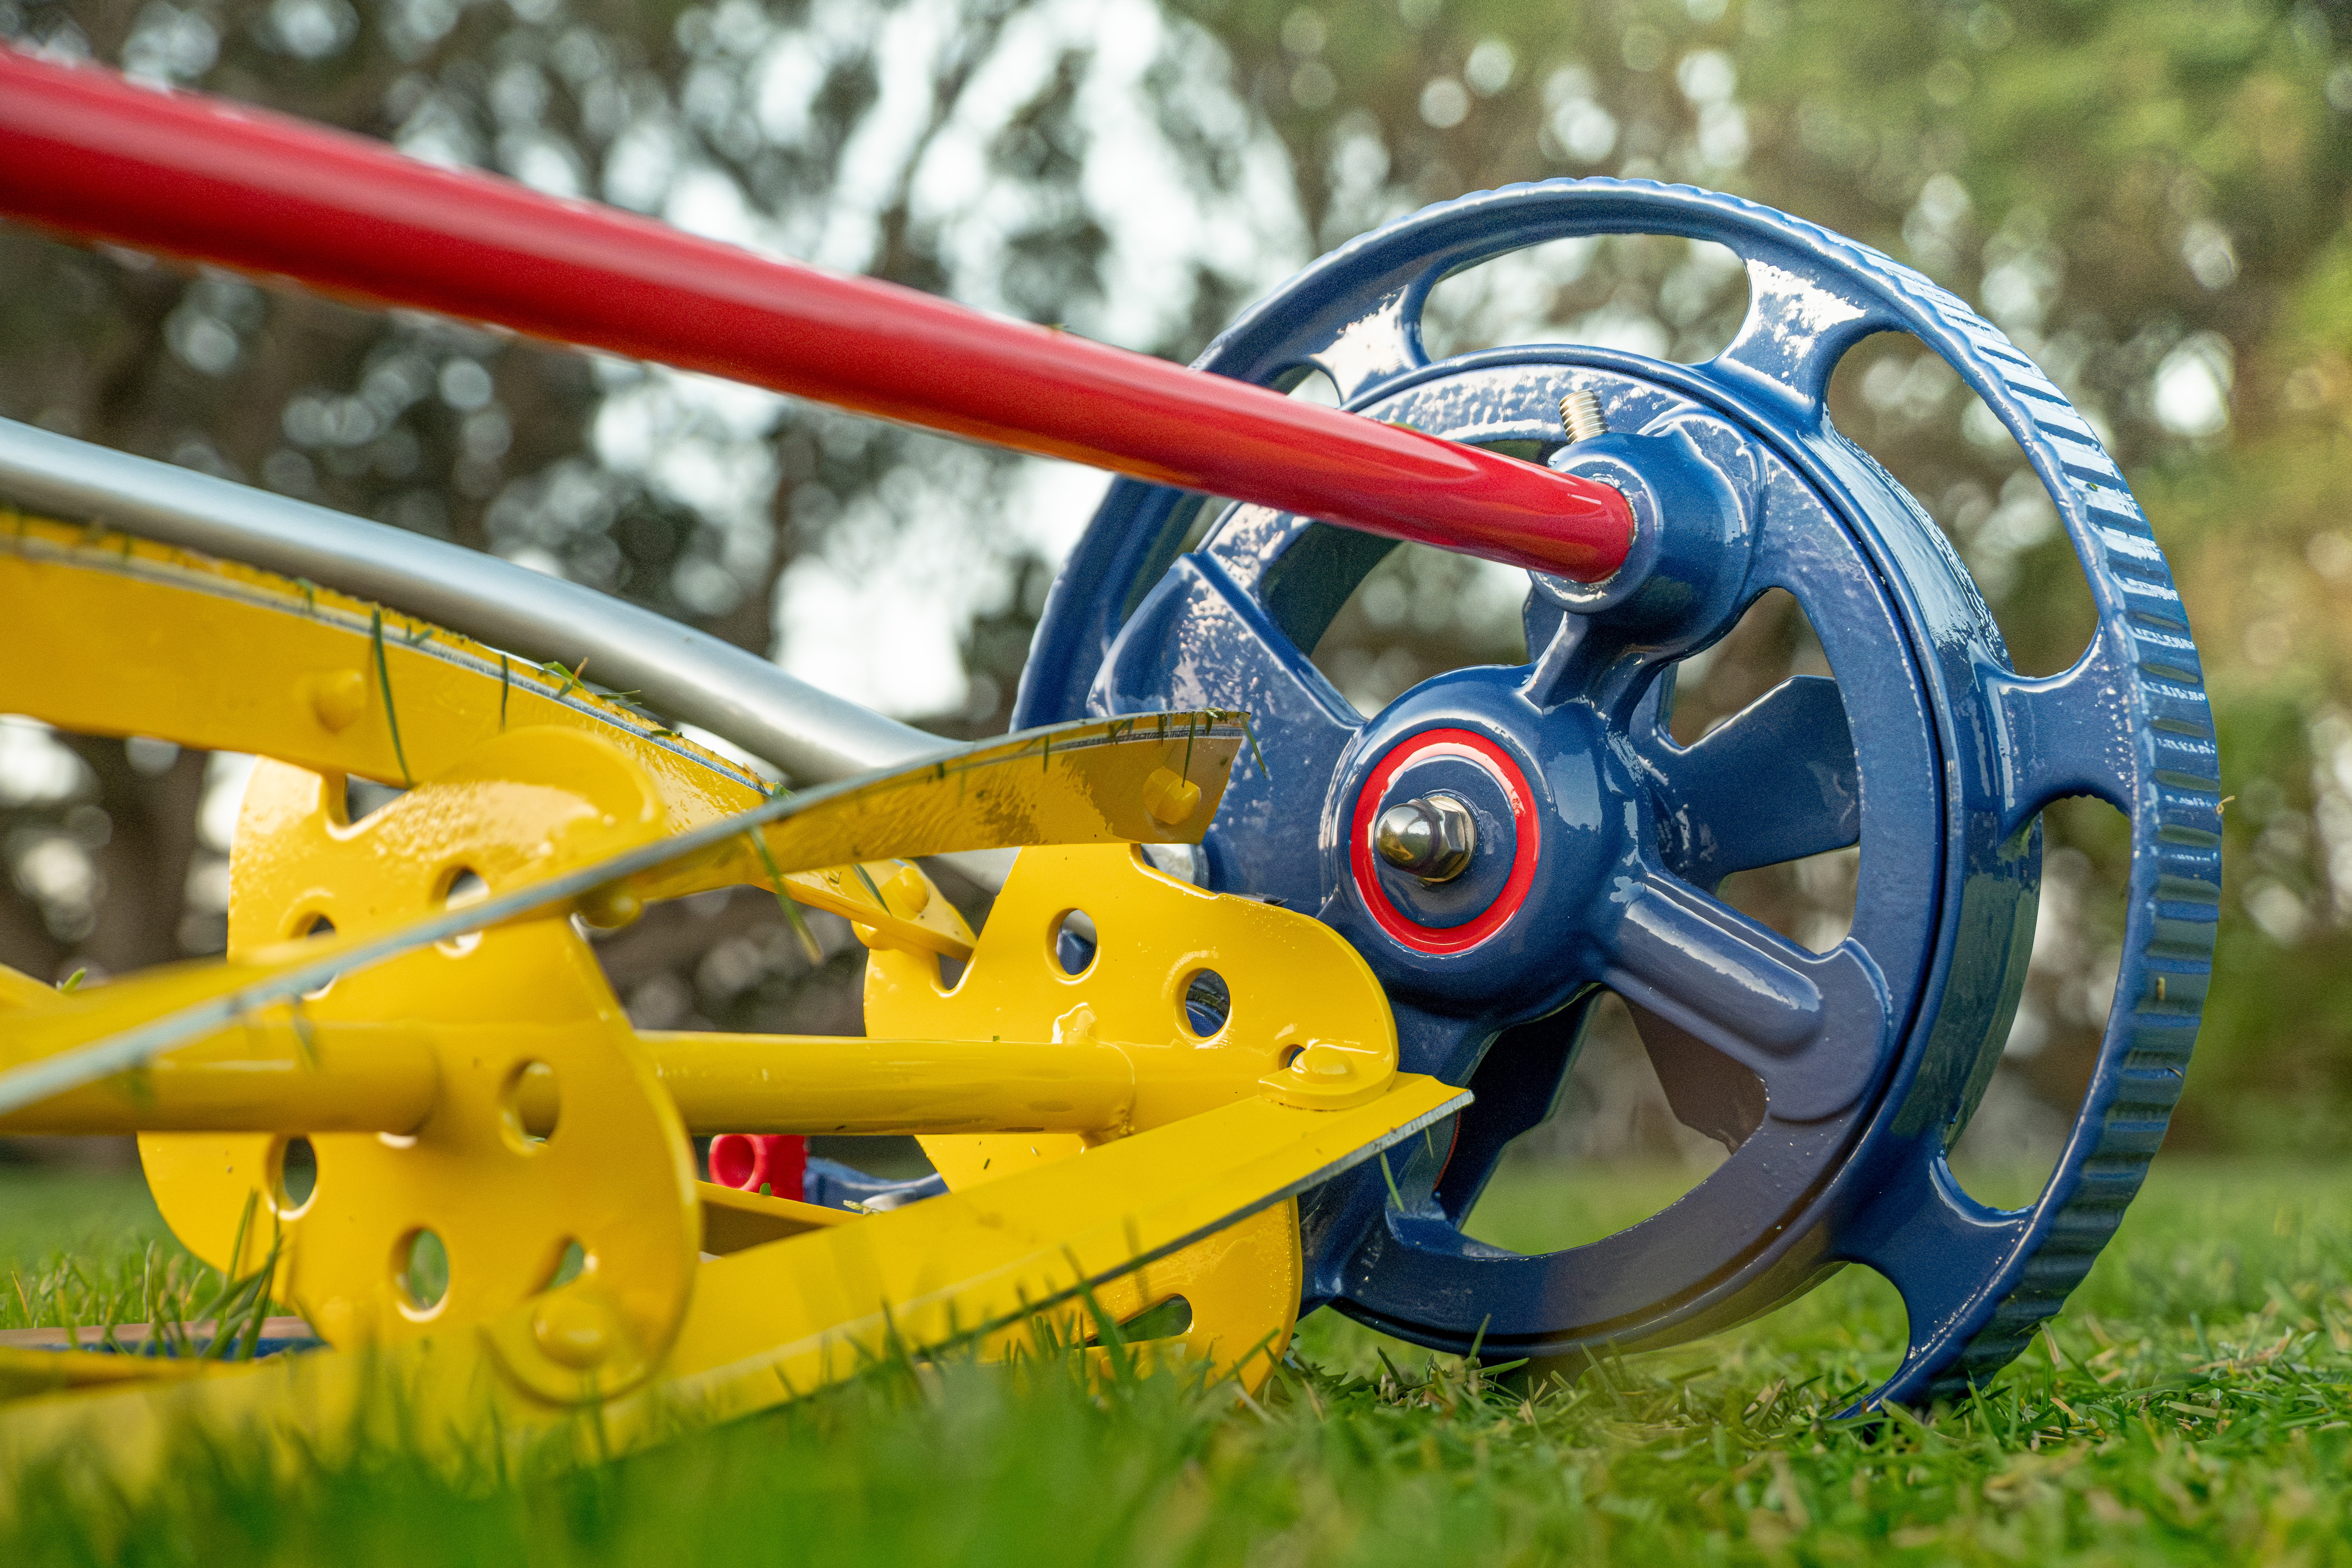
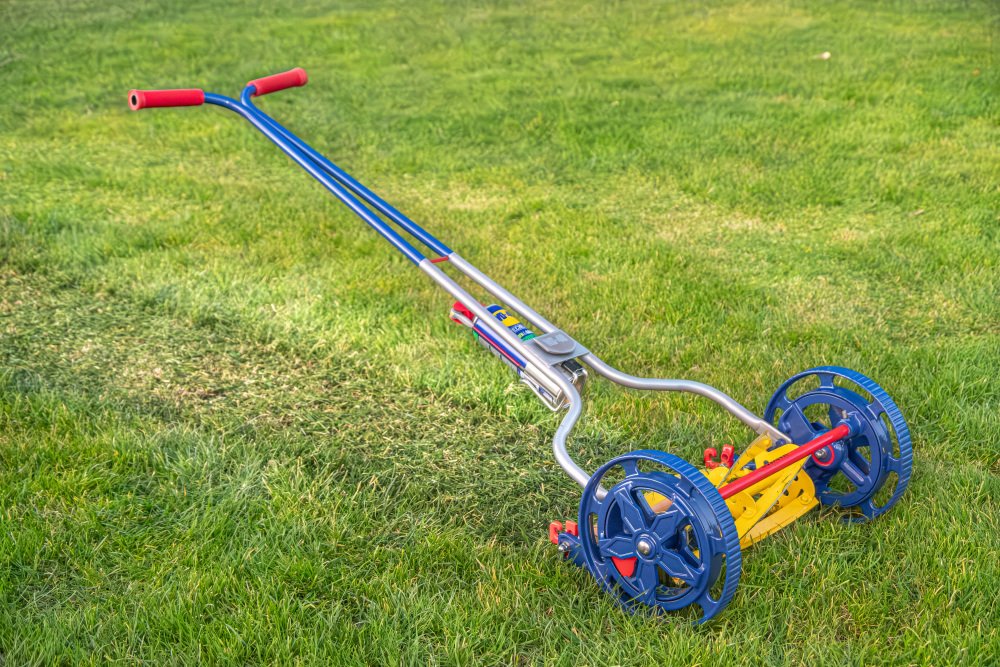
A metallic flake added to the blue makes it pop in the sun and emulates the metallic can. A two-tone handle matches the signature specialist can colour design. Red bars painted resemble the spray nozzle, and the blades are bright yellow like the WD40 logo, surrounded in blue just like the can.
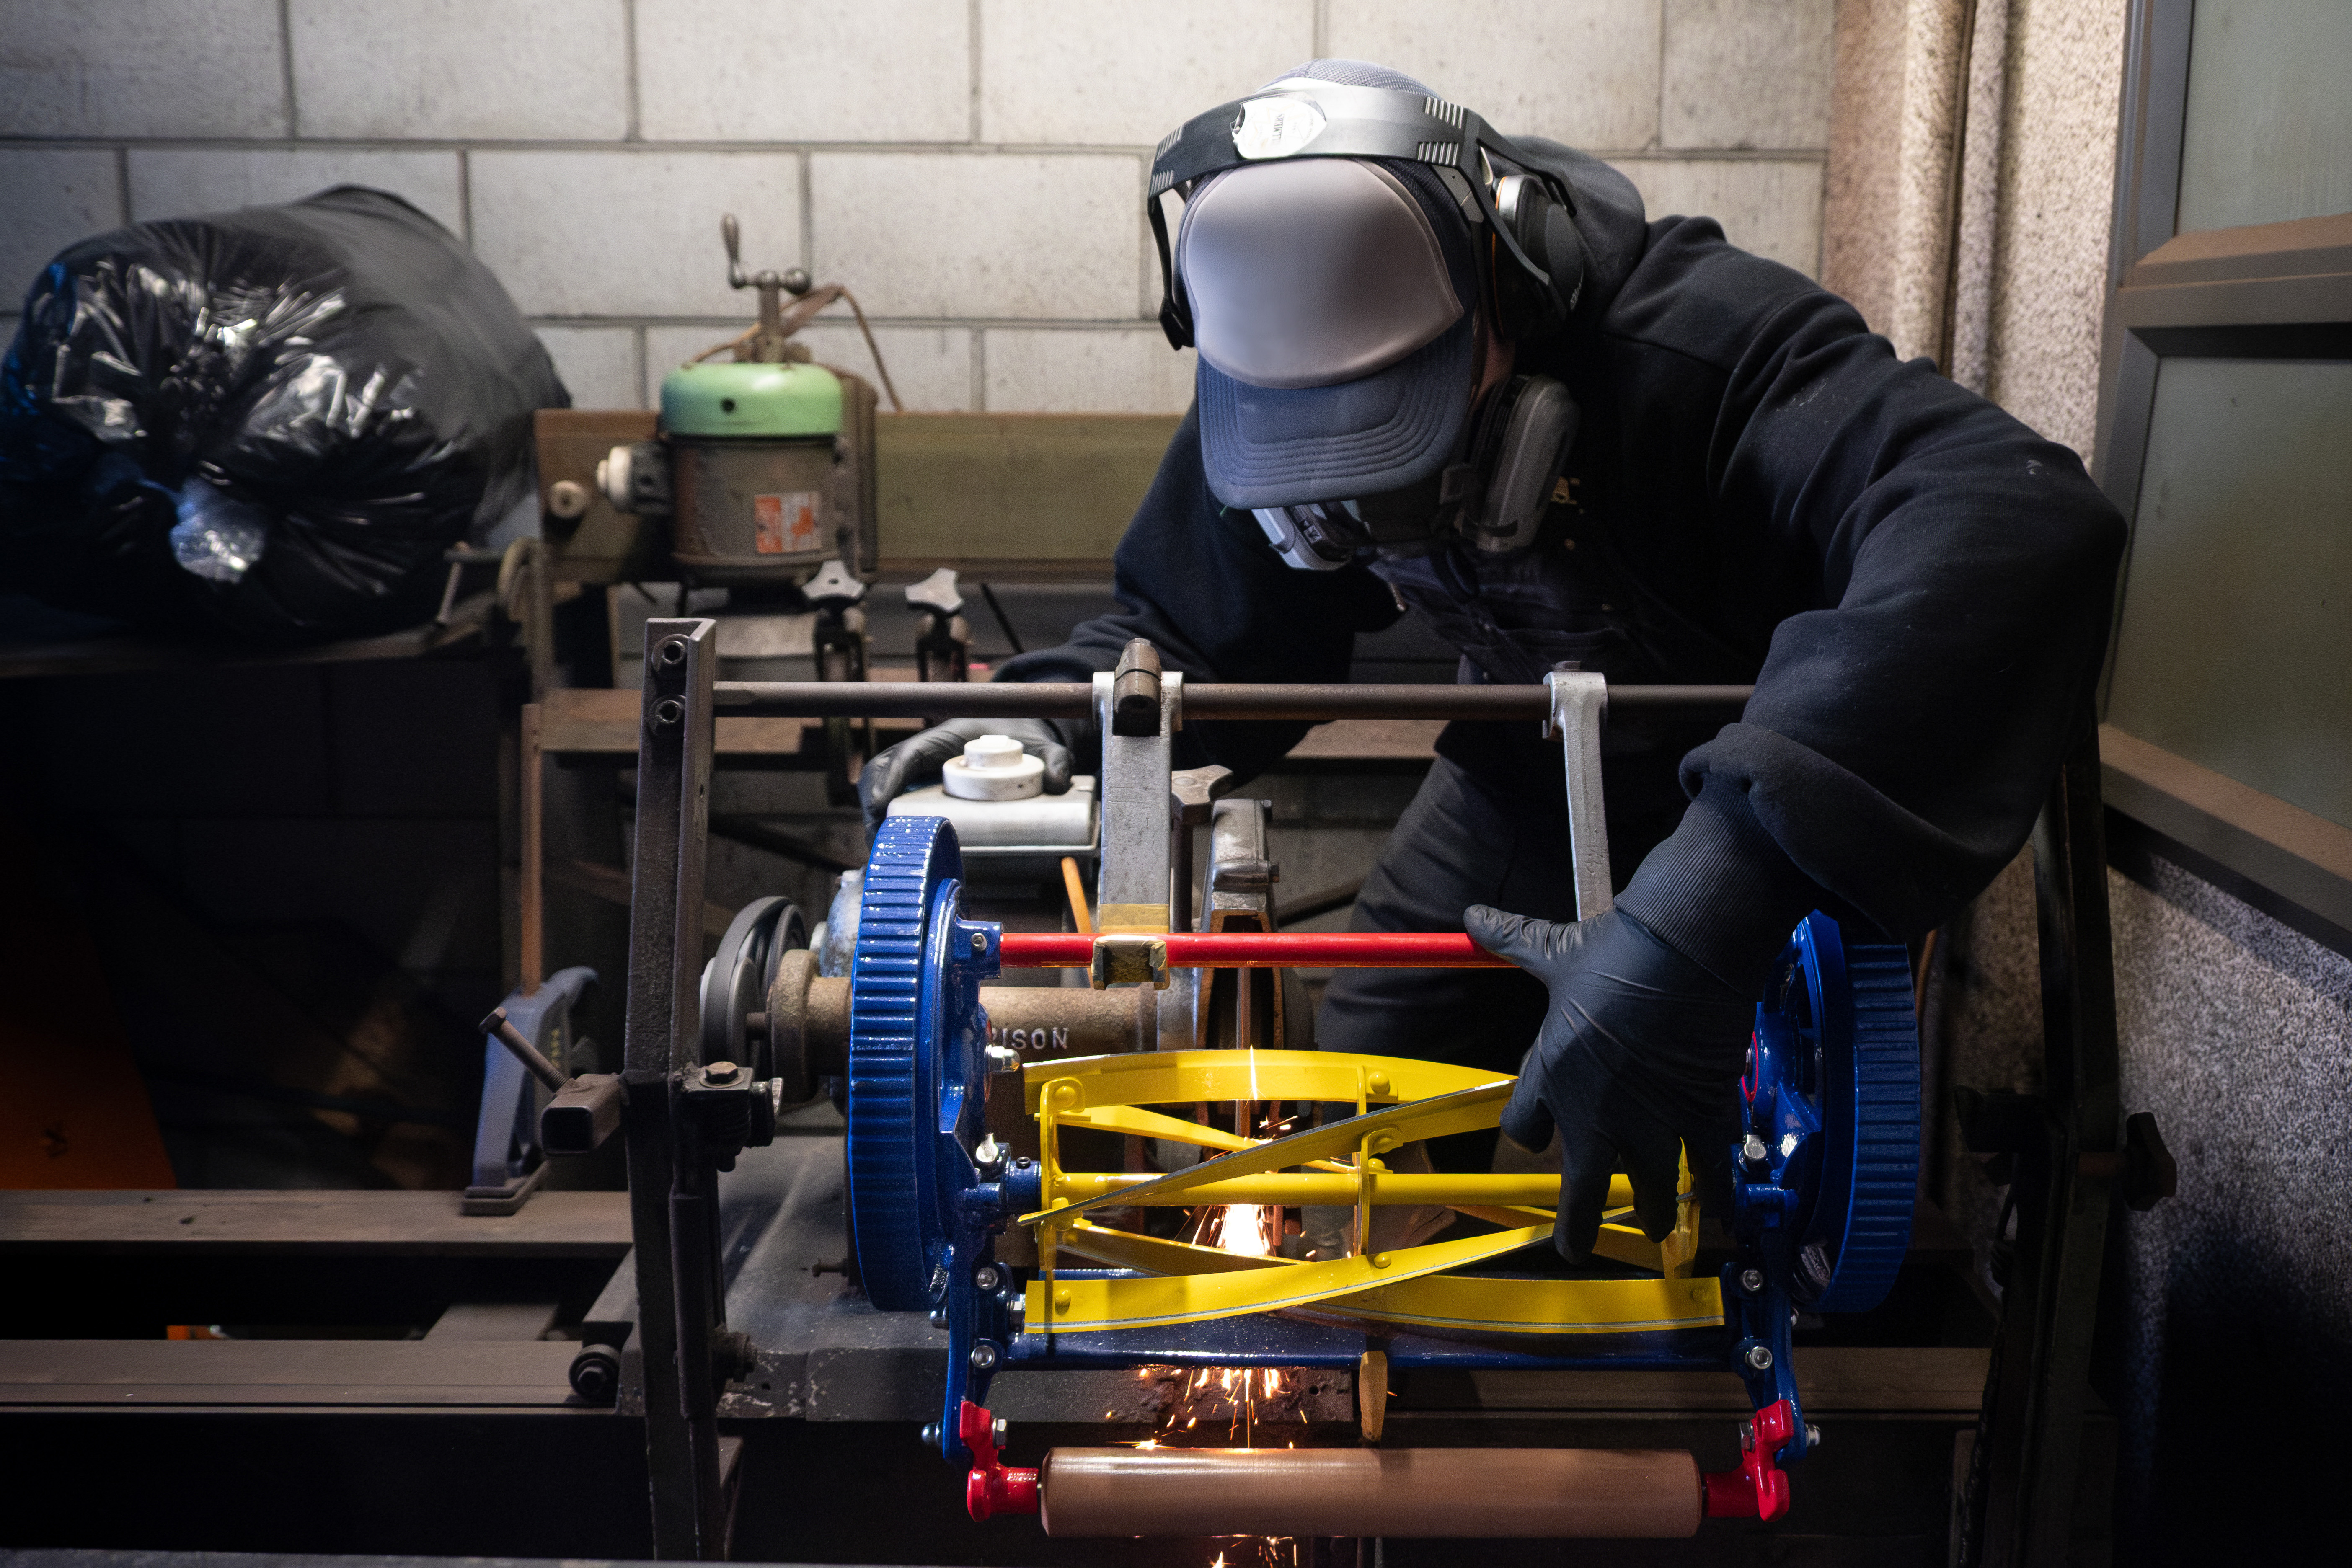
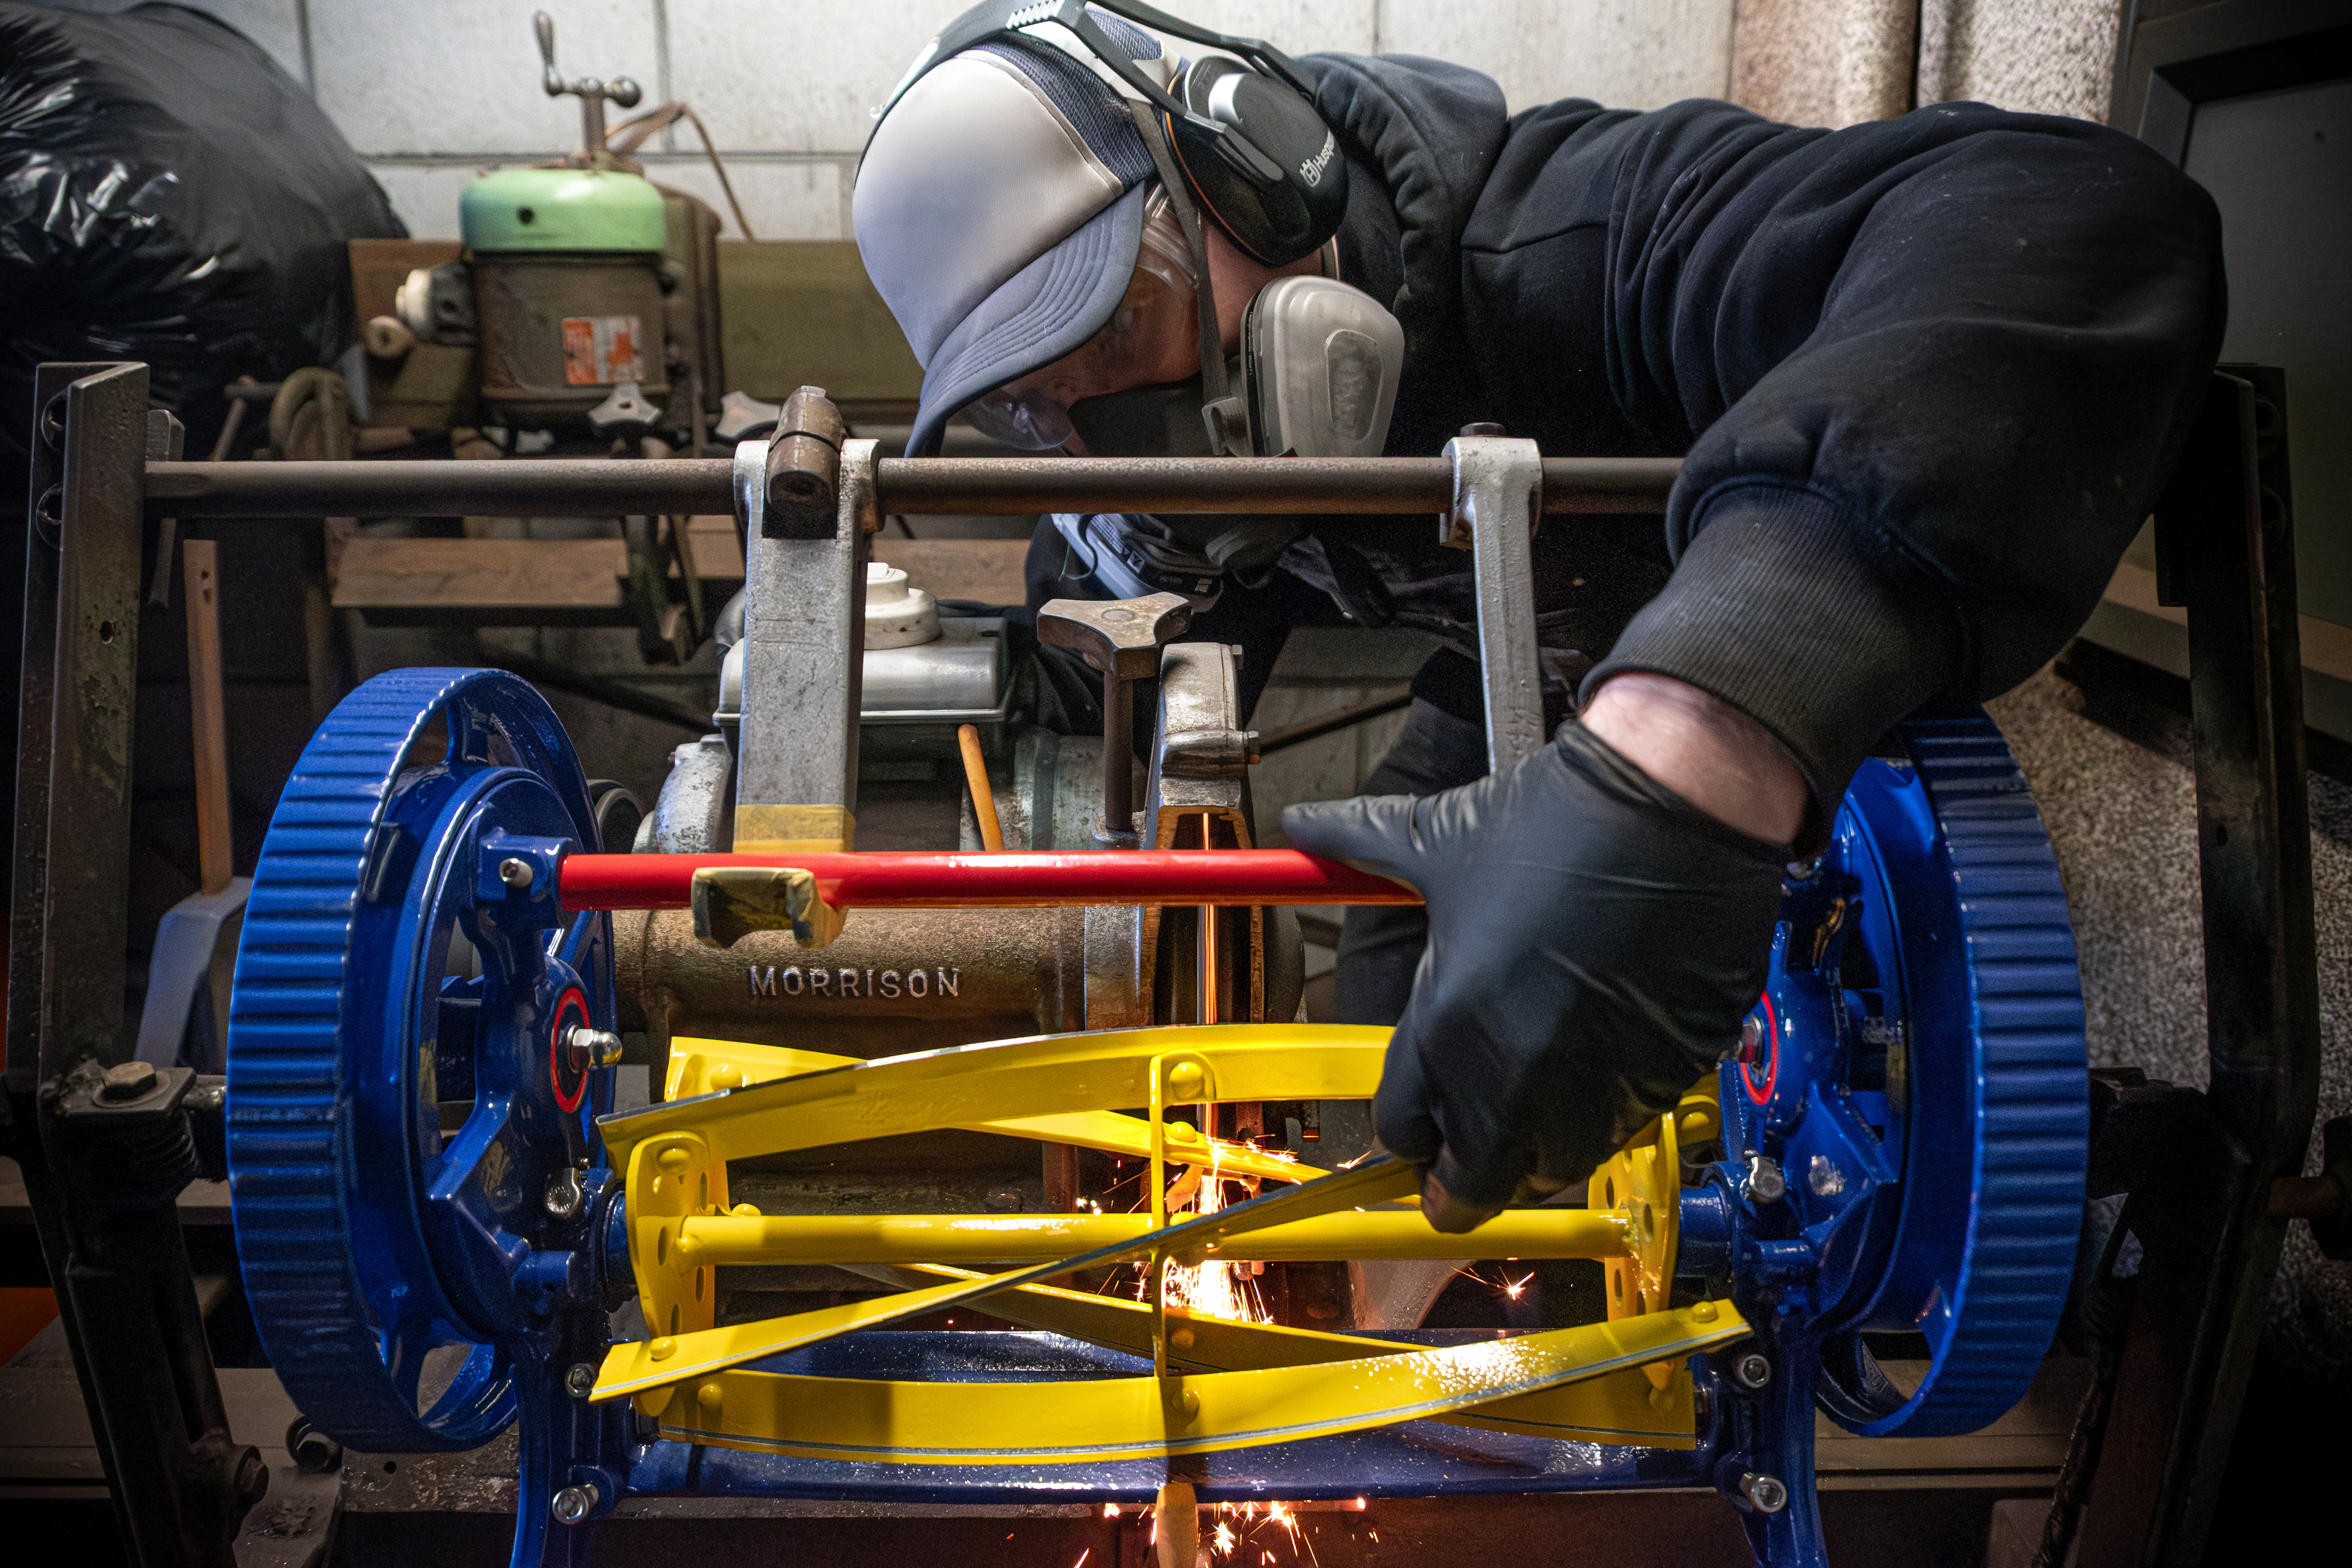
Step 5: Sharpen
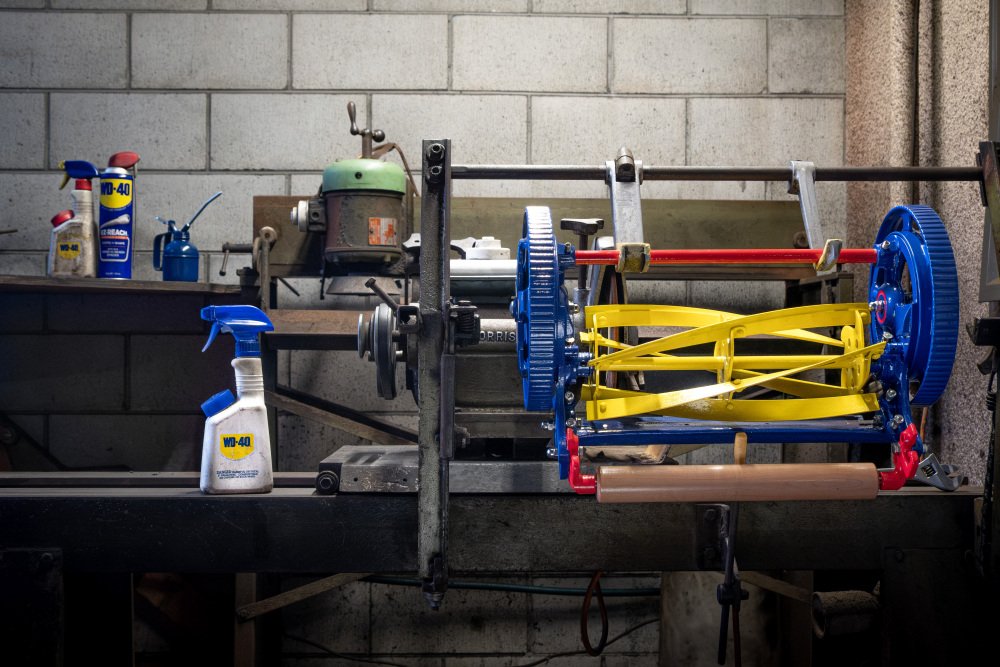
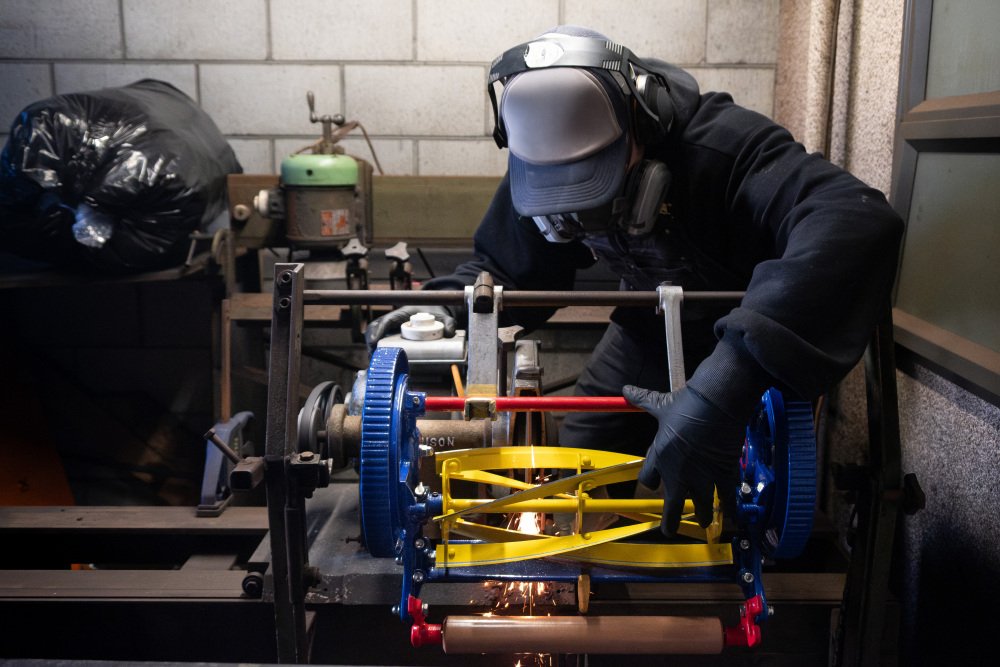
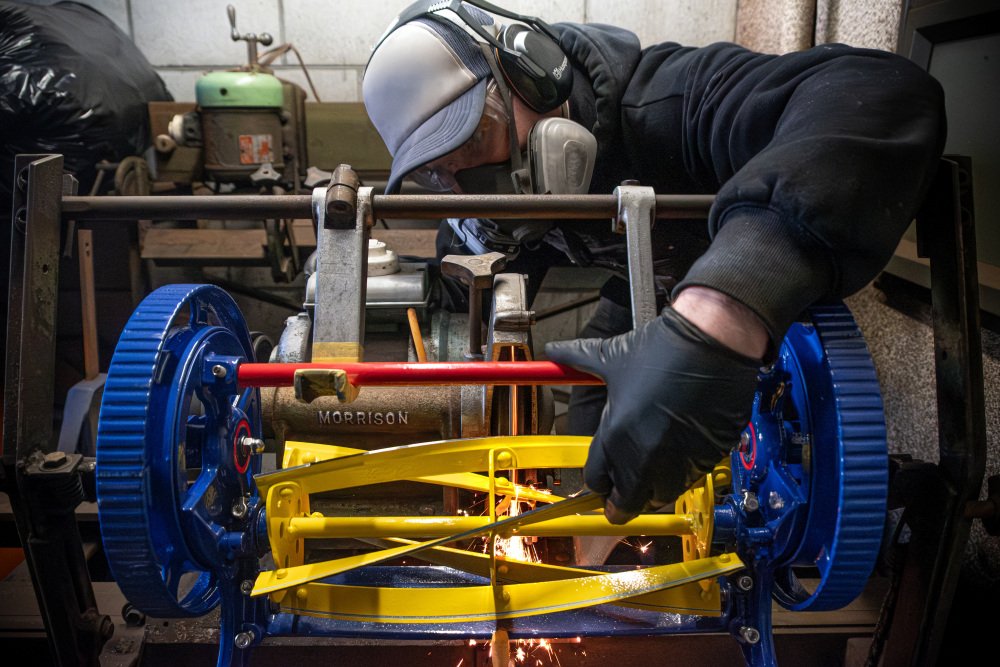
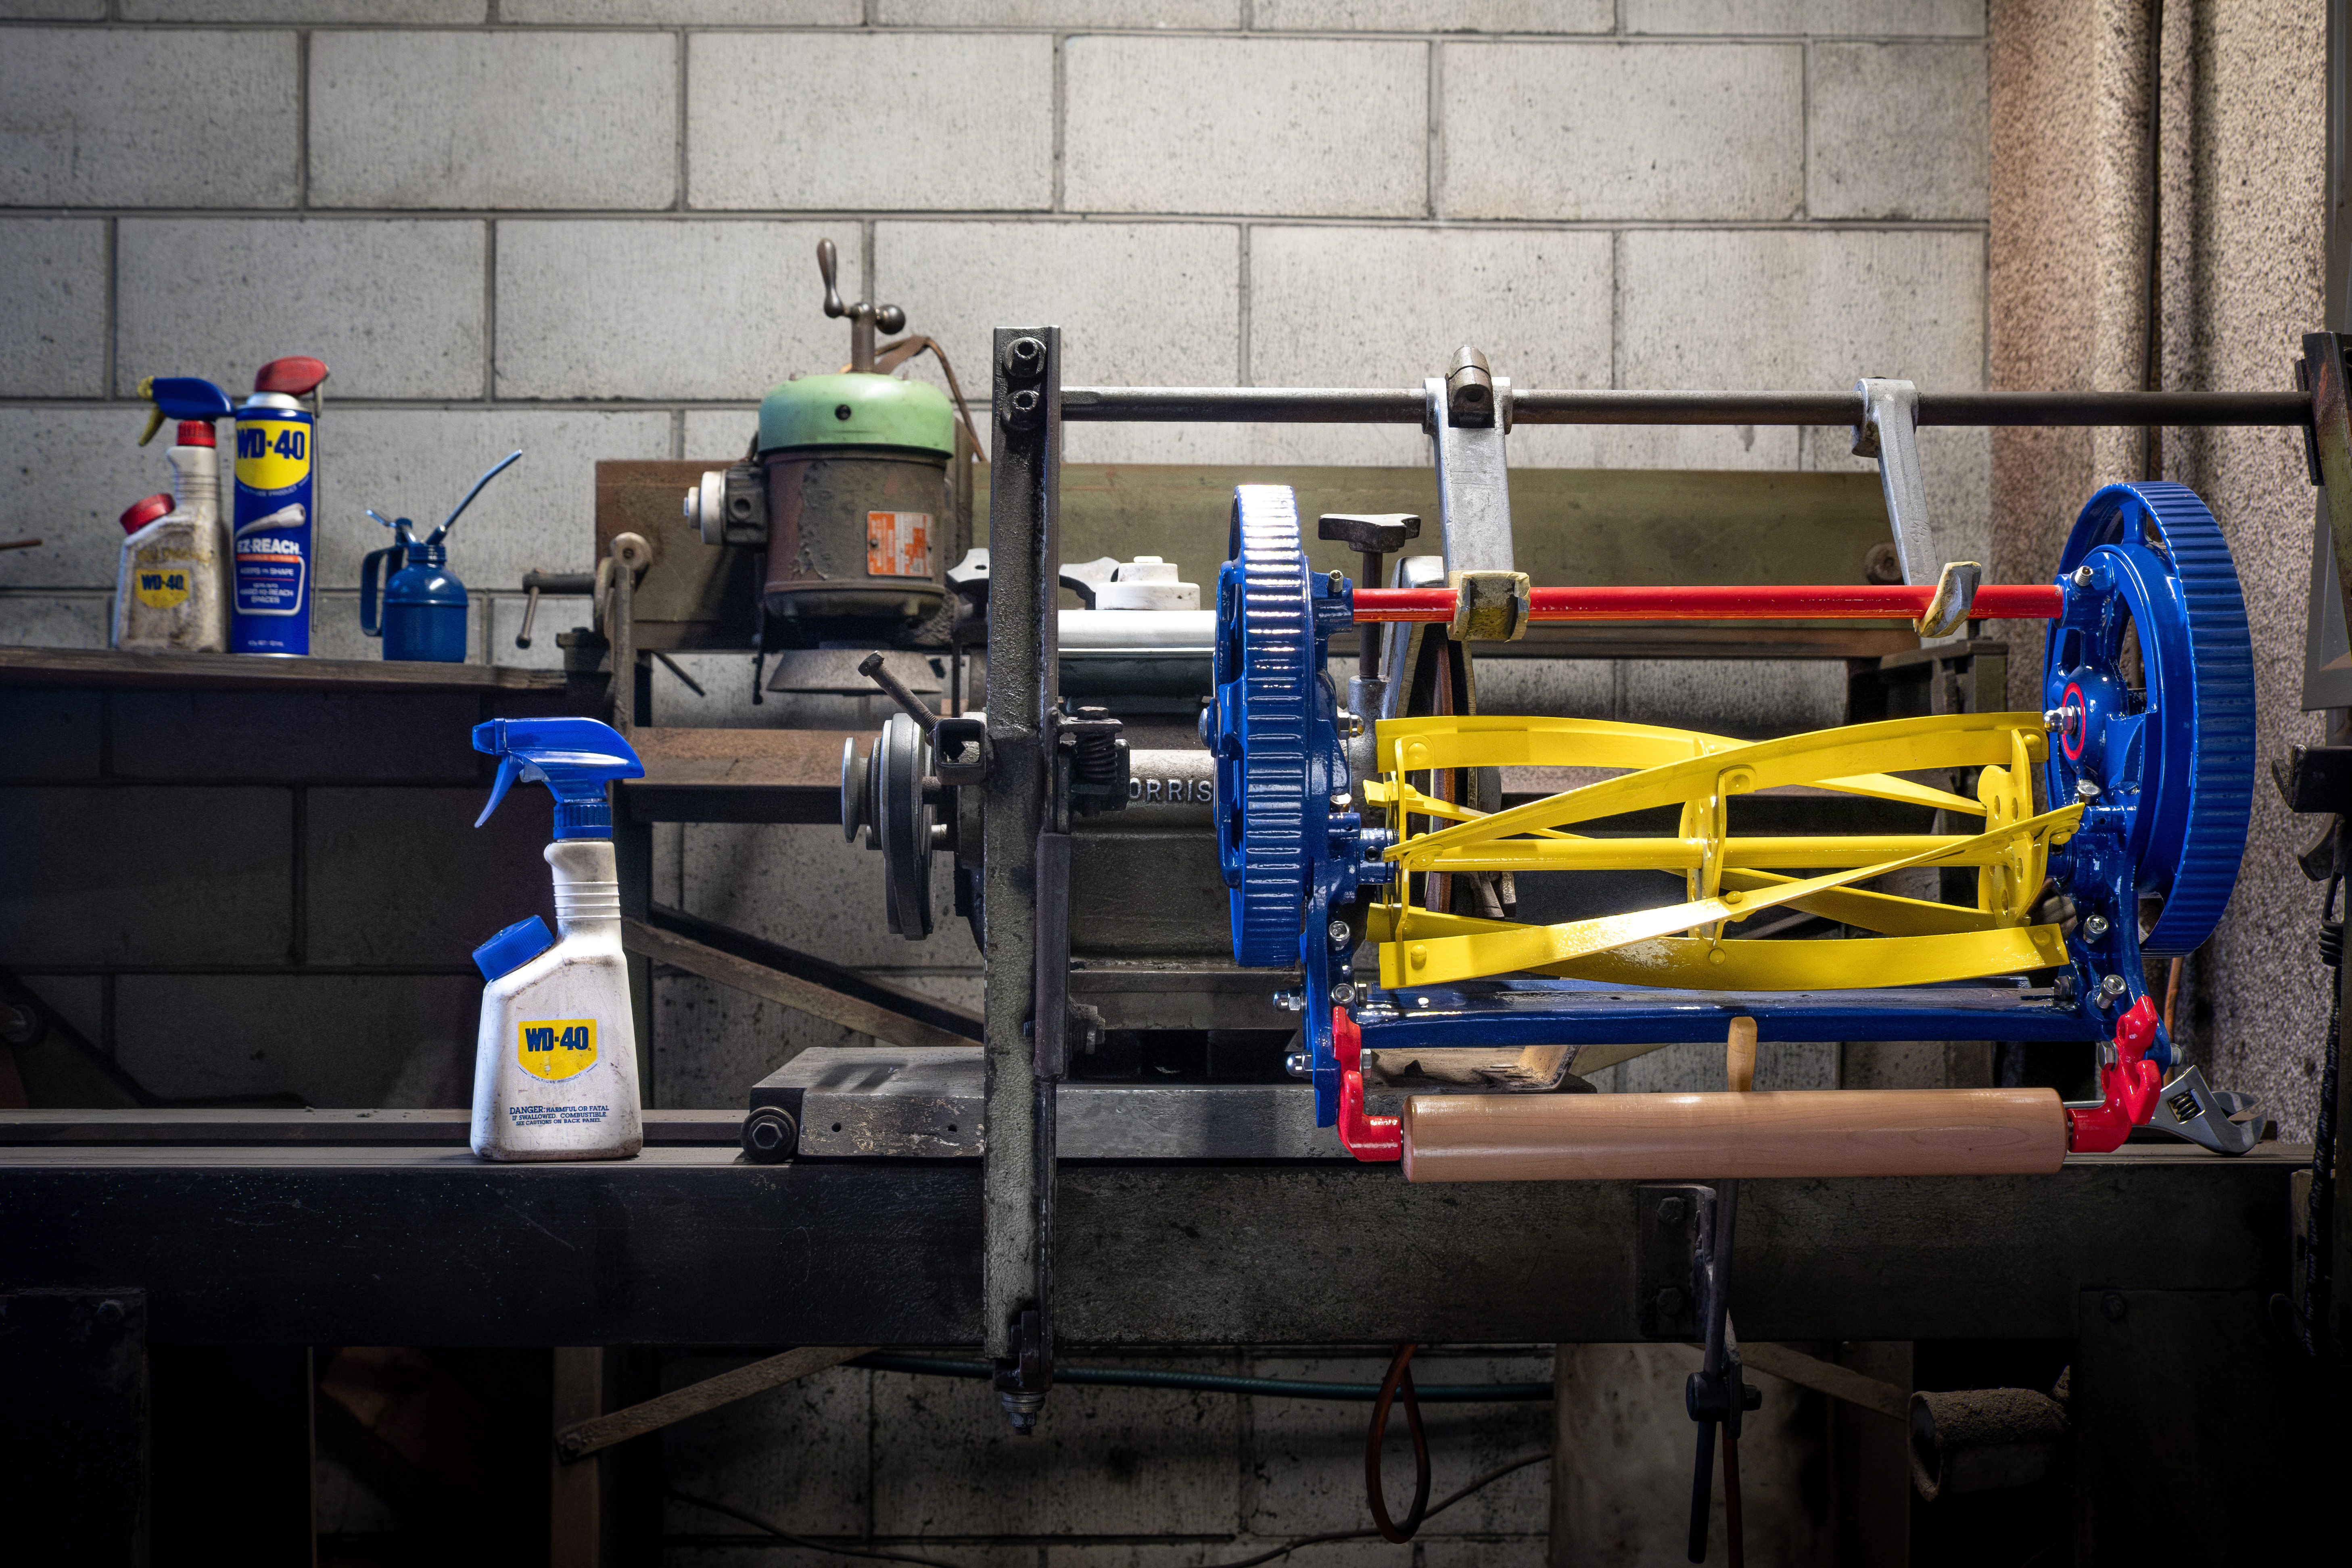
If you have heard a freshly sharpened reel mower roll, either behind the handle yourself or waking up to your neighbour using theirs, you’ll know the “Shhh” sound they make when cutting. This can quickly turn into an ear-piercing squeal if done wrong or if left to rust. However, this type of sharpening is a rare specialty nowadays, as you need to sharpen all x5 curved blades in continuity. Each blade needs to be sharpened to the same angle at each part of the curved blade in order to slice the grass against the baseplate. Each blade sharpened the same as the last. It's really something to behold when done right though, but just don't lose your fingers in the process!
Unfortunately though, this is a dying art. When lawns got bigger, petrol mowers entered the market and became more popular, proving more advantageous for bigger and more uneven lawns. Dedicated sharpening machines like this one have started to become nearly extinct as the use of reel mowers has been on a steady decline in the consumer market.
Luckily for me, I had the permission of a local shop to use theirs, one of the few in the country that still has one!
Machinery like this has been kept alive in workshops around the world by WD-40, lubricating their operation and helping to preserve them in time. The mechanics told me how they routinely coat the sharpener in WD-40 a couple of times a year, and that this is all they have needed to do. When I think about it, I wonder if this machine would still be operational without WD-40, and if not, I don't think I would have been able to sharpen my WD-40-inspired build. It all feels a bit full circle, and warms my heart to keep the two going.
Step 6: The Details
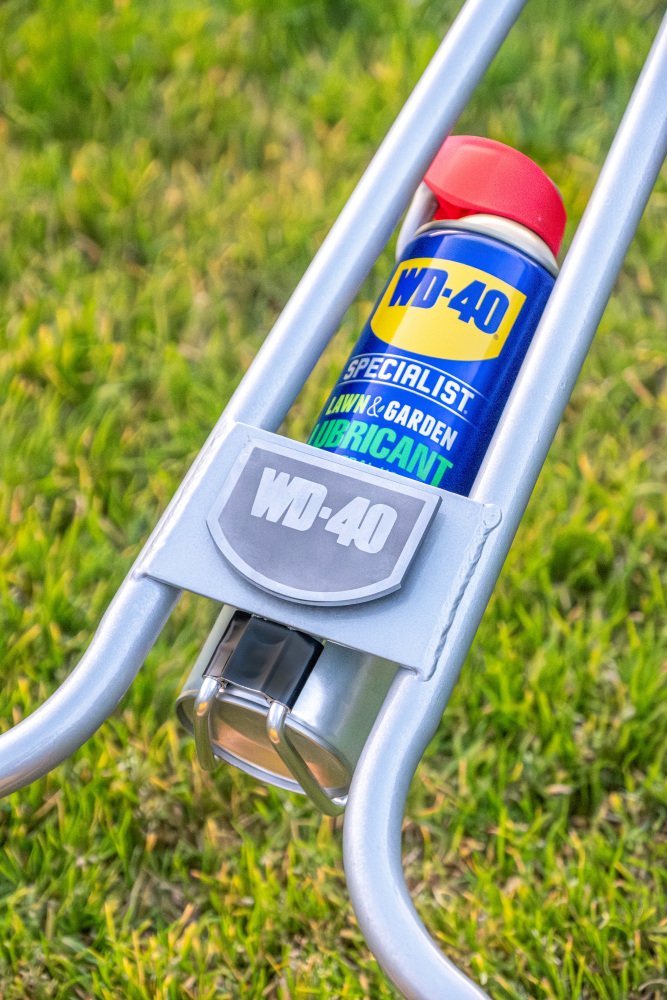
- Can holder for ease of maintenance.
- Brushed and sandblasted magnetic WD-40 badge.
- Grips chosen to match the WD-40 ribbed can cap.
Step 7: The Final Product


Plus 2 more
A fully restored and functioning reel mower from the 1970s, made to last another 50 years thanks to WD-40.
Step 8: Aftercare
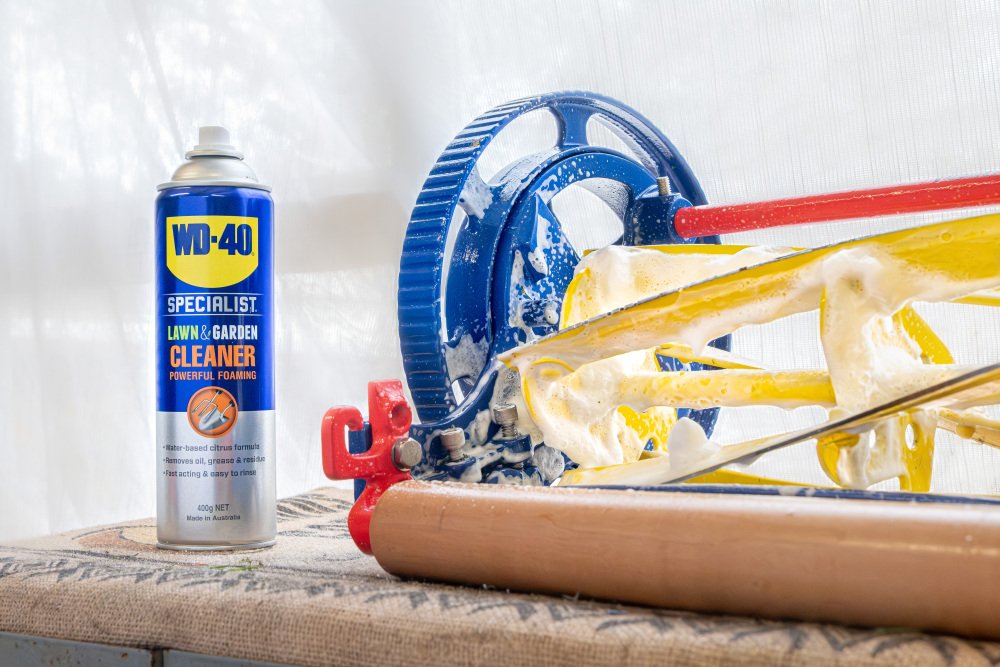
Now the hard yards are done, use WD-40 to keep it young!


