3D Printer Repair and Maintenance

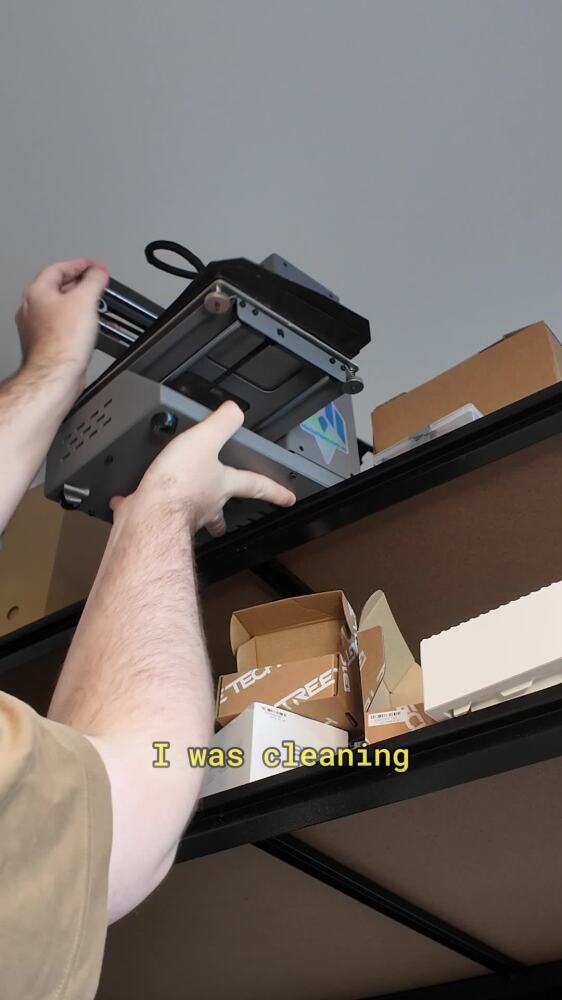
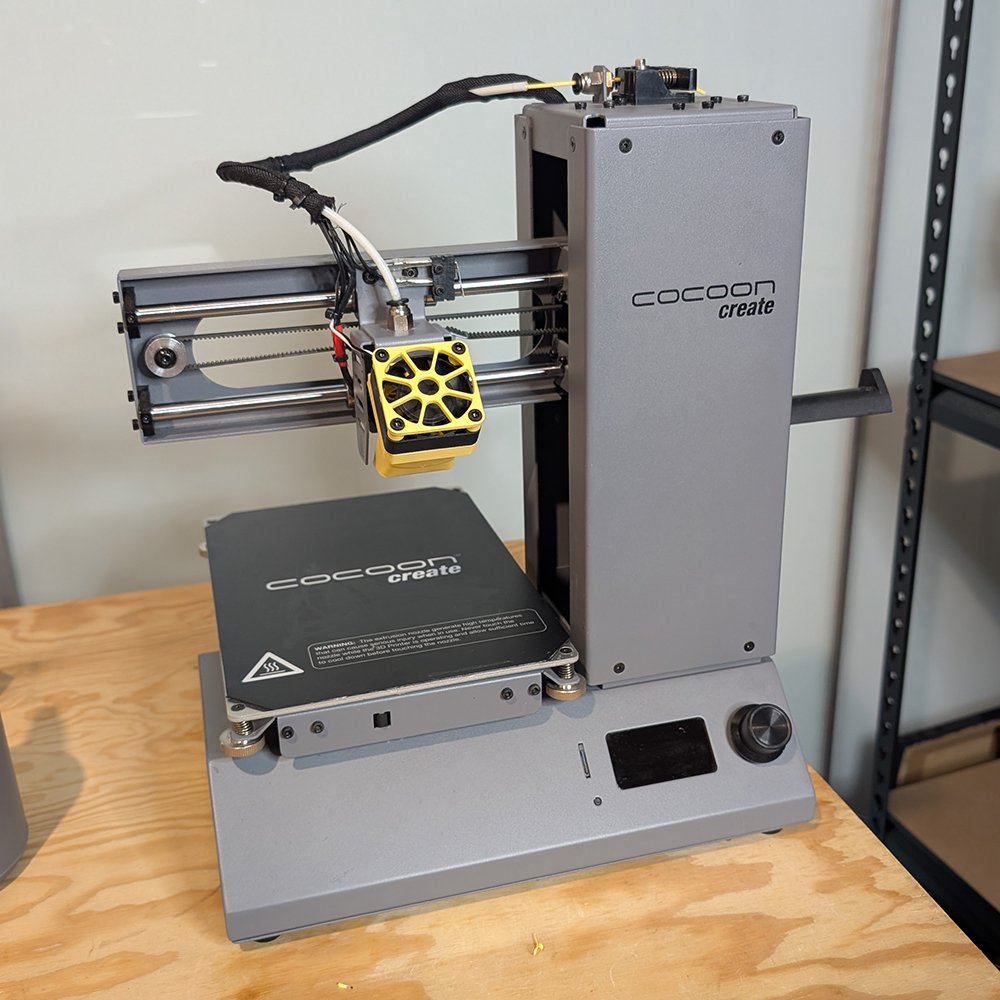
My 3D printer had been sitting neglected for years, accumulating a thick layer of dust and grime. To get it working once again, I had to fully clean it, fix a broken rotary knob, and relubricate the smooth metal rods.
Step 1: Clean Surface

My 3D printer was covered in grime and a thick layer of dust. Spraying on a small amount of isopropyl alcohol and then wiping it off removed the majority of the grime.
For removing annoying adhesive left over from stickers. I sprayed WD-40 Multi-Use over the adhesive gunk, let it soak in for a minute, then wiped it all off. This completely removed the adhesive.
Step 2: Clean Knobs

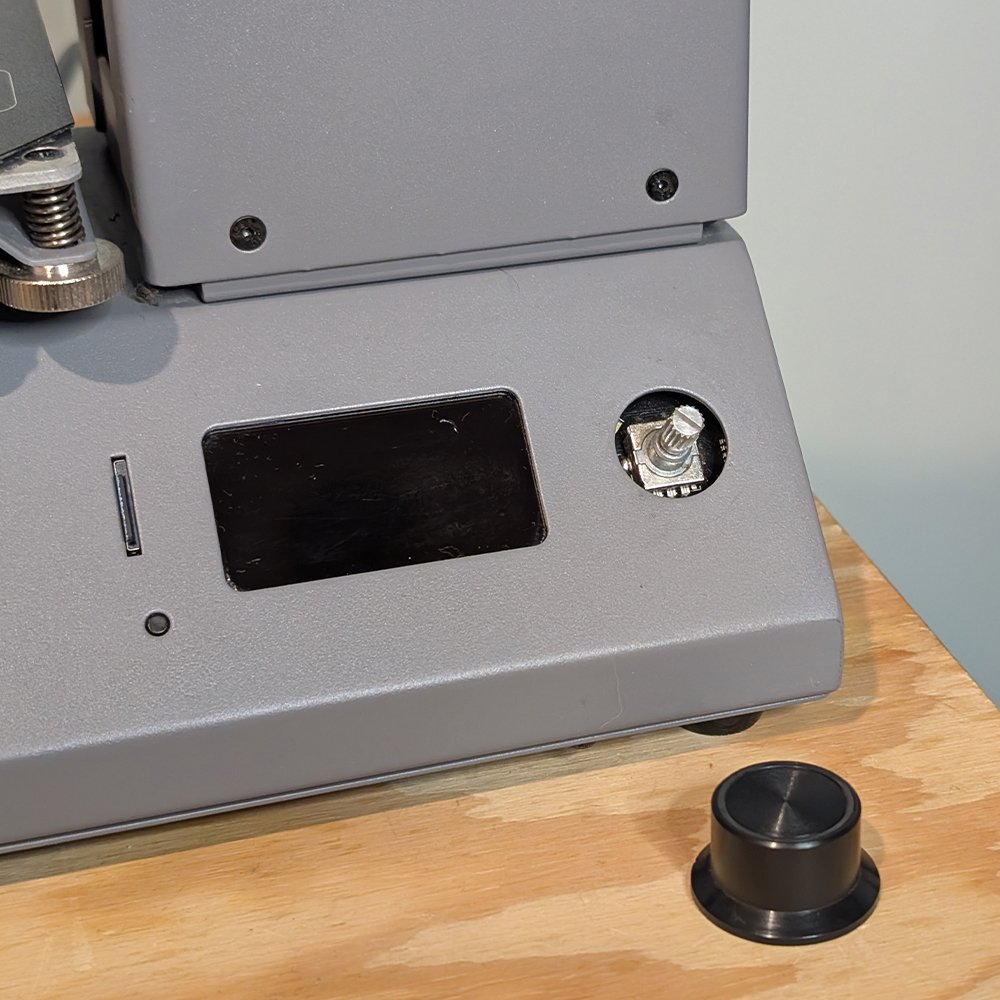
The rotary knob had become unresponsive from years of dust and grime buildup as a result of being in a workshop.
After removing the top of the knob, I sprayed WD-40 Contact Cleaner into the rotary knob electronics and made sure to work it in by rotating and clicking the knob repeatedly.
This successfully cleaned the knob and made it fully responsive again.
Step 3: Lubricate Rods

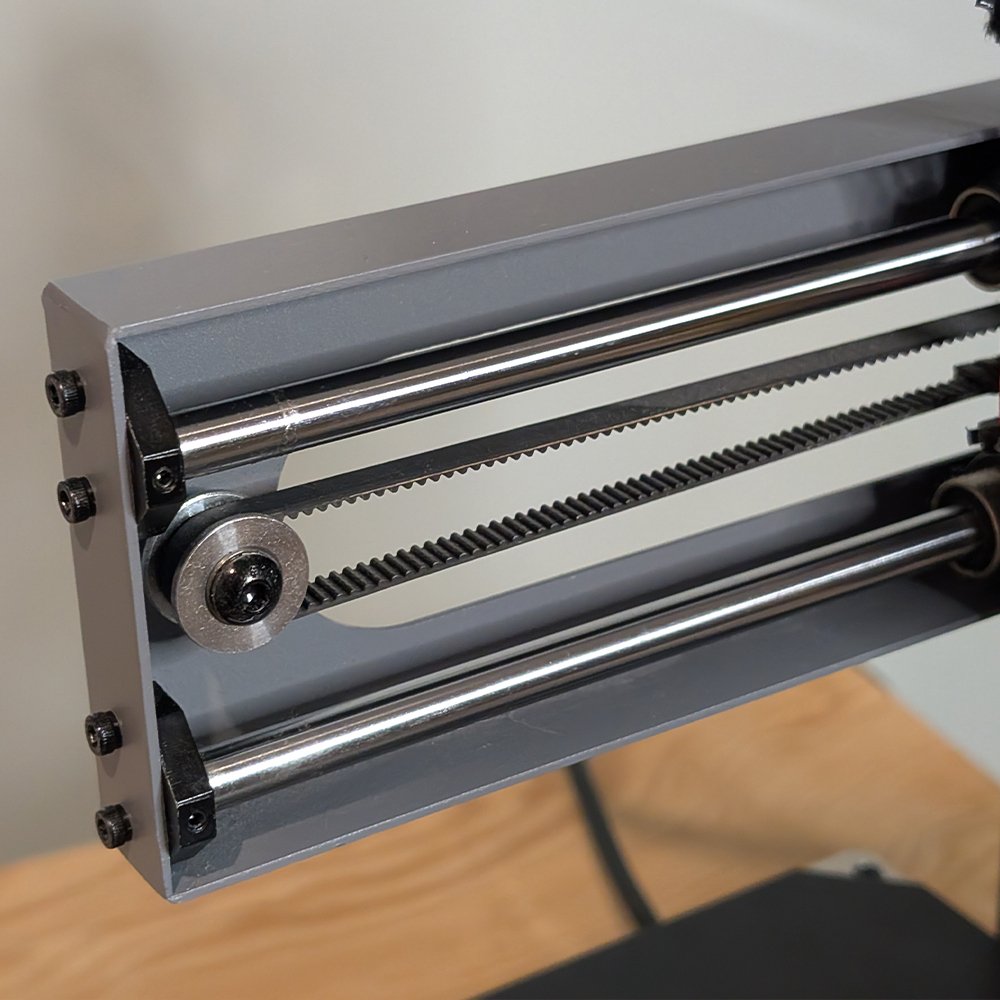
The smooth rods had collected a lot of grime over its many years of use. I wiped it all off using a paper towel.
Then, I applied a very small amount of WD-40 White Lithium Grease and ensured an even coat by sliding the extruder along it multiple times.
This successfully relubricated the roads to ensure a smooth 3D printing experience.


